Account
This article explains how to create an AWS account and highlights the benefits of using AWS services.
To start using AWS resources and services, you must first create an AWS account. AWS operates on a pay-as-you-go model—there are no upfront costs, and you only pay for what you use at the end of each billing cycle. Many organizations leverage multiple accounts for isolation, billing, and security, then consolidate costs using AWS Organizations.
Why Create an AWS Account?
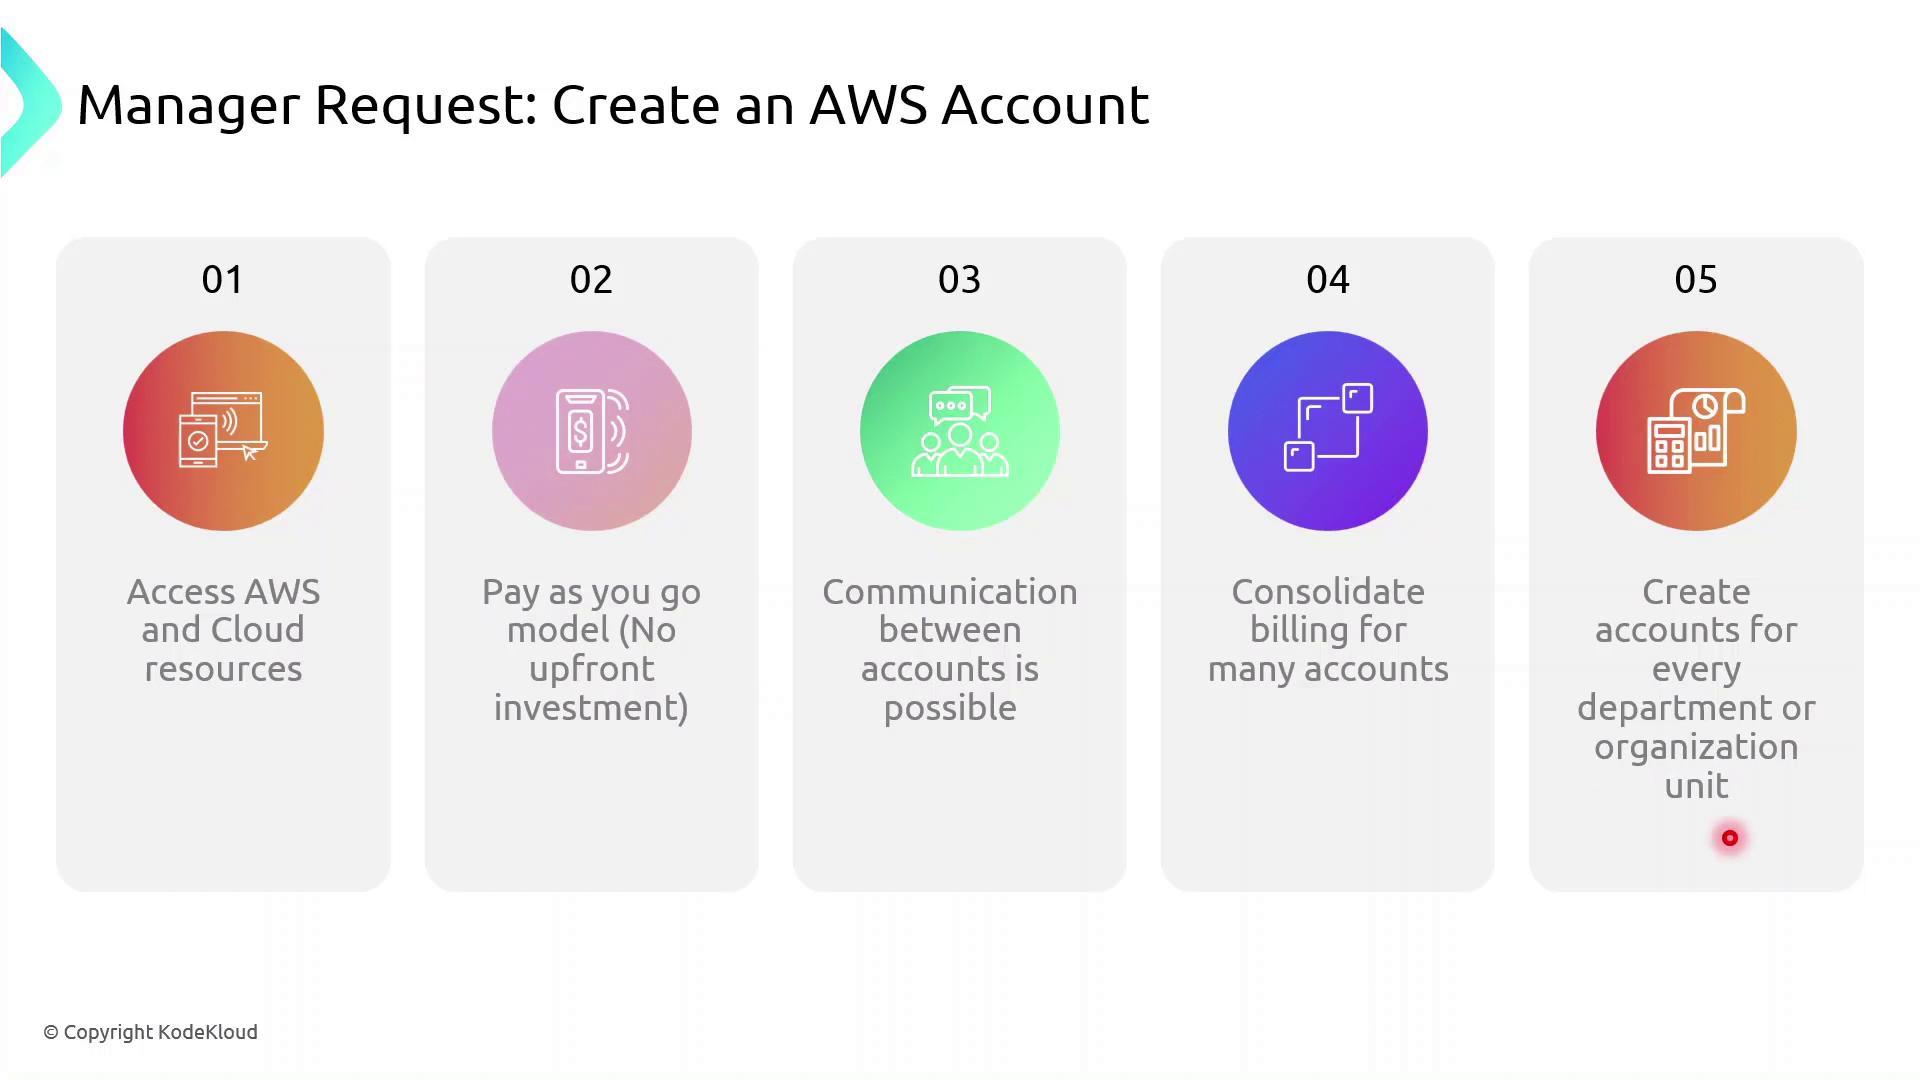
- Instant access to cloud services (compute, storage, databases, and more)
- Flexible, pay-as-you-go pricing with no long-term commitments
- Strong isolation between development, testing, and production environments
- Consolidated billing across multiple accounts for streamlined cost management
- Secure cross-account resource sharing and access control
Key Benefits of AWS Accounts
| Benefit | Description | Example |
|---|---|---|
| Access to AWS Services | Onboard to cloud resources instantly | Launch an EC2 instance in minutes |
| Pay-as-you-go Pricing | No upfront fees; only pay for what you consume | Monthly cost based on compute hours |
| Account Isolation | Separate environments for different teams or projects | Dedicated Dev, Test, and Prod accounts |
| Consolidated Billing | Aggregate charges across accounts in a single invoice | Manage all costs via AWS Organizations |
| Cross-Account Resource Sharing | Securely share resources with other AWS accounts | Grant S3 bucket access to another account |
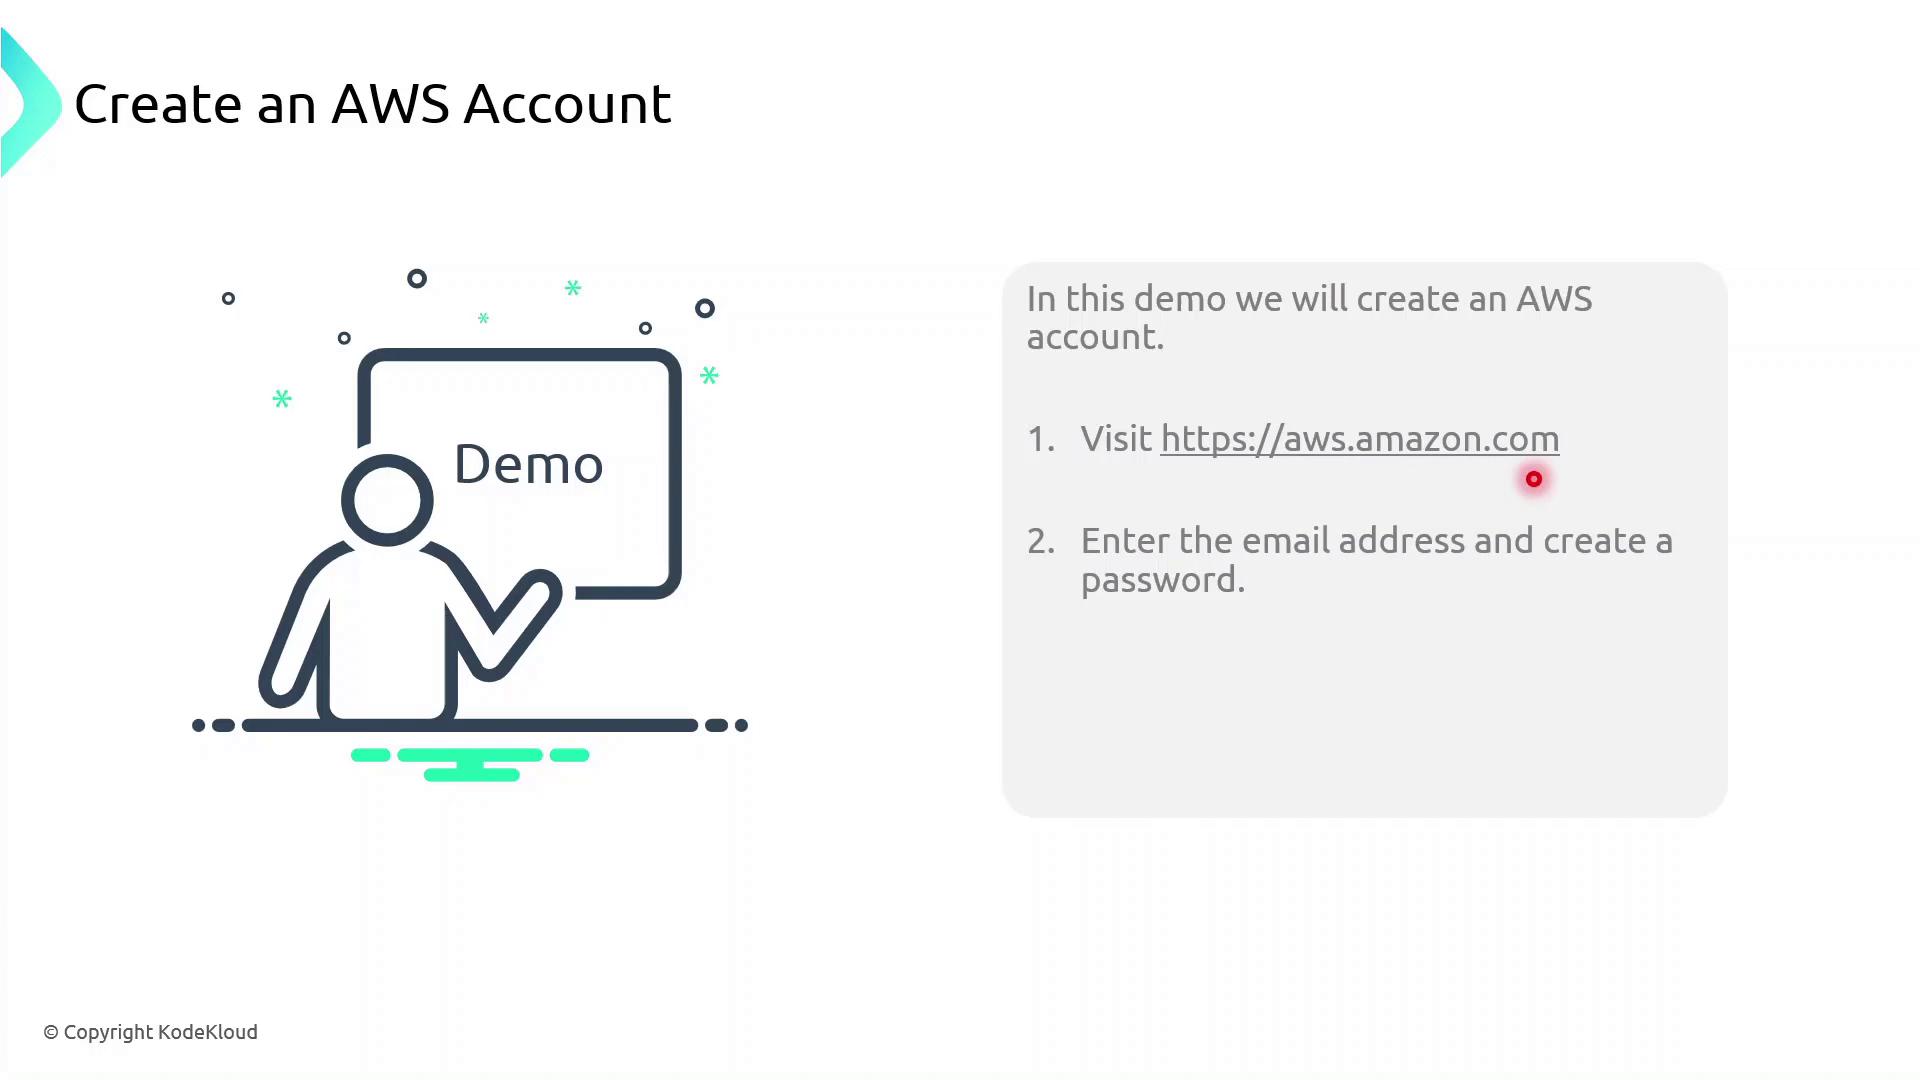
Demo: Creating an AWS Account
Follow these steps to register and activate your AWS account:
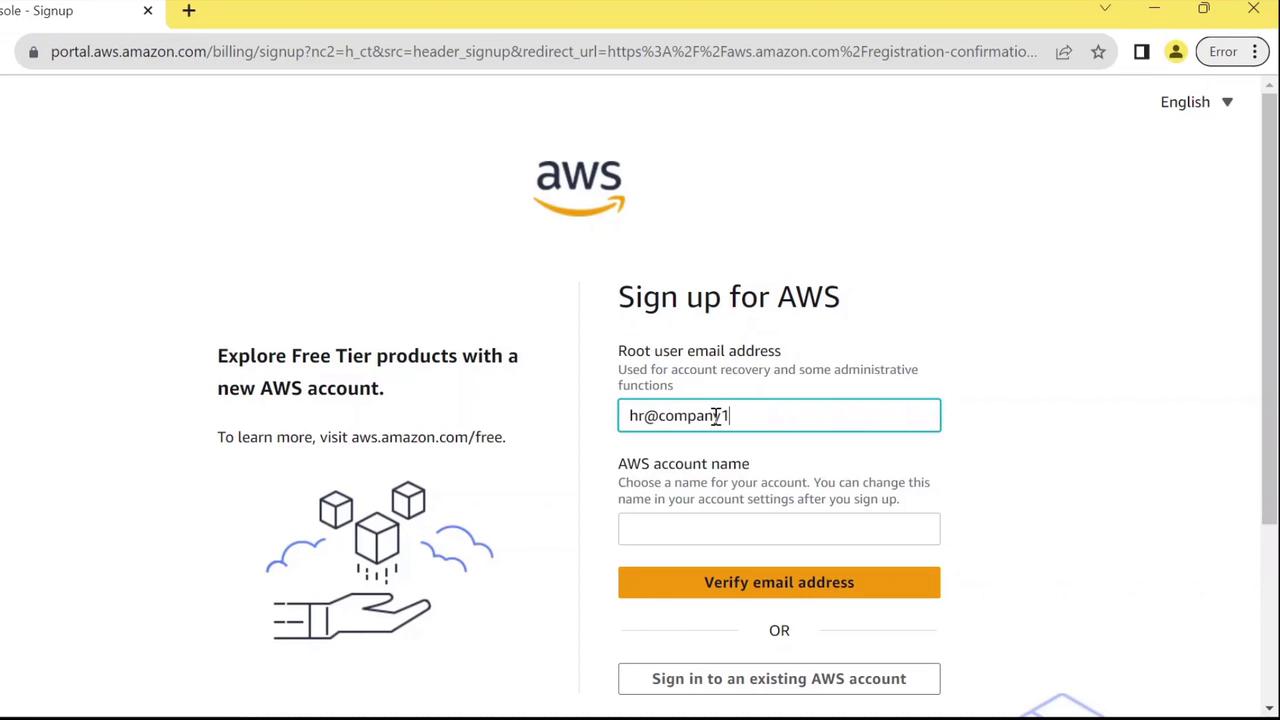
- Open your web browser and navigate to https://aws.amazon.com.
- Click Create an AWS Account.
- Enter a valid email address and choose a strong password.
- Specify an account name (alias) to identify your AWS account.
- Complete the registration form with contact details, payment information, and identity verification.
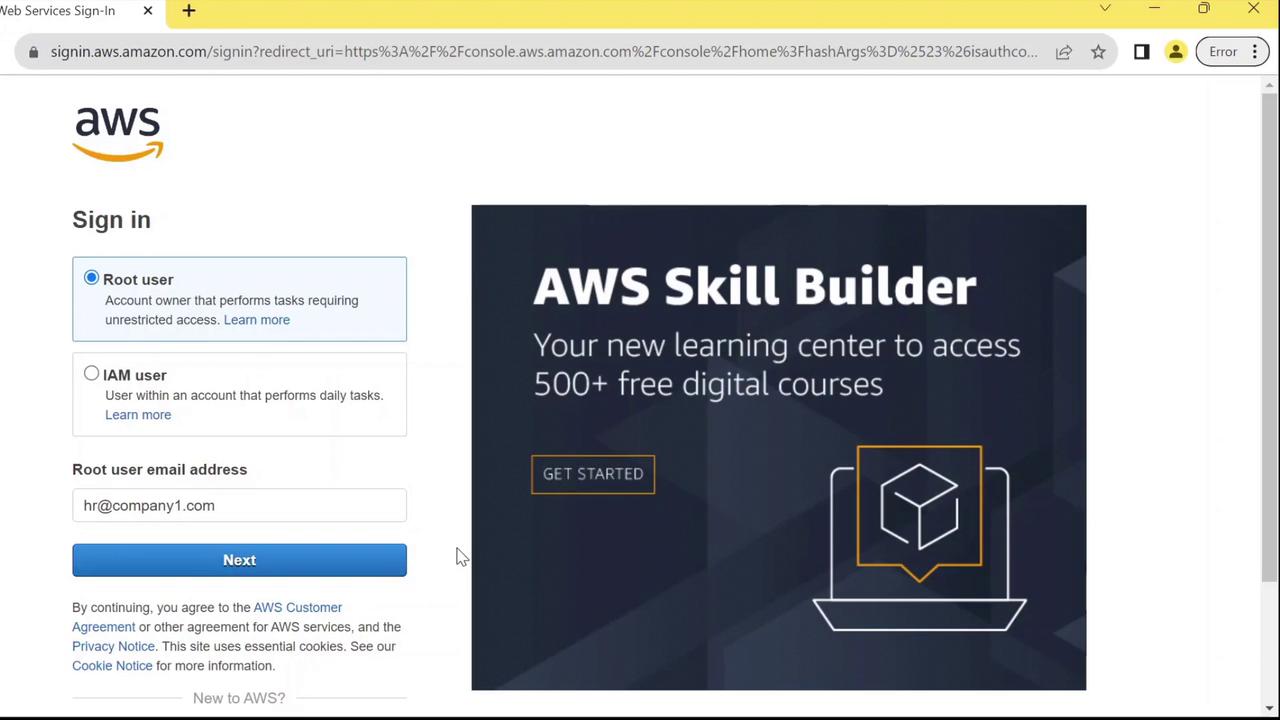
- After receiving confirmation, sign in as the root user using your registered email.
Next Steps
- Create IAM groups, users, and roles for granular access control
- Enable multi-factor authentication (MFA) on the root account and IAM users
- Set up AWS Organizations for consolidated billing and policy management
- Explore AWS Cost Explorer and Budgets to monitor spending
References
This tutorial explains how to set up a new AWS account specifically for an HR team.
In this tutorial, you’ll learn how to set up a brand-new AWS account for your HR team. We’ll cover:
- Creating and verifying a root user
- Signing in for the first time
- Accessing the AWS Management Console
Step 1: Navigate to the AWS Homepage
- Open your browser and go to https://aws.amazon.com.
- In the top-right corner, click Create an AWS Account.
Step 2: Provide Root User Email and Account Name
On the signup form:
- Under Root user, enter the email address that HR will manage:
text theme={null} HR@company1.com - Under Account name, choose a clear identifier:
text theme={null} HR - Click Verify email address.\ You’ll receive a one-time code—enter it to confirm your email.
Step 3: Sign In as the Root User
- Return to https://aws.amazon.com and click Sign In.
- Select Root user (since no IAM users exist yet).
- Enter the same email you used during signup, then click Next.
Step 4: Authenticate and Access the Console
- Enter your chosen password at the prompt.
- Click Sign In.
- You’ll land on the AWS Management Console as the root user.
AWS Account Setup Overview
| User Type | Description | Best Practice |
|---|---|---|
| Root user | Full access to all AWS resources | Use only for billing, support, and setup tasks |
| IAM user | Permission-scoped user accounts | Assign roles and policies for daily operations |
Next Steps
- Create IAM users and groups for HR staff
- Attach appropriate policies (e.g.,
AmazonS3ReadOnlyAccess) - Enable MFA on your root and admin accounts