This guide explores advanced Docker storage concepts, including storage drivers, data management, and layered architecture for efficient image and container handling.
Welcome to this guide on advanced Docker storage concepts. In this article, we explore how Docker handles storage drivers, manages data on the host file system, and implements a layered architecture to build images and run containers efficiently.
When Docker is installed, it creates a folder structure at /var/lib/docker containing subdirectories such as overlay2, containers, images, and volumes. These directories store Docker images, container runtime data, and volumes. For instance, files associated with running containers reside in the containers folder, image files are stored under images, and any created volumes are kept in the volumes folder.
Docker Image Layers
Docker images are built using a layered architecture. Each instruction in a Dockerfile generates a new layer, containing only the modifications from the previous layer. Consider this Dockerfile for our first application:
```dockerfile theme={null}
Dockerfile for Application 1
FROM ubuntu
RUN apt-get update && apt-get -y install python RUN pip install flask flask-mysql
COPY . /opt/source-code
ENTRYPOINT FLASK_APP=/opt/source-code/app.py flask run
You can build the image using:

```bash  theme={null}
docker build Dockerfile -t mmumshad/my-custom-app
The layers are created in the following order:
- The base Ubuntu image (approximately 120 MB).
- A layer installing APT packages (around 300 MB).
- A layer for Python package dependencies.
- A layer adding the application source code.
- A layer that sets the entry point.
Because each layer stores only the changes made in the previous one, Docker caches them for reuse in similar images. For example, a second application with a slight modification might use the following Dockerfile:
```dockerfile theme={null}
Dockerfile2 for Application 2
FROM ubuntu RUN apt-get update && apt-get -y install python RUN pip install flask flask-mysql COPY app2.py /opt/source-code ENTRYPOINT FLASK_APP=/opt/source-code/app2.py flask run
Build the second image with:

```bash  theme={null}
docker build Dockerfile2 -t mmumshad/my-custom-app-2
Since the first three layers (base image, APT packages, and Python dependencies) are identical, Docker reuses these cached layers and builds only the layers related to the new source code and entry point. This efficient reuse reduces build times and conserves disk space.
app.py), Docker leverages the cache for all unchanged layers and rebuilds only the layer with the new code.
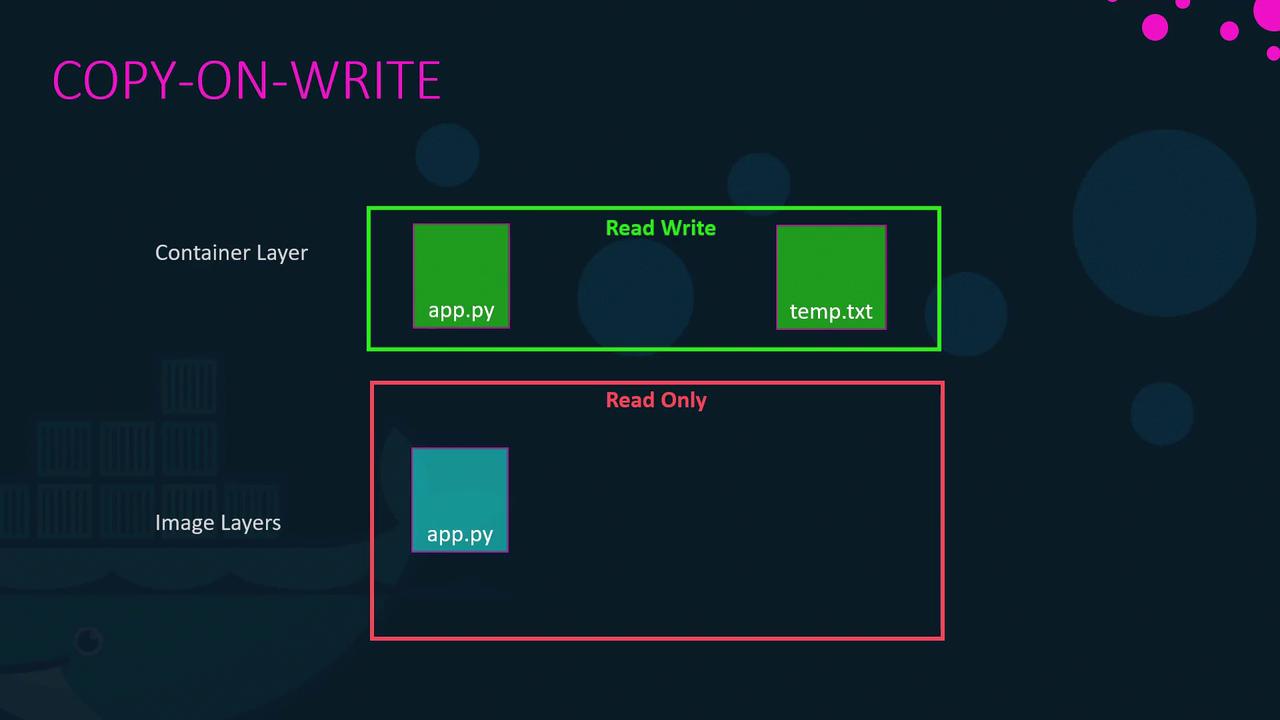
Container Writable Layer and Copy-On-Write
Once an image is built, its layers remain immutable (read-only). Running a container from that image with the docker run command creates an additional writable layer on top. This layer captures any runtime modifications such as log files, temporary files, or changes to the application. For example:
```bash theme={null} docker run mmumshad/my-custom-app
If you log into the container and modify a file (say, creating `temp.txt`), Docker employs a copy-on-write mechanism. Before modifying a file originating from the read-only image layer, Docker first copies it to the writable layer, and subsequent changes are applied to the copied file—leaving the original image intact. When the container is removed, the writable layer and any changes in it are deleted.
<Frame>
</Frame>
## Persistent Data with Volumes and Bind Mounts
The container's writable layer is ephemeral, meaning any data stored there is lost when the container is removed. To retain data—such as for databases—Docker offers both volumes and bind mounts.
### Volume Mounts
Volumes are managed by Docker and stored under `/var/lib/docker/volumes`. Create and mount a volume with the following commands:
```bash theme={null}
docker volume create data_volume
docker run -v data_volume:/var/lib/mysql mysql
If you run a container with a volume name that doesn’t exist, Docker will automatically create it:
```bash theme={null} docker run -v data_volume2:/var/lib/mysql mysql
### Bind Mounts

Bind mounts allow you to use a specific directory from the Docker host. For example, to use data from `/data/mysql`, run:

```bash  theme={null}
docker run -v /data/mysql:/var/lib/mysql mysql
Using the --mount Option
The --mount flag provides a more explicit syntax by requiring all parameters to be specified. The following command is equivalent to the bind mount example above:
```bash theme={null} docker run \ --mount type=bind,source=/data/mysql,target=/var/lib/mysql \ mysql
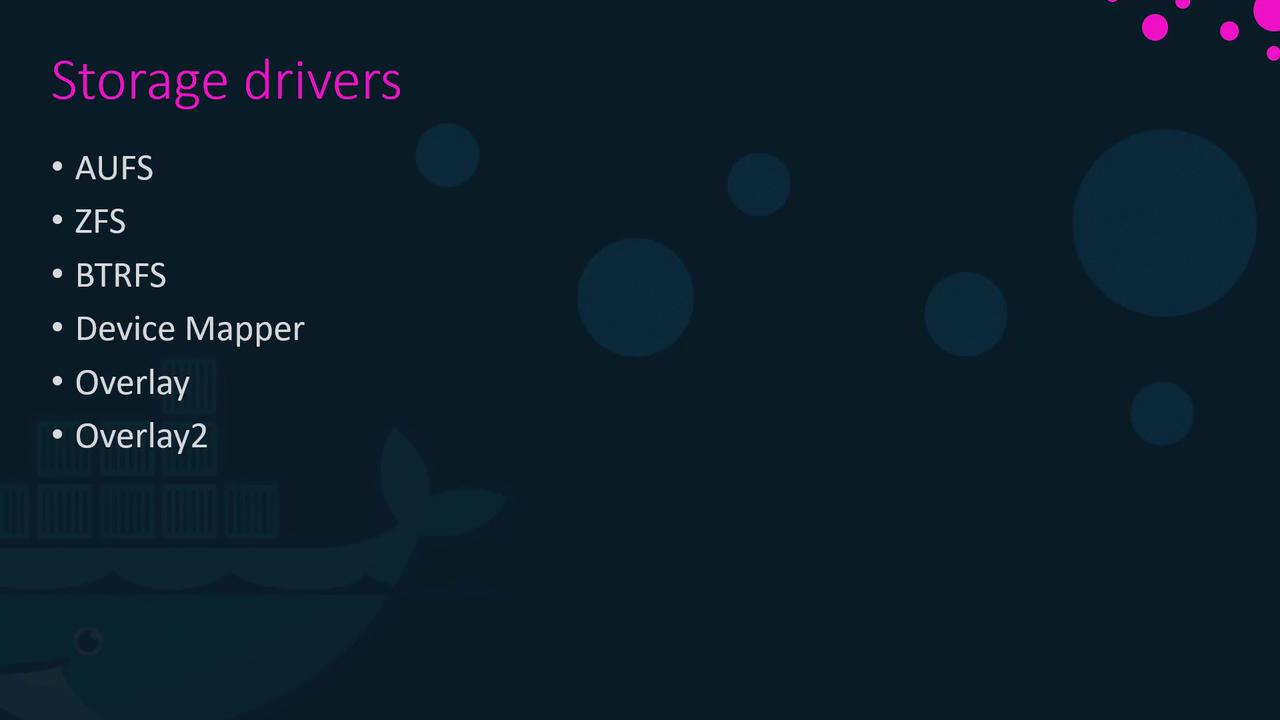
## Docker Storage Drivers
Docker’s storage drivers manage everything from maintaining image layers to handling writable container layers with copy-on-write. Common storage drivers include AUFS, ZFS, BTRFS, Device Mapper, Overlay, and Overlay2. The selection of a storage driver depends on the host OS. For example, Ubuntu often uses AUFS by default, while Fedora or CentOS might prefer Device Mapper. Docker automatically selects the most appropriate driver for your system based on performance and stability factors.
<Frame>
</Frame>
For more detailed information on these storage drivers, please refer to the [Docker documentation](https://docs.docker.com/storage/).
## Summary
Docker's innovative approach to managing storage through image layers, copy-on-write, volumes, and storage drivers enables efficient container builds and resource usage. Understanding these concepts not only improves your workflow but also optimizes container performance and data persistence.
---
## Volume Driver Plugins in Docker
> This article discusses volume driver plugins in Docker for managing persistent storage across various third-party storage solutions.
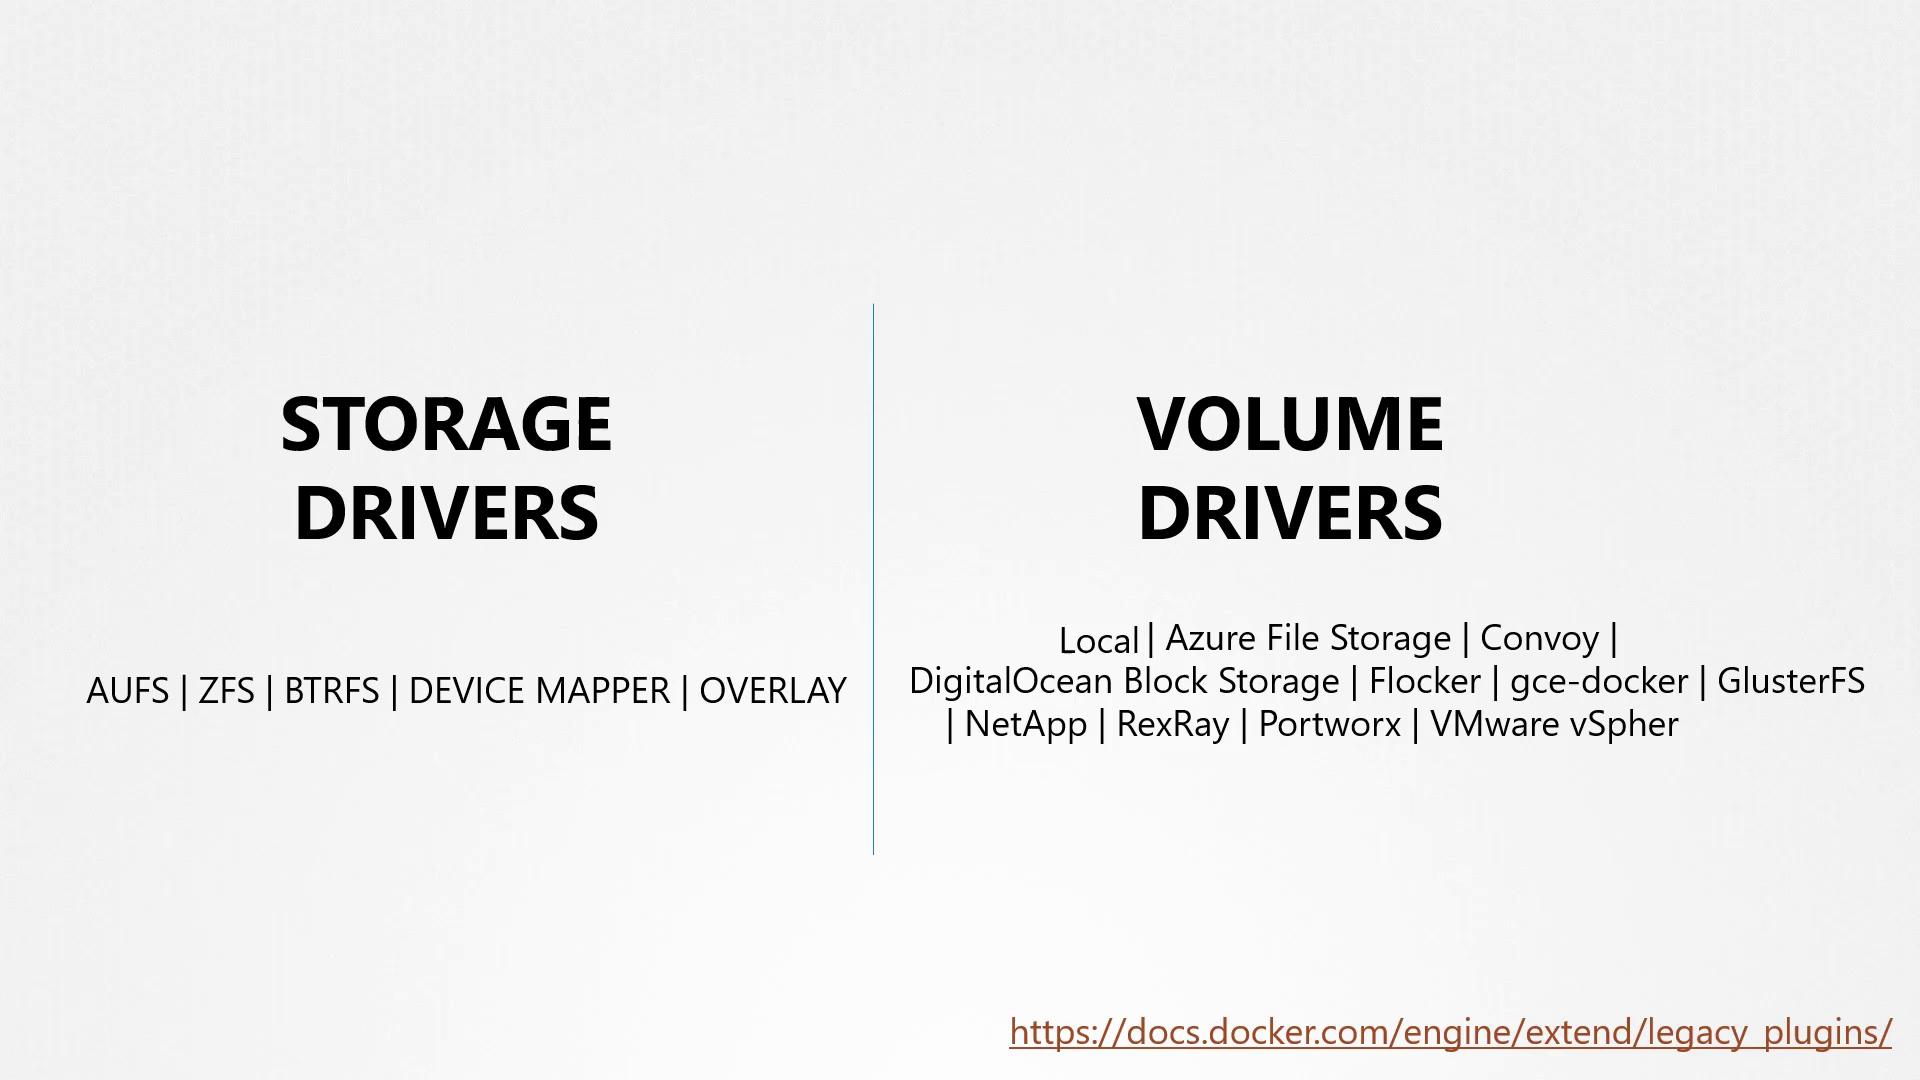
In previous discussions, we explored storage drivers and their role in managing storage for images and containers. We also examined volumes and emphasized that if you need persistent storage, you must create volumes. It is important to note that volumes are not managed by storage drivers; instead, they are handled by volume driver plugins.
By default, Docker uses the local volume driver plugin. This plugin creates a volume on the Docker host and stores its data under the /var/lib/docker/volumes directory. However, many other volume driver plugins are available, enabling you to create volumes on third-party storage solutions such as Azure File Storage, Convoy, DigitalOcean Block Storage, Blocker, Google Compute Persistent Disks, ClusterFS, NetApp, Rex Ray, Portworx, and VMware vSphere Storage.
<Frame>
</Frame>
<Callout icon="lightbulb" color="#1CB2FE">
When selecting a volume driver plugin, consider your storage infrastructure requirements. Plugins such as Rex Ray offer flexibility by supporting various storage providers.
</Callout>
For example, some volume drivers support multiple storage providers. The Rex Ray storage driver, for instance, can provision storage on AWS EBS, S3, EMC storage arrays (like Isilon and ScaleIO), Google Persistent Disk, or OpenStack Cinder. When running a Docker container, you can select a specific volume driver such as Rex Ray EBS to provision a volume from Amazon EBS. This approach ensures that your data remains safe in the cloud even if the container exits.
Below is an example of running a Docker container using a specific volume driver plugin:
```bash theme={null}
docker run -it \
--name mysql \
--volume-driver rexray/ebs \
--mount src=ebs-vol,target=/var/lib/mysql \
mysql
Later in the series, we will further explore how volumes are managed within Kubernetes.
For additional details, refer to the Docker Documentation and learn more about persistent storage in containers.