Policies and Permissions
This article explains IAM policies and permissions in AWS, focusing on the Principle of Least Privilege and how to define and manage access controls.
In AWS, IAM policies and permissions control who can perform which actions on which resources. Applying the Principle of Least Privilege—granting only the access needed to perform a task—helps secure your environment.
Principle of Least Privilege
Grant users and roles only the permissions they require. In this example, Sarah creates three groups:
- Admins (Bob and Susan): full management rights across AWS services.
- Developers: access limited to a specific Sales folder.
- Test (Kathy and Alan): no access to the Sales folder.

Defining Permissions
A permission is a fine-grained control that authorizes an action on an AWS resource. Common permission examples:
ec2:StartInstances– start an EC2 instances3:GetObject– download an object from an S3 bucketsqs:CreateQueue– create a new SQS queuesns:DeleteTopic– delete an SNS topic
A policy is a collection of one or more permissions.
What Is an IAM Policy?
An IAM policy is a JSON document that defines:
- Who (user, group, role) can perform
- What actions on
- Which resources
IAM policies give you granular control over access.

Policy Types
IAM policies fall into two primary categories:
| Policy Type | Attachment Point | Use Case |
|---|---|---|
| Identity-based policy | Users, groups, roles | Grant permissions to IAM identities |
| Resource-based policy | AWS resources (e.g., S3, Lambda) | Attach policies directly to resources themselves |
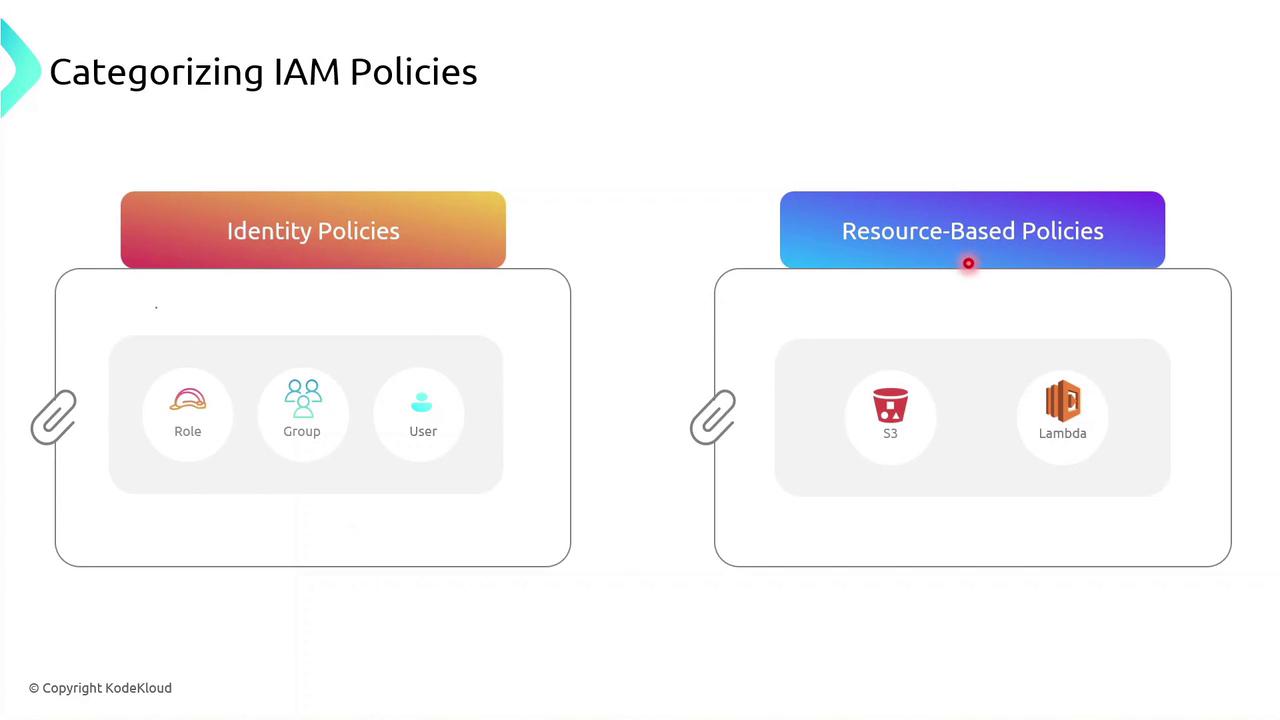
You can attach an identity-based policy to a group of developers or assign a role to an EC2 instance so your applications inherit those permissions.
Identity-based Policy Example
Below is a sample JSON identity policy with two statements:
```json theme={null}
{
"Version": "2012-10-17",
"Statement": [
{
"Effect": "Allow",
"Action": [
"s3:*"
],
"Resource": [
"arn:aws:s3:::* The first statement allows **all** S3 actions on a specific bucket.
* The second statement allows starting a particular EC2 instance.
<Callout icon="triangle-alert" color="#FF6B6B">
Use wildcard (`*`) actions sparingly. Overly broad permissions increase security risks.
</Callout>
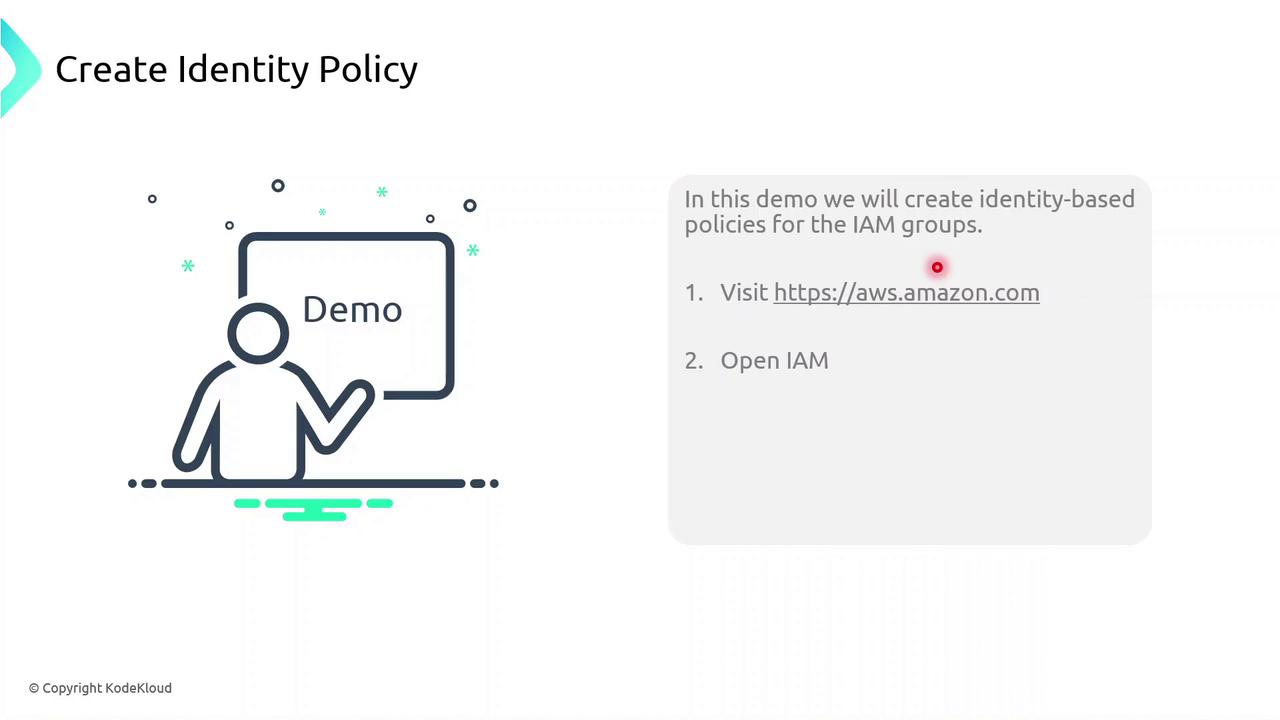
## Demo: Creating an Identity Policy
Follow these steps in the AWS Management Console to create and attach an identity-based policy to a group:
1. Sign in to the [IAM console](https://console.aws.amazon.com/iam/).
2. Navigate to **Policies** > **Create policy**.
3. Use the JSON editor to paste your policy document.
4. Review and **Create policy**.
5. Attach the new policy to your IAM group.
<Frame>
</Frame>
## Links and References
* [AWS IAM User Guide](https://docs.aws.amazon.com/IAM/latest/UserGuide/)
* [Understanding IAM Policies](https://docs.aws.amazon.com/IAM/latest/UserGuide/access_policies.html)
* [AWS JSON Policy Elements Reference](https://docs.aws.amazon.com/IAM/latest/UserGuide/reference_policies_elements.html)
* [Security Best Practices in IAM](https://aws.amazon.com/iam/resources/best-practices/)
---
## Demo Identity Policy
> This tutorial teaches how to create a custom IAM identity policy in AWS and manage permissions for a user group.
In this tutorial, you’ll learn how to create a custom IAM identity policy in AWS, attach it to a user group, and then refine its permissions using both the Visual editor and the JSON editor. By the end, you’ll have a policy that grants S3 read access, full EC2 permissions, and explicitly denies the ability to stop EC2 instances.
***
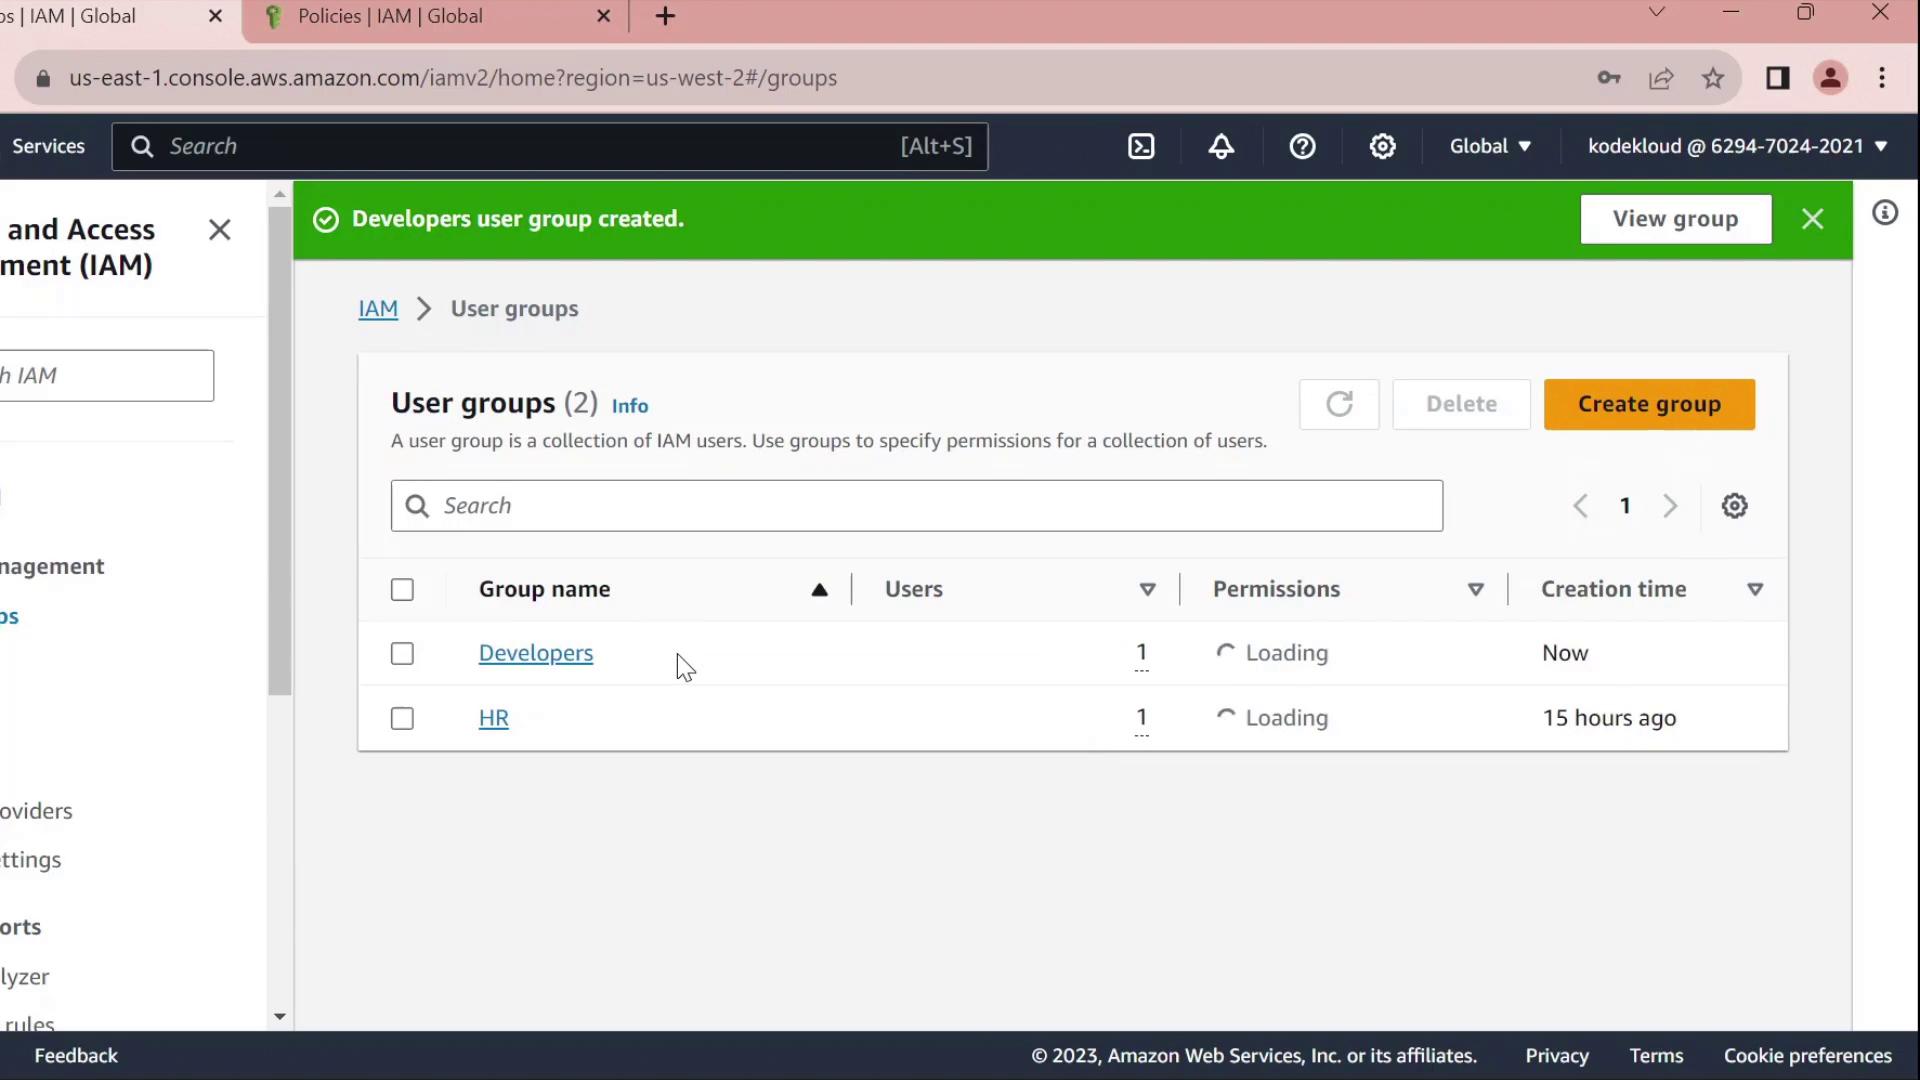
## 1. Create a Developers Group
1. In the AWS Management Console, navigate to **IAM** → **User groups**.
2. Click **Create group**, name it **Developers**, and add the user **John** to the group.
3. Skip attaching any policies for now and finish the wizard.
<Frame>

</Frame>
Once created, you’ll see **Developers** listed without any permissions:
<Frame>
</Frame>
***
## 2. Create a Custom Policy
1. In the IAM sidebar, select **Policies**.
2. Click **Create policy**.
<Frame>
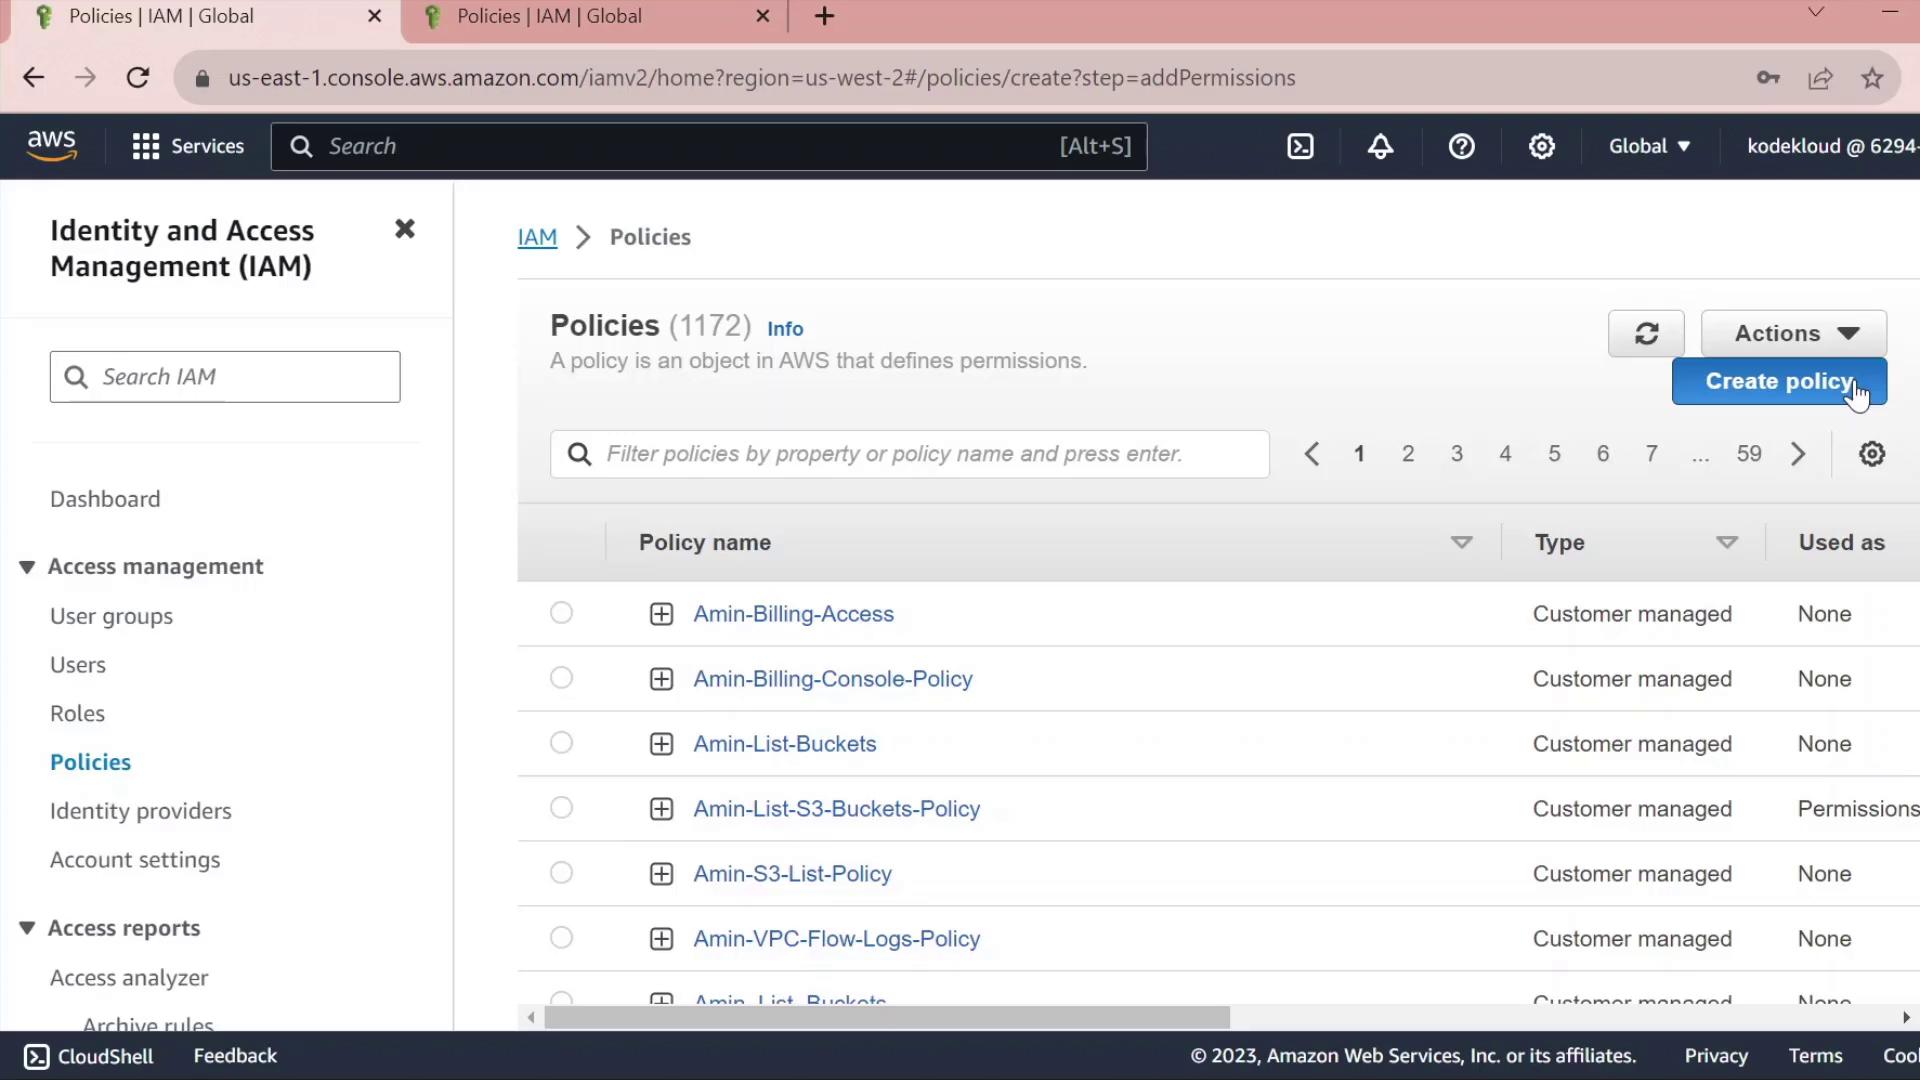
</Frame>
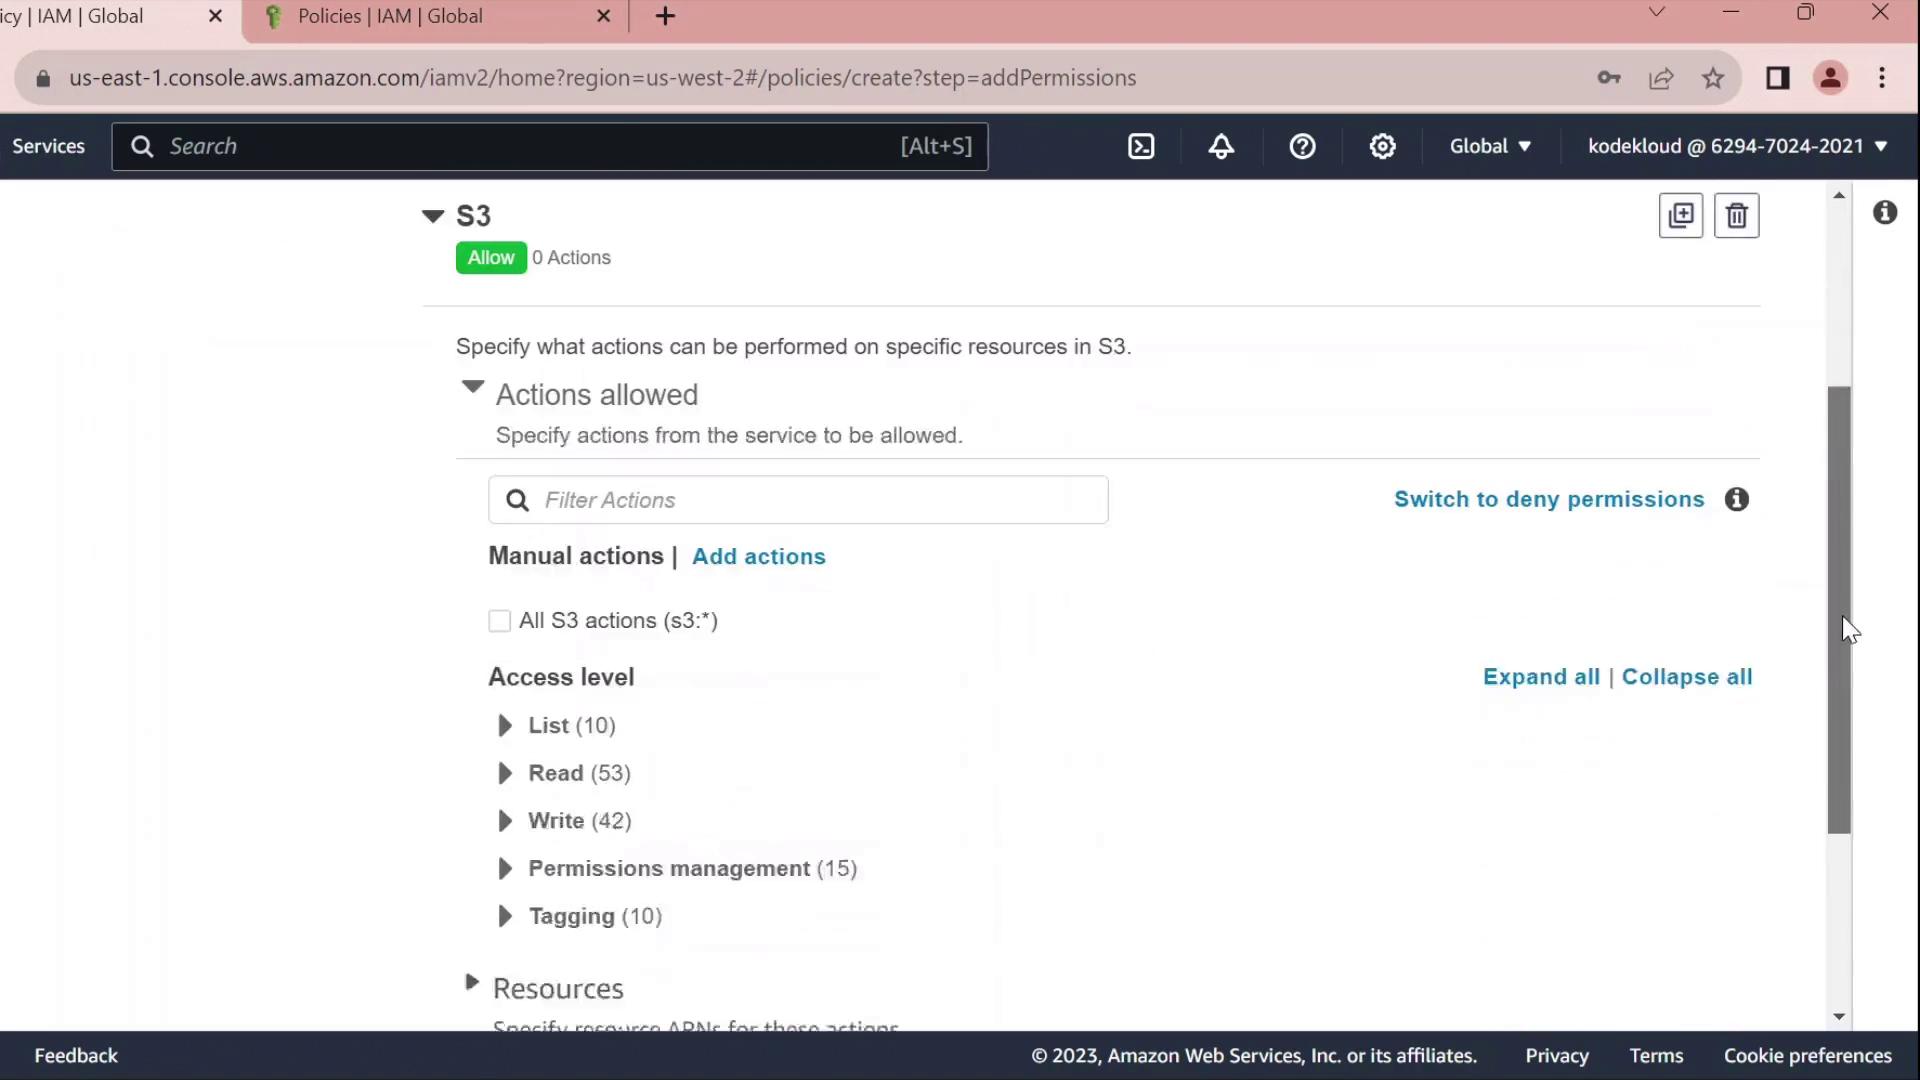
### 2.1 Grant S3 Read Access
* Under **Service**, choose **S3**.
* In **Actions**, expand **Read** and check **GetObject**.
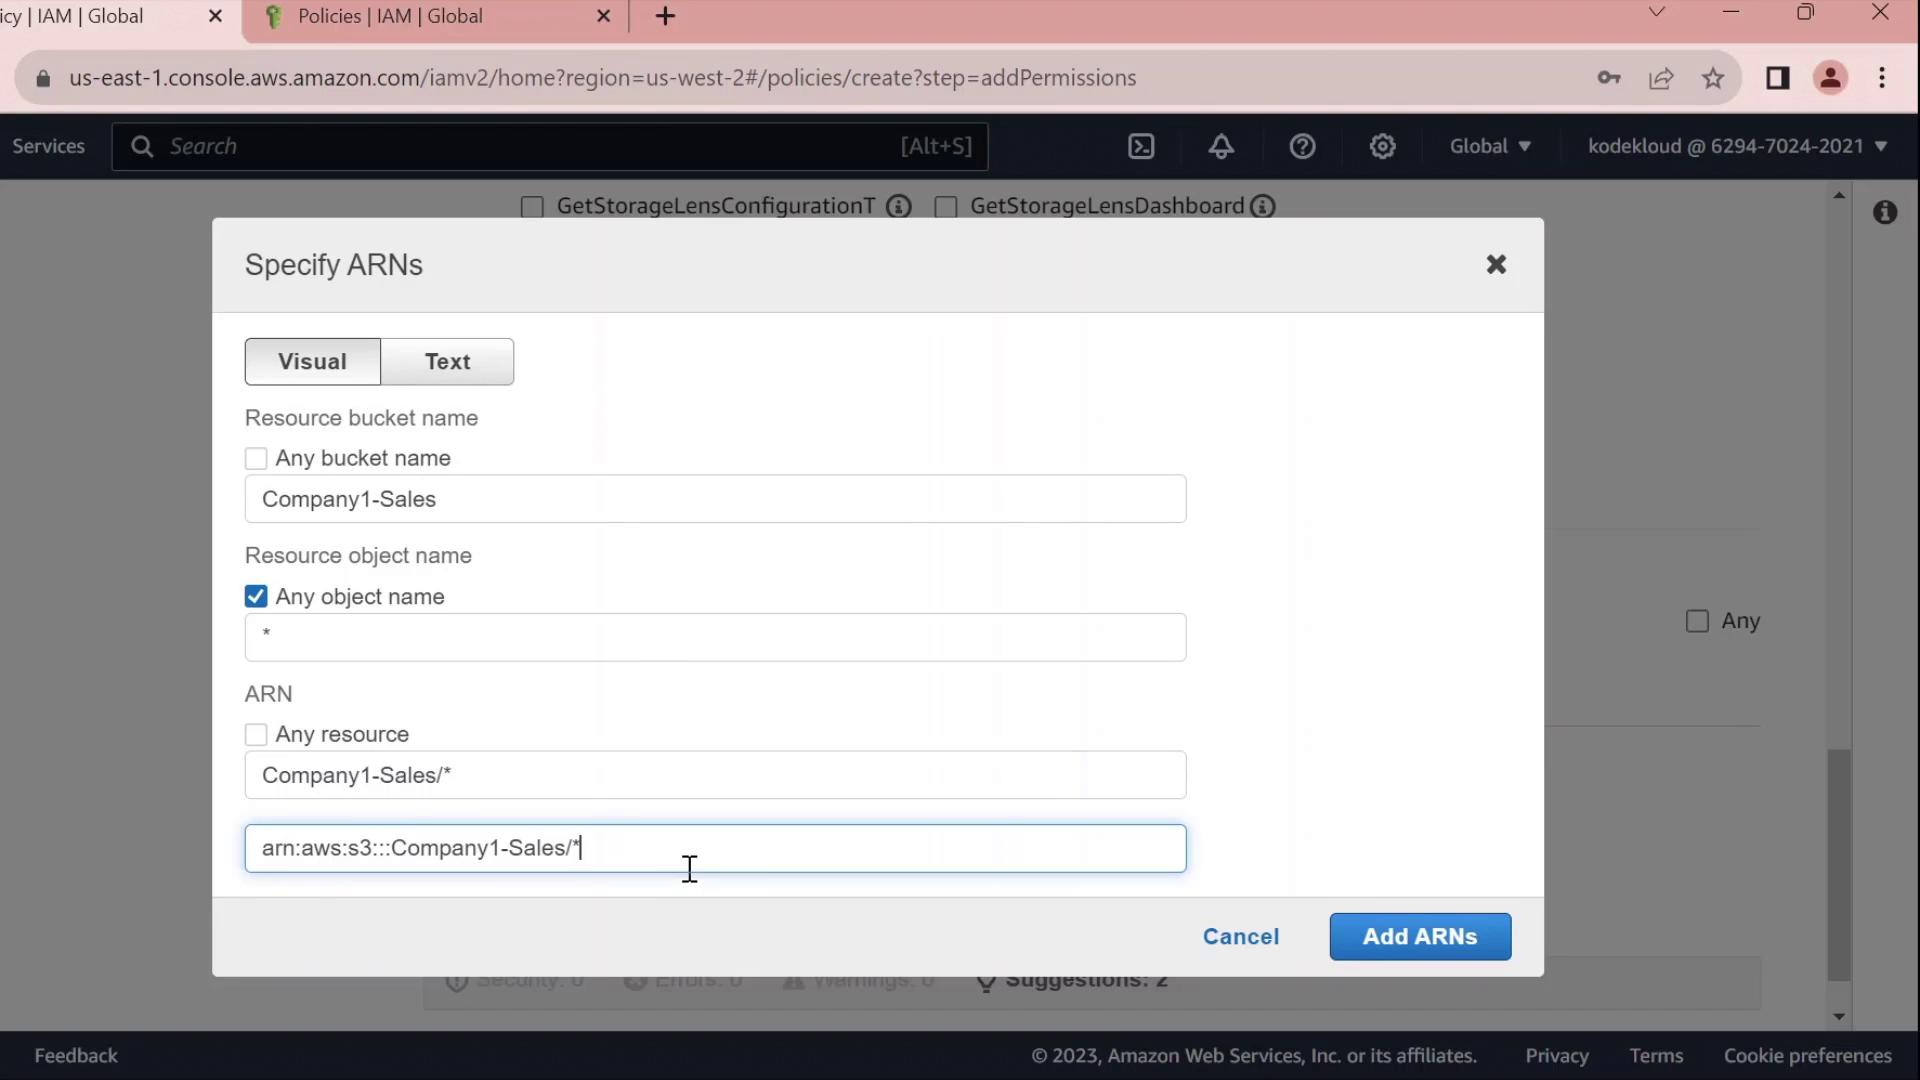
* Under **Resources** → **Add ARN**, enter:
* Bucket: `company1-sales`
* Object: `*`\
The console will build the ARN for you.
<Frame>
</Frame>
<Frame>
</Frame>
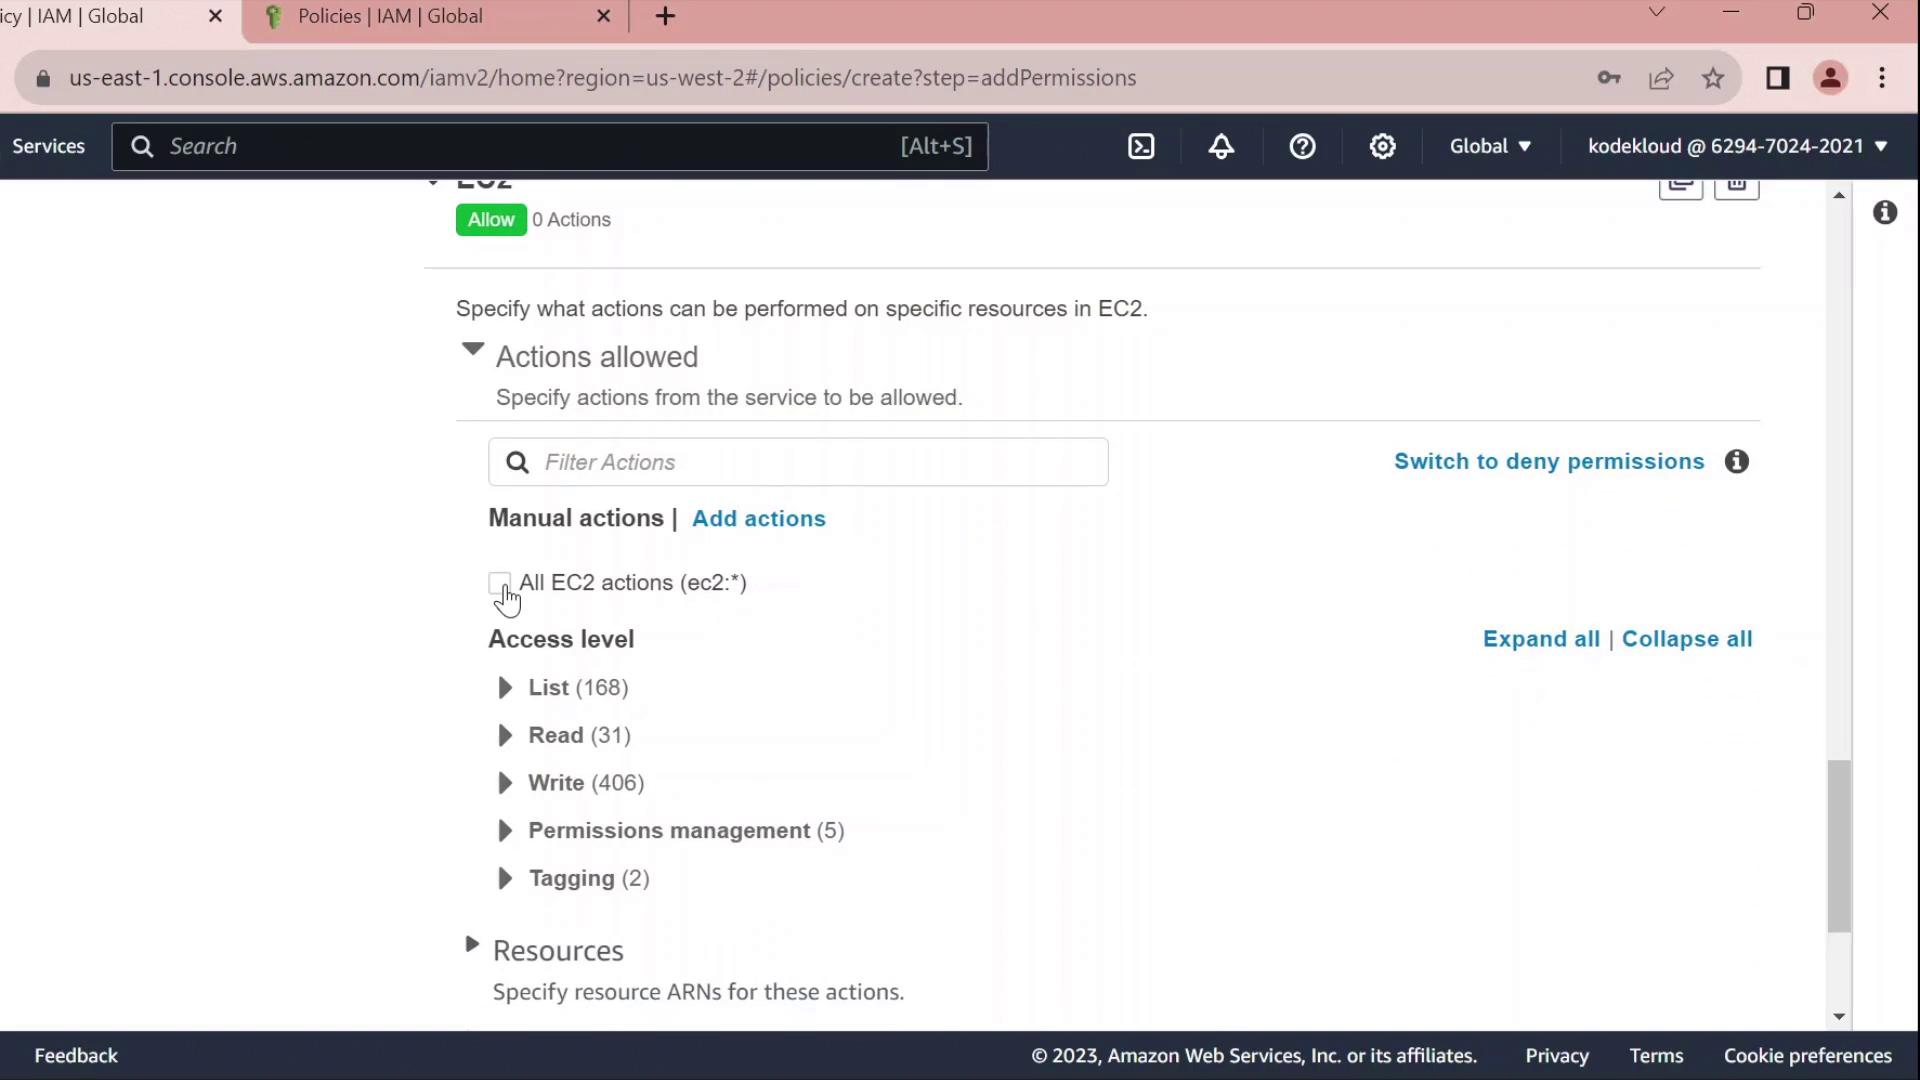
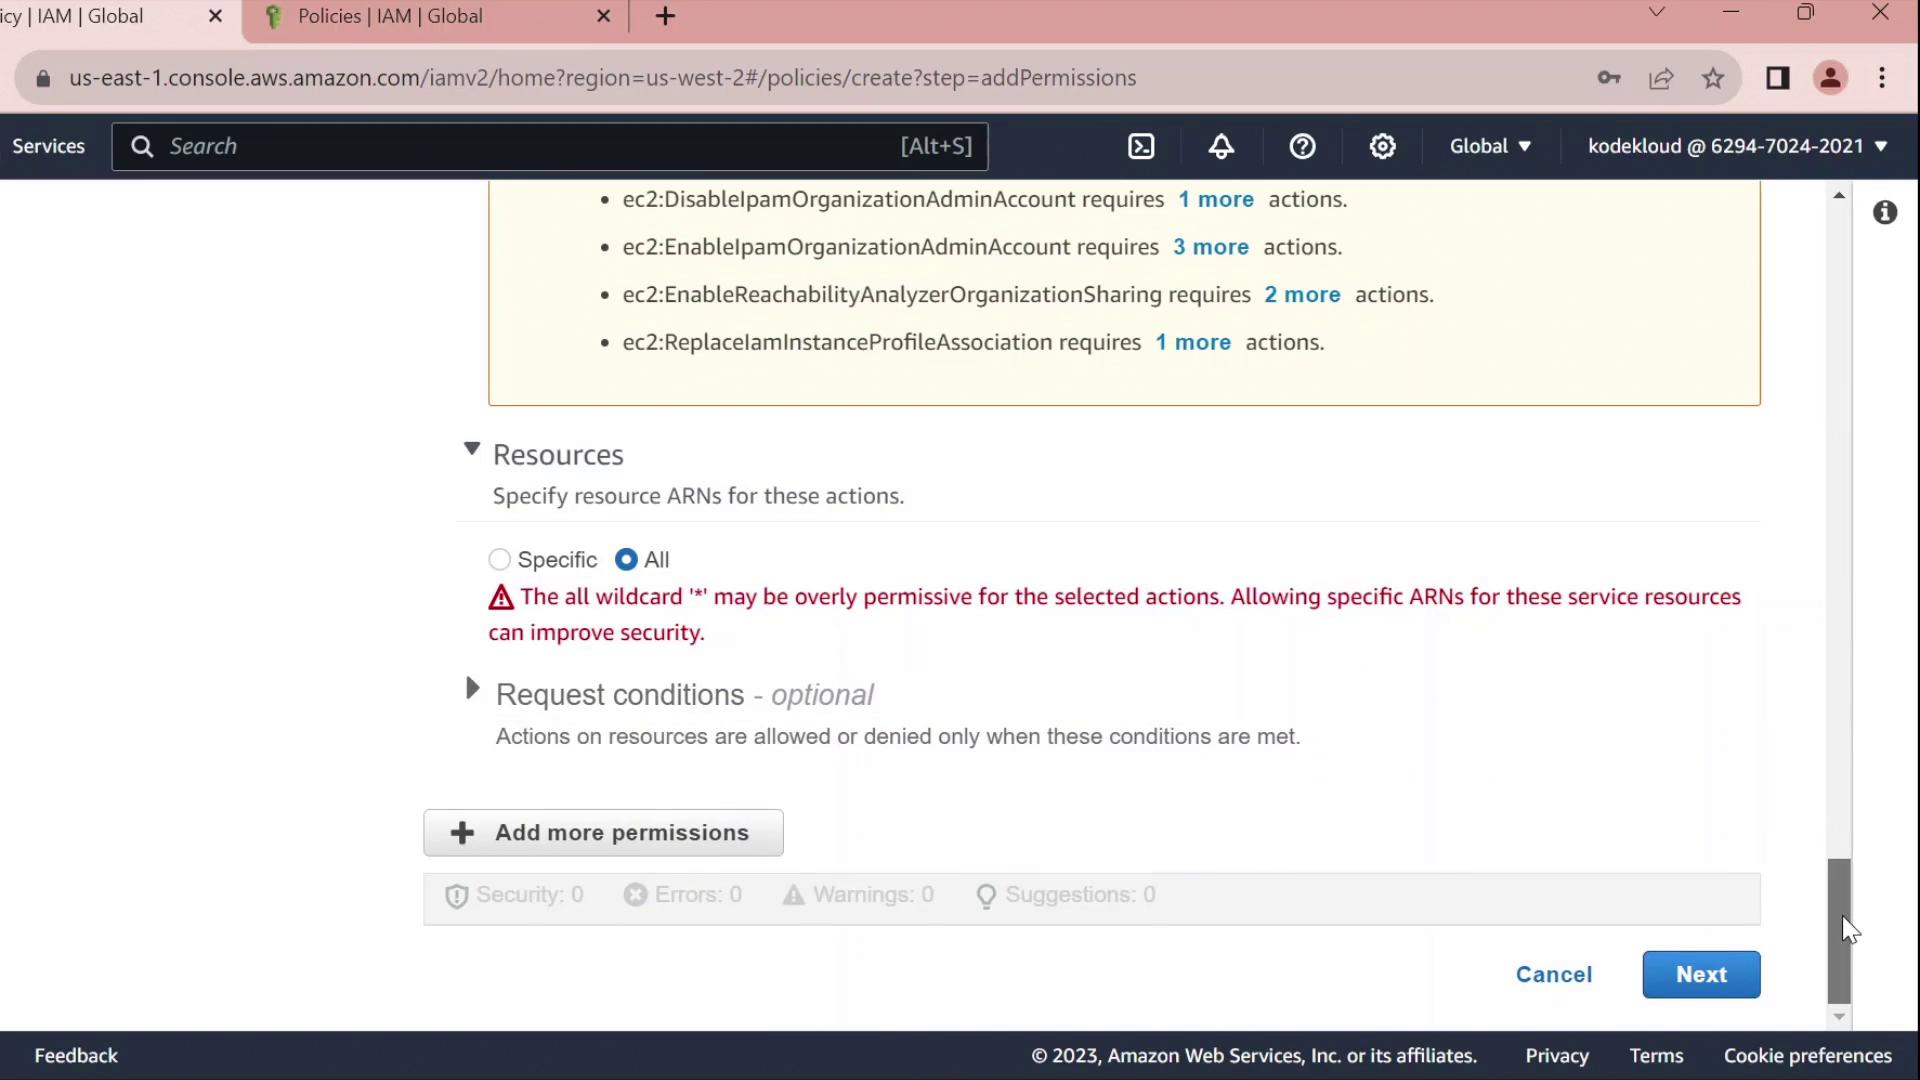
### 2.2 Grant EC2 Full Access
* Click **Add permissions** → **EC2**.
* Select **All EC2 actions** under **Actions**.
* Leave the resource set to `*` for all instances.
<Callout icon="triangle-alert" color="#FF6B6B">
Using `*` for resources grants full access to all EC2 instances. In production, scope this down by specifying ARNs for specific instances or regions.
</Callout>
<Frame>
</Frame>
<Frame>
</Frame>
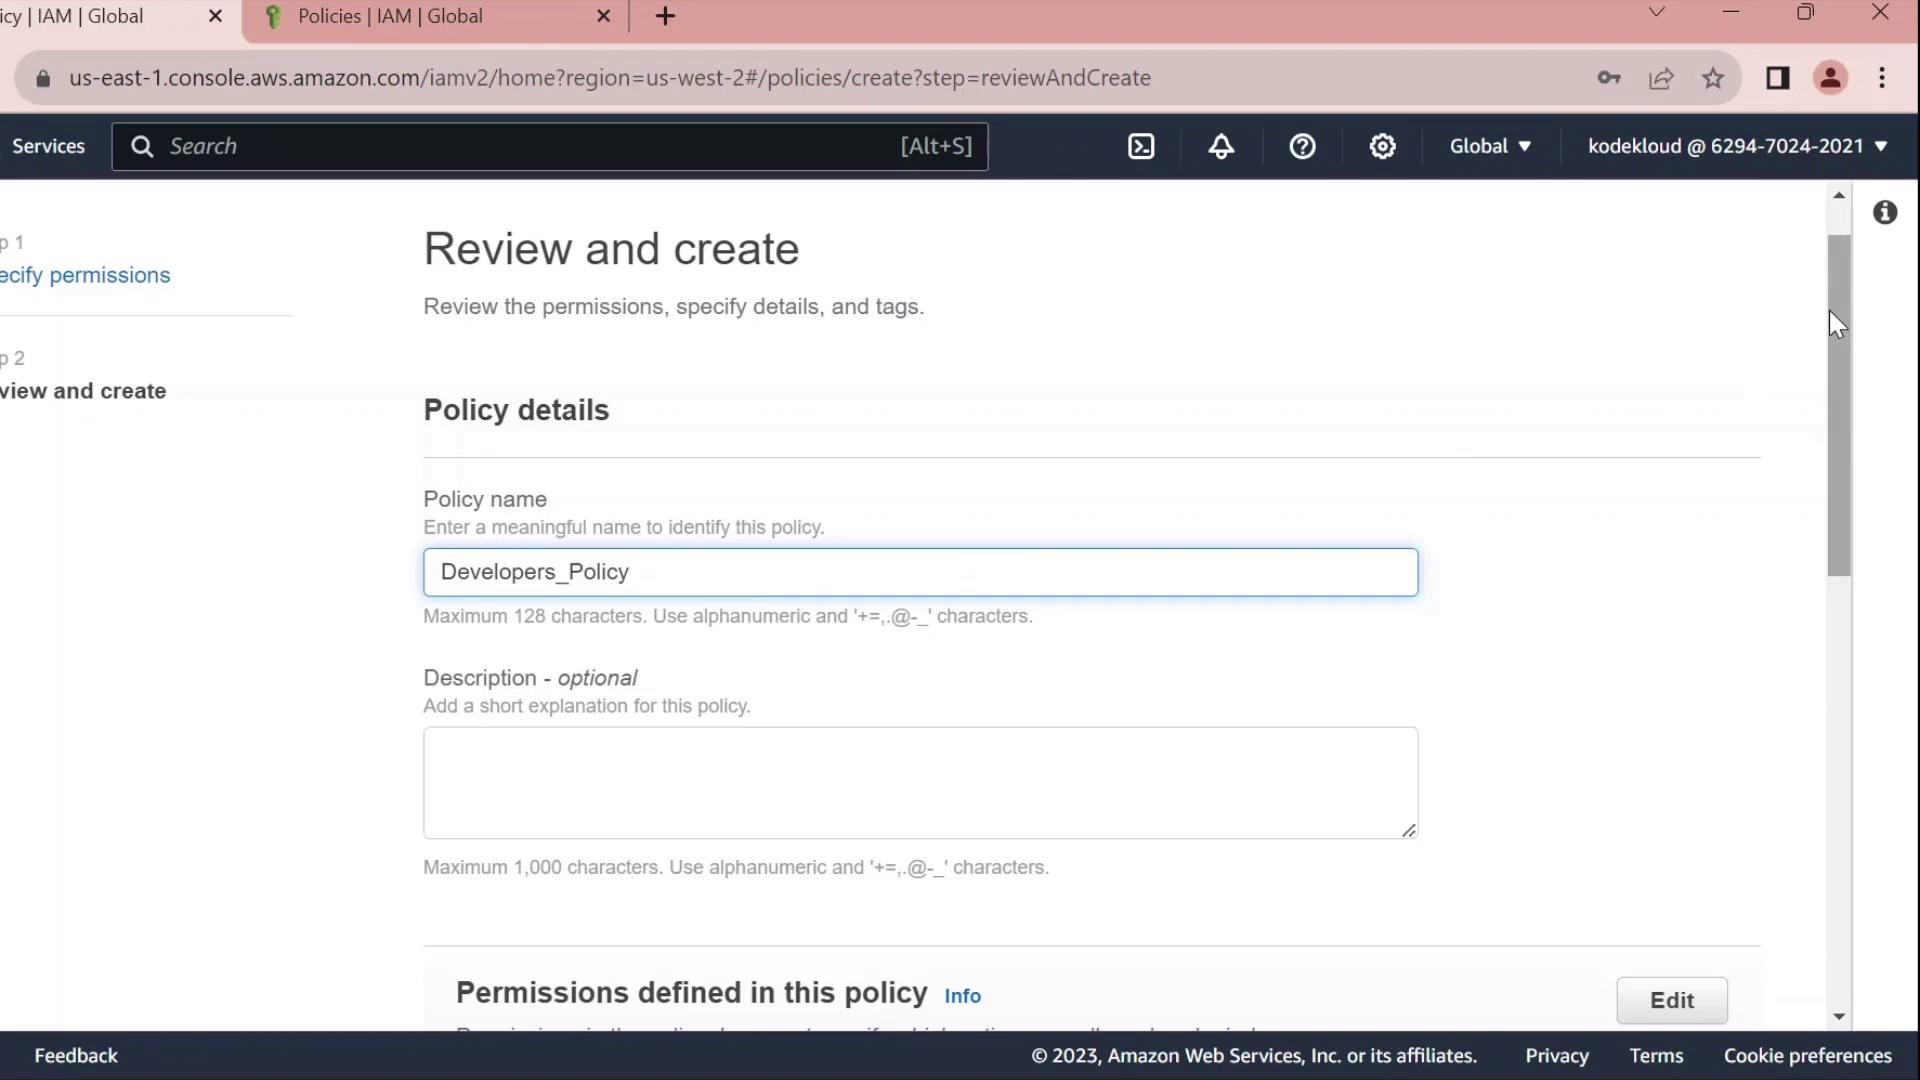
### 2.3 Review, Name, and Create
1. Click **Next** until you reach **Review policy**.
2. Set **Name** to `Developers_Policy` and add an optional description.
3. Click **Create policy**.
<Frame>
</Frame>
***
## 3. Attach Policy to the Developers Group
1. Return to **IAM** → **User groups**.
2. Select **Developers**.
3. Under the **Permissions** tab, click **Attach policies**.
4. Search for and select **Developers\_Policy**, then click **Attach policy**.
Once attached, you can click the **JSON** icon to inspect the policy:
```json theme={null}
{
"Version": "2012-10-17",
"Statement": [
{
"Sid": "VisualEditor0",
"Effect": "Allow",
"Action": "ec2:*",
"Resource": "*"
},
{
"Sid": "VisualEditor1",
"Effect": "Allow",
"Action": "s3:GetObject",
"Resource": "arn:aws:s3:::company1-sales/*"
}
]
}
4. Edit the Policy
Click Edit policy on the Permissions tab to open the policy editor. You can switch between the Visual editor and the JSON tab.
4.1 Rename Statement IDs
Replace autogenerated Sid values with clear identifiers:
```json theme={null} { "Version": "2012-10-17", "Statement": [ { "Sid": "AllowAllEC2Actions", "Effect": "Allow", "Action": "ec2:", "Resource": "" }, { "Sid": "AllowS3GetObject", "Effect": "Allow", "Action": "s3:GetObject", "Resource": "arn:aws:s3:::company1-sales/*" } ] }
### 4.2 Deny Stopping EC2 Instances

Add a statement to prevent developers from stopping instances:

```json  theme={null}
{
  "Sid": "DenyStopInstances",
  "Effect": "Deny",
  "Action": "ec2:StopInstances",
  "Resource": "*"
}
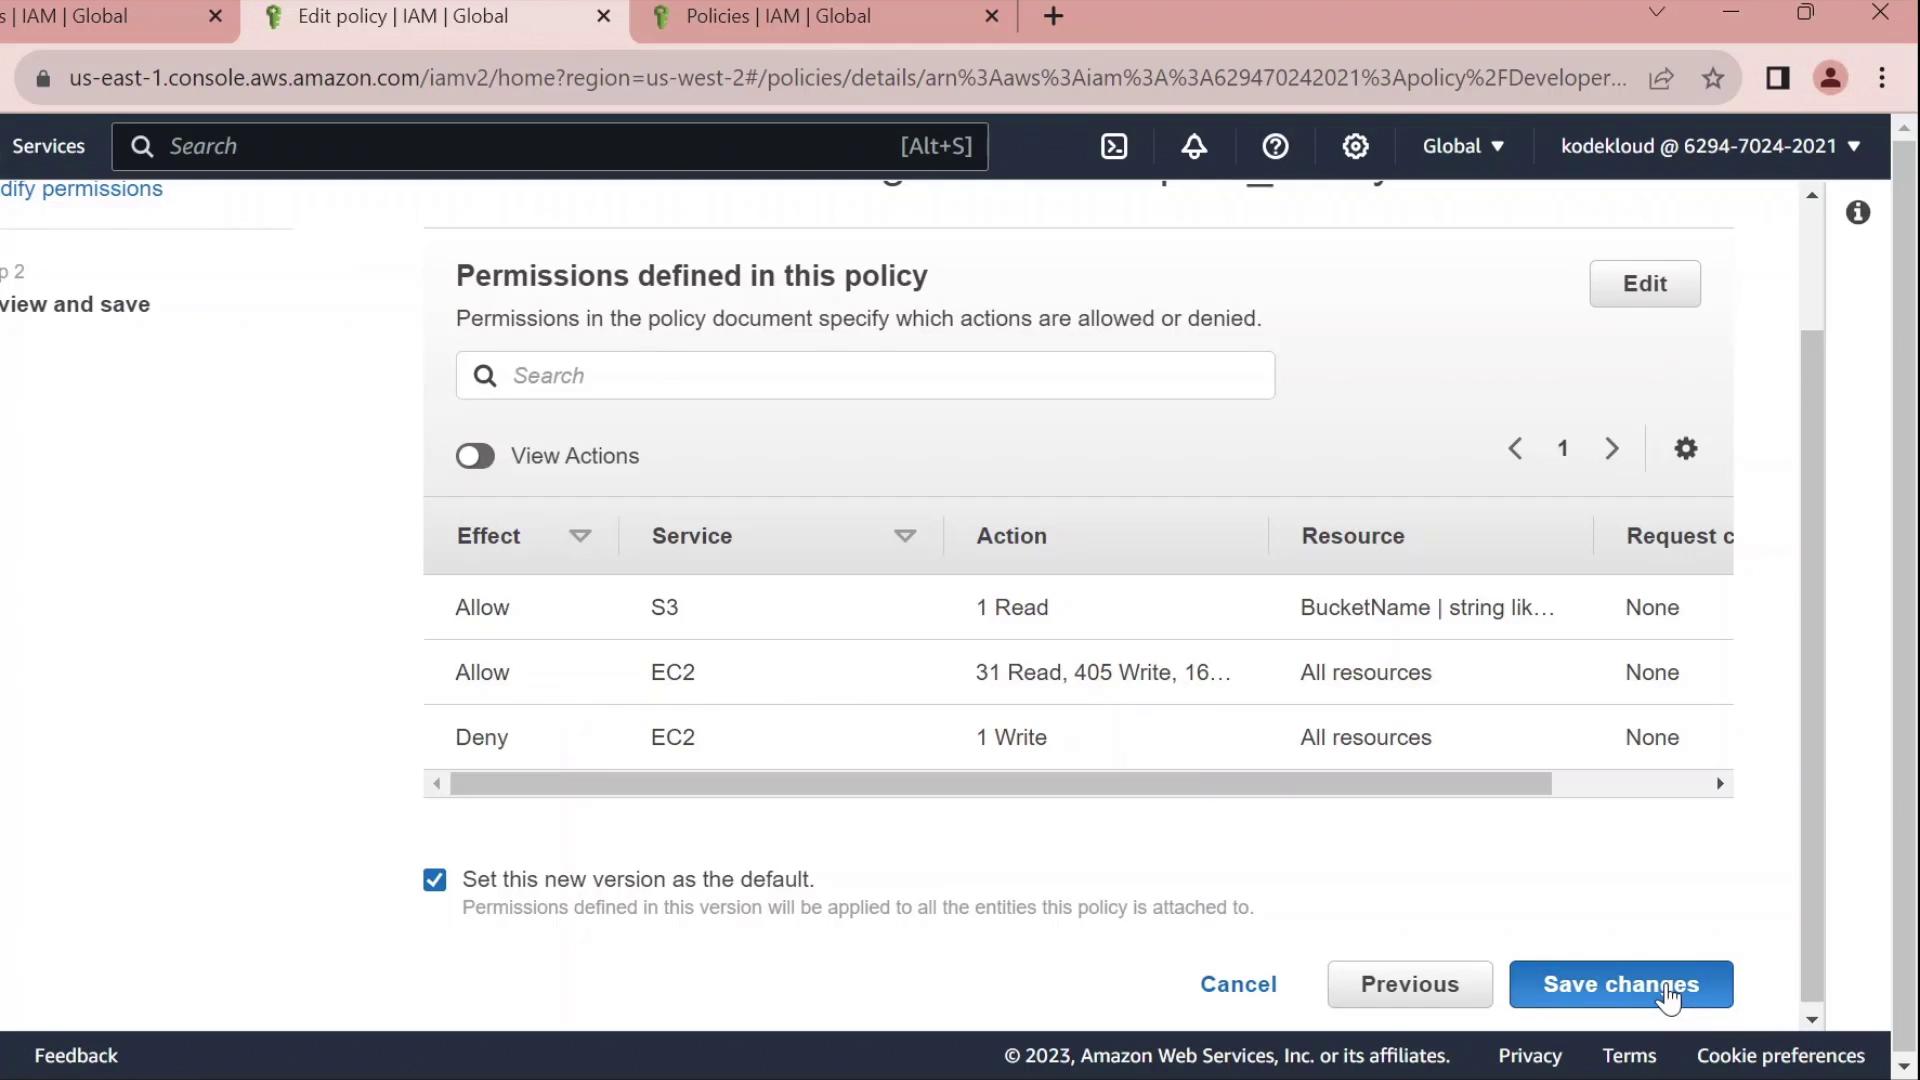
4.3 Final Policy JSON
Combine all statements into your final policy:
json  theme={null}
{
  "Version": "2012-10-17",
  "Statement": [
    {
      "Sid": "AllowAllEC2Actions",
      "Effect": "Allow",
      "Action": "ec2:*",
      "Resource": "*"
    },
    {
      "Sid": "AllowS3GetObject",
      "Effect": "Allow",
      "Action": "s3:GetObject",
      "Resource": "arn:aws:s3:::company1-sales/*"
    },
    {
      "Sid": "DenyStopInstances",
      "Effect": "Deny",
      "Action": "ec2:StopInstances",
      "Resource": "*"
    }
  ]
}
| Sid | Effect | Action | Resource |
|---|---|---|---|
| AllowAllEC2Actions | Allow | ec2:* | * |
| AllowS3GetObject | Allow | s3:GetObject | arn:aws:s3:::company1-sales/* |
| DenyStopInstances | Deny | ec2:StopInstances | * |
Click Save changes to apply the updated policy.