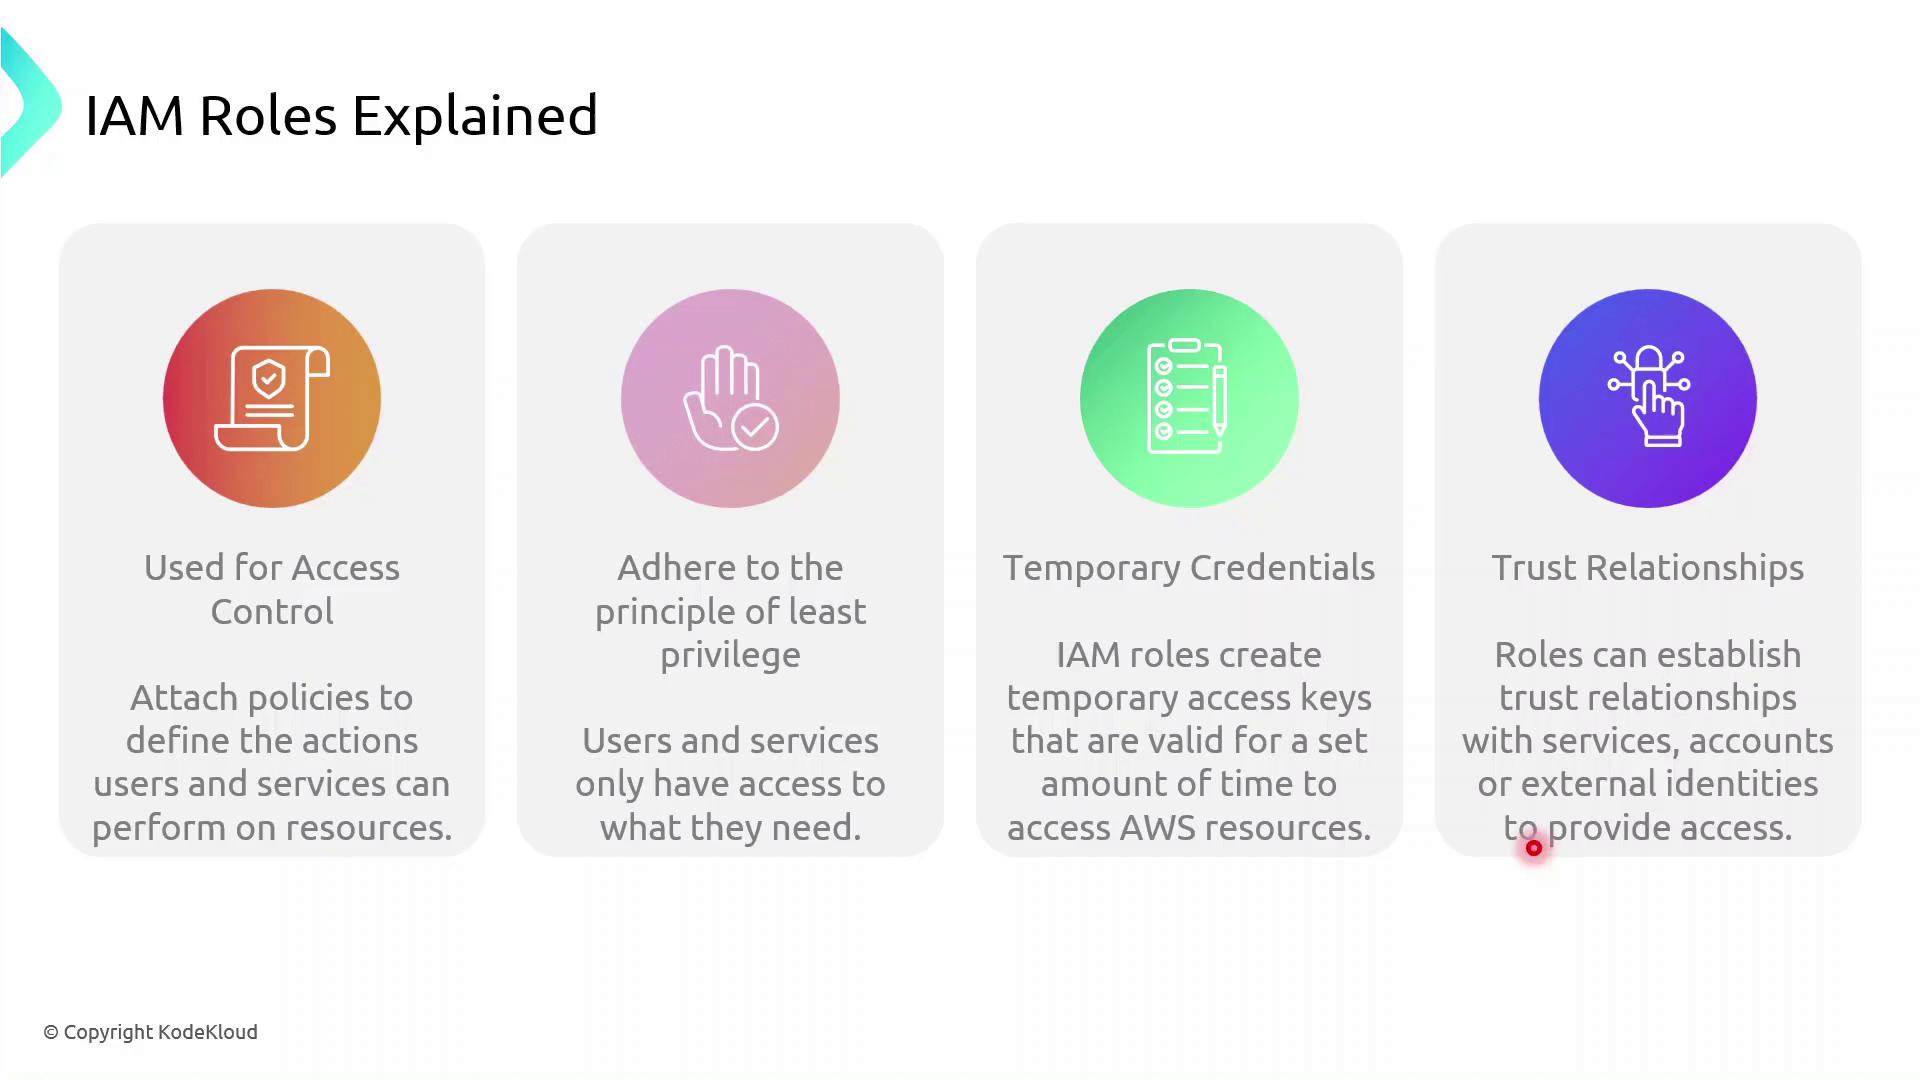
AWS IAM roles provide secure, temporary access to resources, enabling fine-grained permissions and trust relationships while minimizing exposure risk.
AWS Identity and Access Management (IAM) roles enable secure, temporary access to AWS resources without embedding long-term credentials. By defining fine-grained permissions and trust relationships, you can enforce the principle of least privilege and reduce exposure risk.
| Component | Description | Example |
|---|---|---|
| Role | An identity with attached permissions and a trust policy | S3AccessRole |
| Permissions Policy | A JSON document specifying allowed or denied actions | AmazonS3ReadOnlyAccess |
| Trust Policy | Defines which principals (services, users, or accounts) can assume the role | EC2 service: ec2.amazonaws.com |
| Temporary Tokens | Short-lived credentials issued by AWS STS | AccessKeyId, SecretAccessKey, SessionToken |
How IAM Roles Enhance Security
Instead of hard-coding long-term AWS keys:
- A principal (user or service) calls
sts:AssumeRole. - AWS returns temporary credentials.
- The principal uses these credentials to access resources.
- Credentials expire automatically, minimizing the blast radius.
Role Assumption Flow
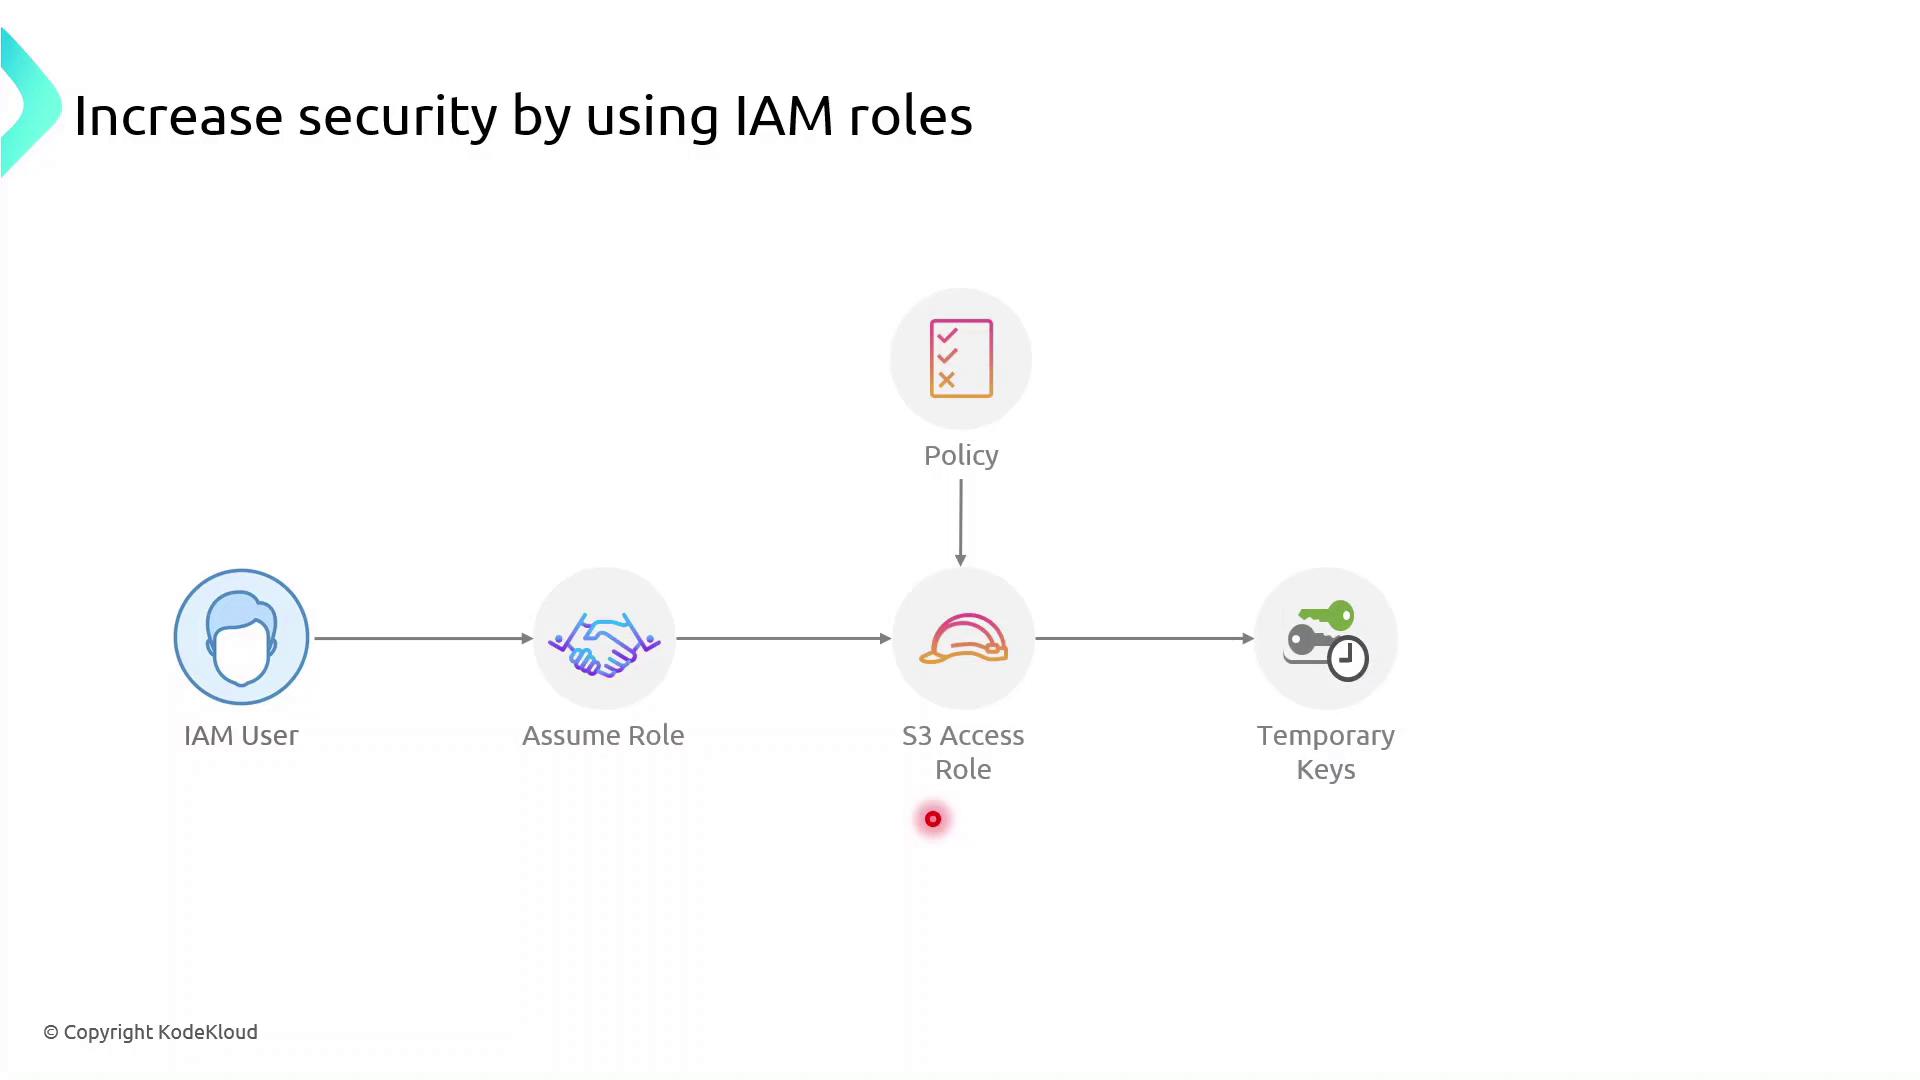
Roles can be assumed not only by IAM users but also by AWS services such as EC2, Lambda, and ECS. The permissions come from attached policies, while the trust policy specifies who can assume the role.
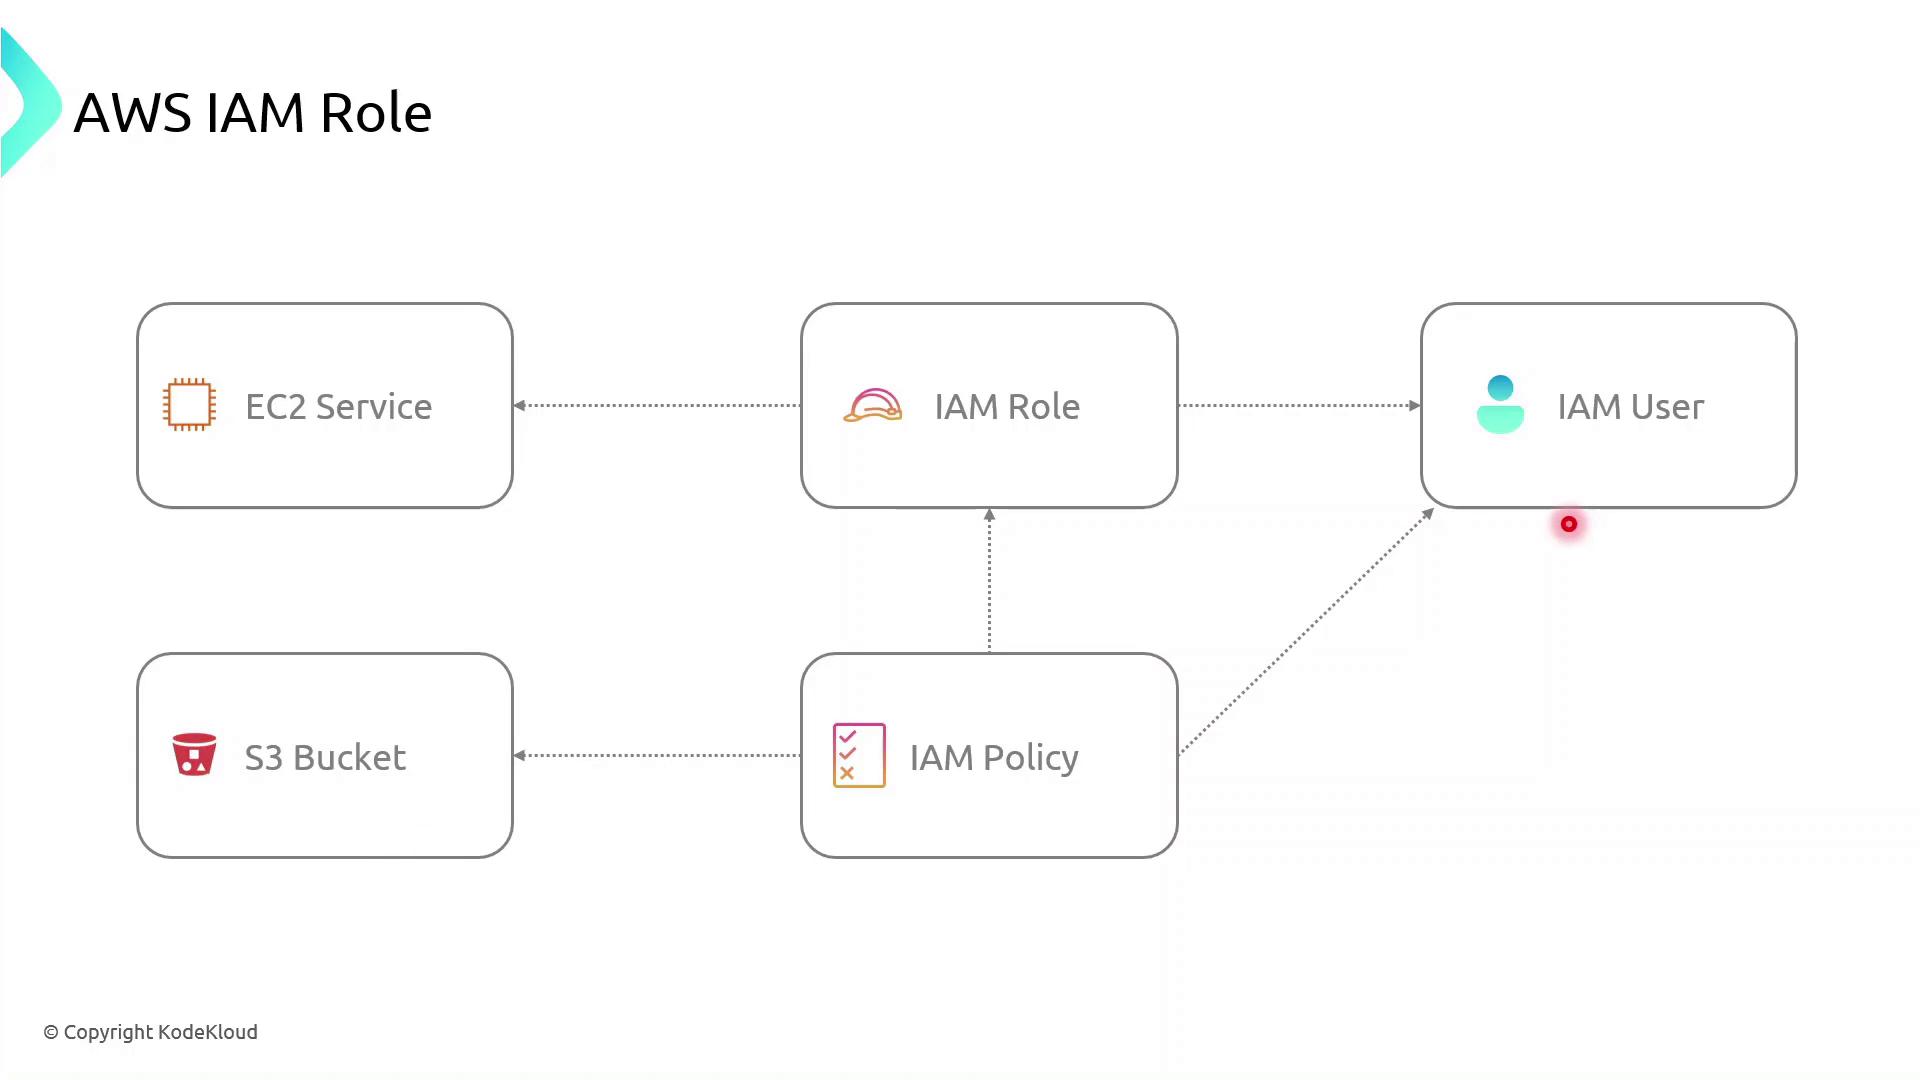
AWS Components Interaction
Demo: Create an IAM Role for EC2 to Access S3
Follow these steps in the AWS Management Console or use the AWS CLI commands shown.
Console Steps
-
Open the IAM console\ https://console.aws.amazon.com/iam
-
Create a new role
- In the navigation pane, choose Roles → Create role.
-
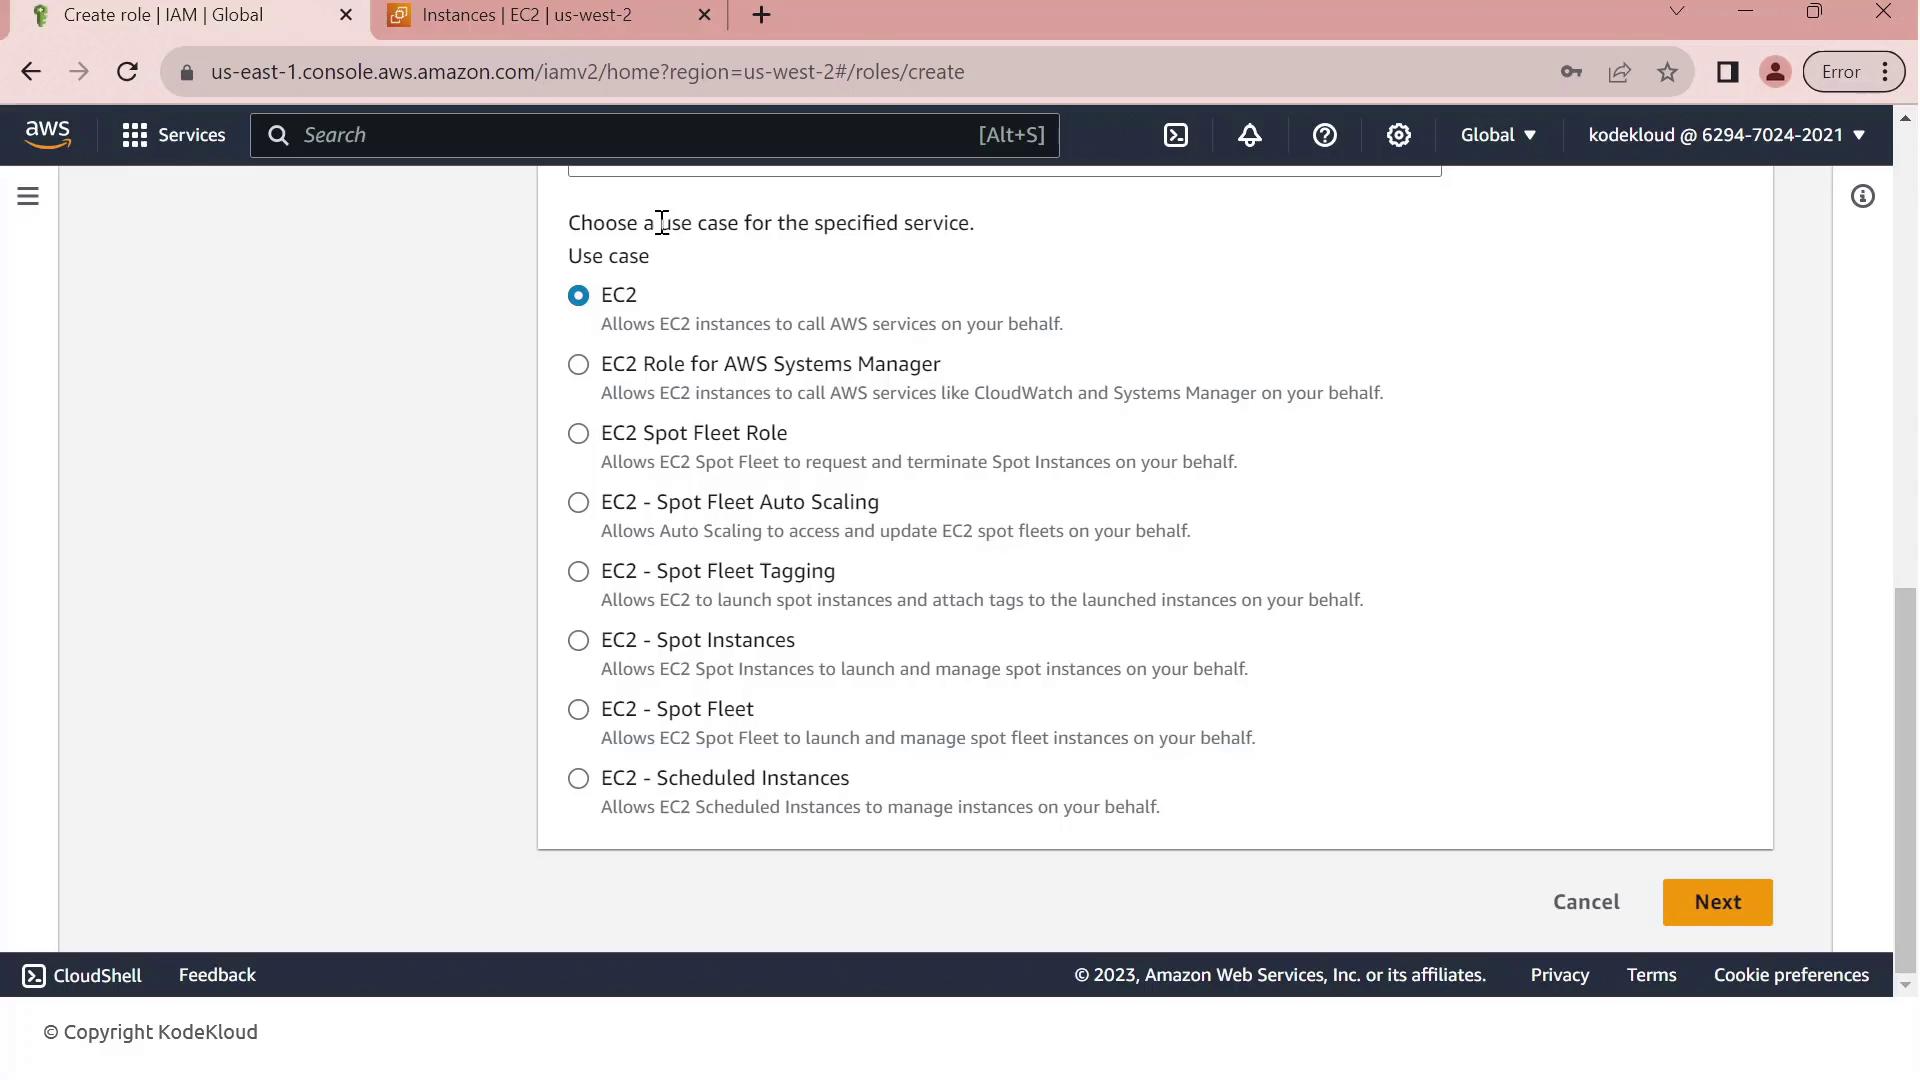
Under Select trusted entity, choose AWS service, then EC2, and click Next.
-
Attach permissions
- Search for AmazonS3ReadOnlyAccess (or attach your custom policy).
-
Select it and click Next.
-
Name and create
- Enter Role name:
S3AccessRole -
Review settings and click Create role.
-
Attach the role to an existing EC2 instance
- Open the EC2 console, select your instance.
- Choose Actions → Security → Modify IAM role.
- Select S3AccessRole and click Save.
AWS CLI Alternative
First, create a trust policy file (trust-policy.json):
```json theme={null} { "Version": "2012-10-17", "Statement": [ { "Effect": "Allow", "Principal": { "Service": "ec2.amazonaws.com" }, "Action": "sts:AssumeRole" } ] }
Then run:

```bash  theme={null}
# Create the role
aws iam create-role \
  --role-name S3AccessRole \
  --assume-role-policy-document file://trust-policy.json

# Attach the AmazonS3ReadOnlyAccess policy
aws iam attach-role-policy \
  --role-name S3AccessRole \
  --policy-arn arn:aws:iam::aws:policy/AmazonS3ReadOnlyAccess
Verify from the EC2 Instance
SSH into your EC2 instance and confirm the role is in effect:
```bash theme={null}
Check the caller identity (should show the assumed role ARN)
aws sts get-caller-identity
List S3 buckets or contents to verify permissions
aws s3 ls s3://your-bucket-name ```
If you see the bucket contents, the role is correctly configured—no long-term keys required.
References
This guide explains how to create an IAM role for EC2 instances to access an S3 bucket securely.
In this step-by-step guide, you'll learn how to create an AWS Identity and Access Management (IAM) role that grants an Amazon EC2 instance permission to read objects from an S3 bucket named company1-logs. By leveraging IAM roles, you avoid hardcoding credentials on your server and follow AWS best practices for secure access management.
Prerequisites
- An AWS account with administrative privileges
- A running EC2 instance
- An existing S3 bucket named
company1-logs
Step 1: Create the IAM Role
- Open the IAM console, select Roles, then click Create role.
- On Select trusted entity, choose AWS service.

- Under Use cases for other AWS services, select EC2.
- Click Next to move to the permissions page.
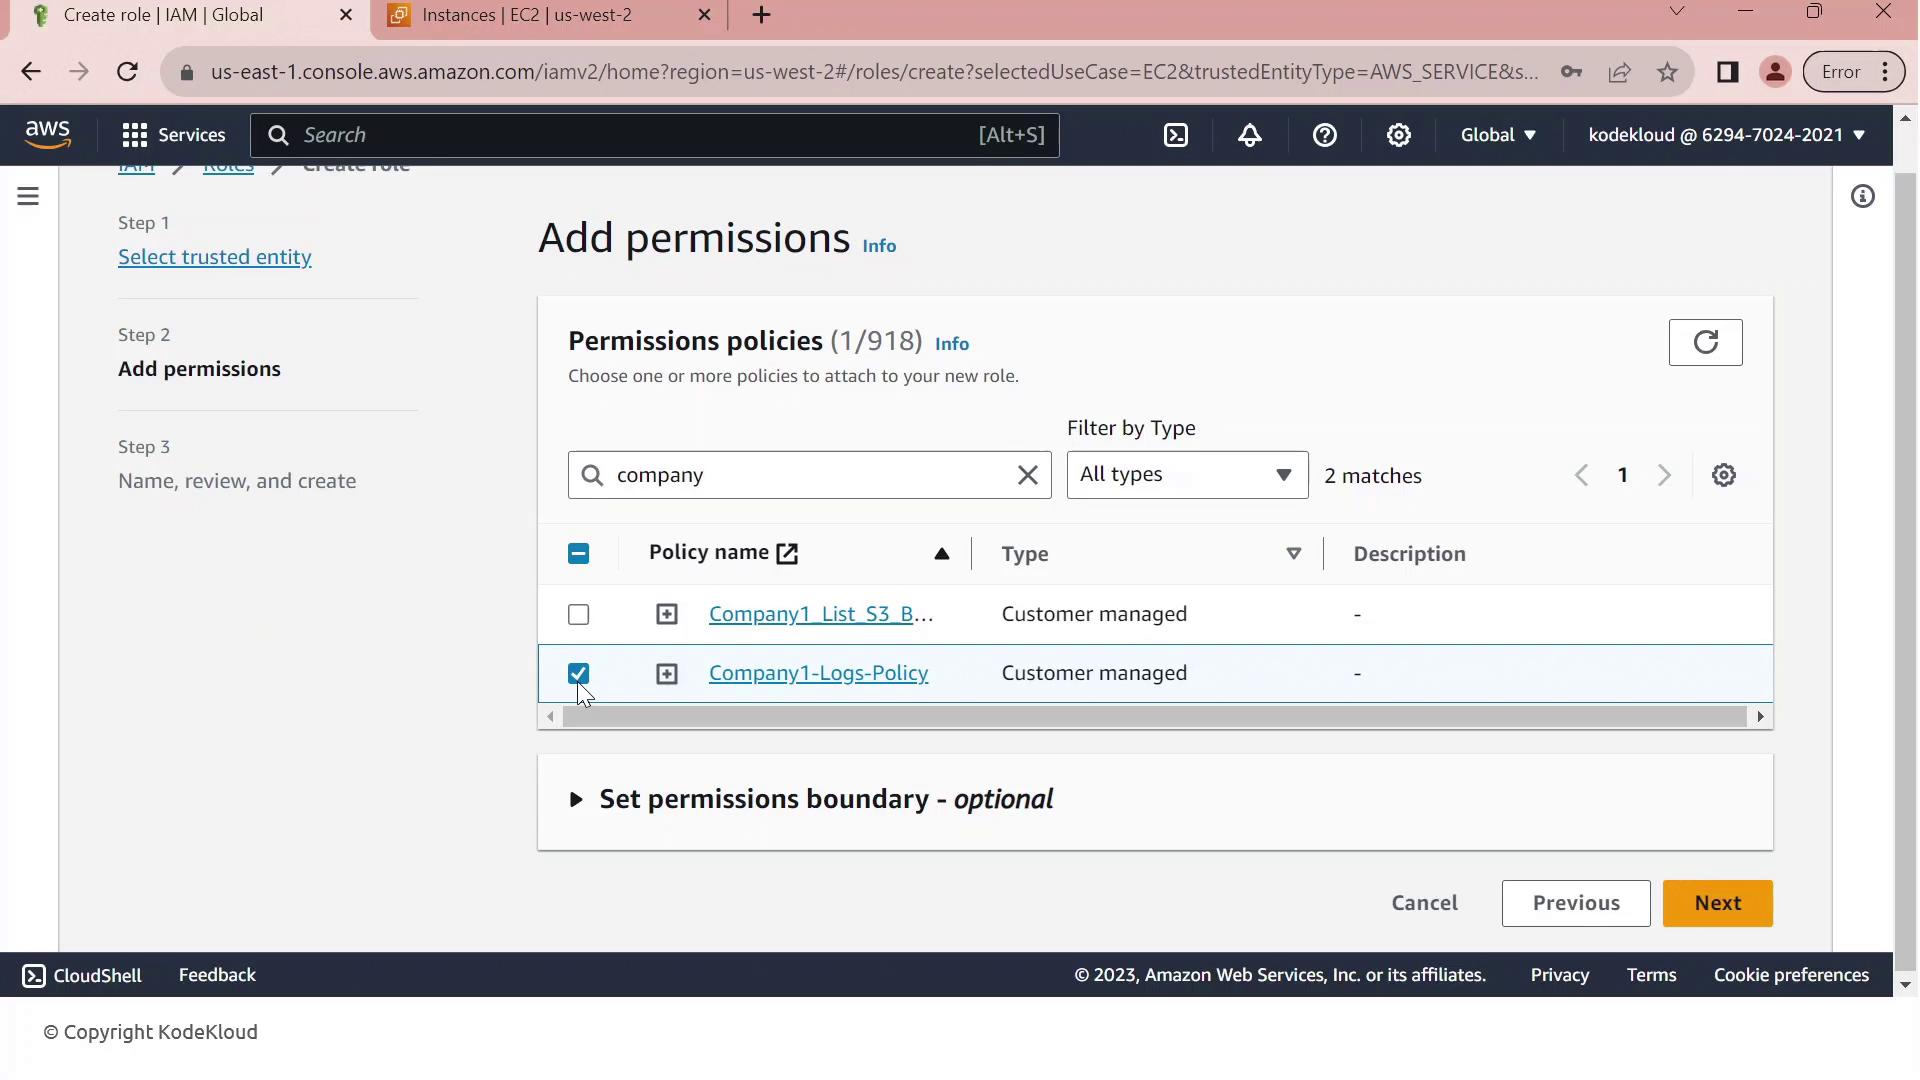
- In Permissions, search for company1 and select the Company1 logs policy which grants
s3:GetObjectaccess to thecompany1-logsbucket.
- Click Next, then enter a Role name (e.g.,
Company1-Logs-Role) and an optional description.
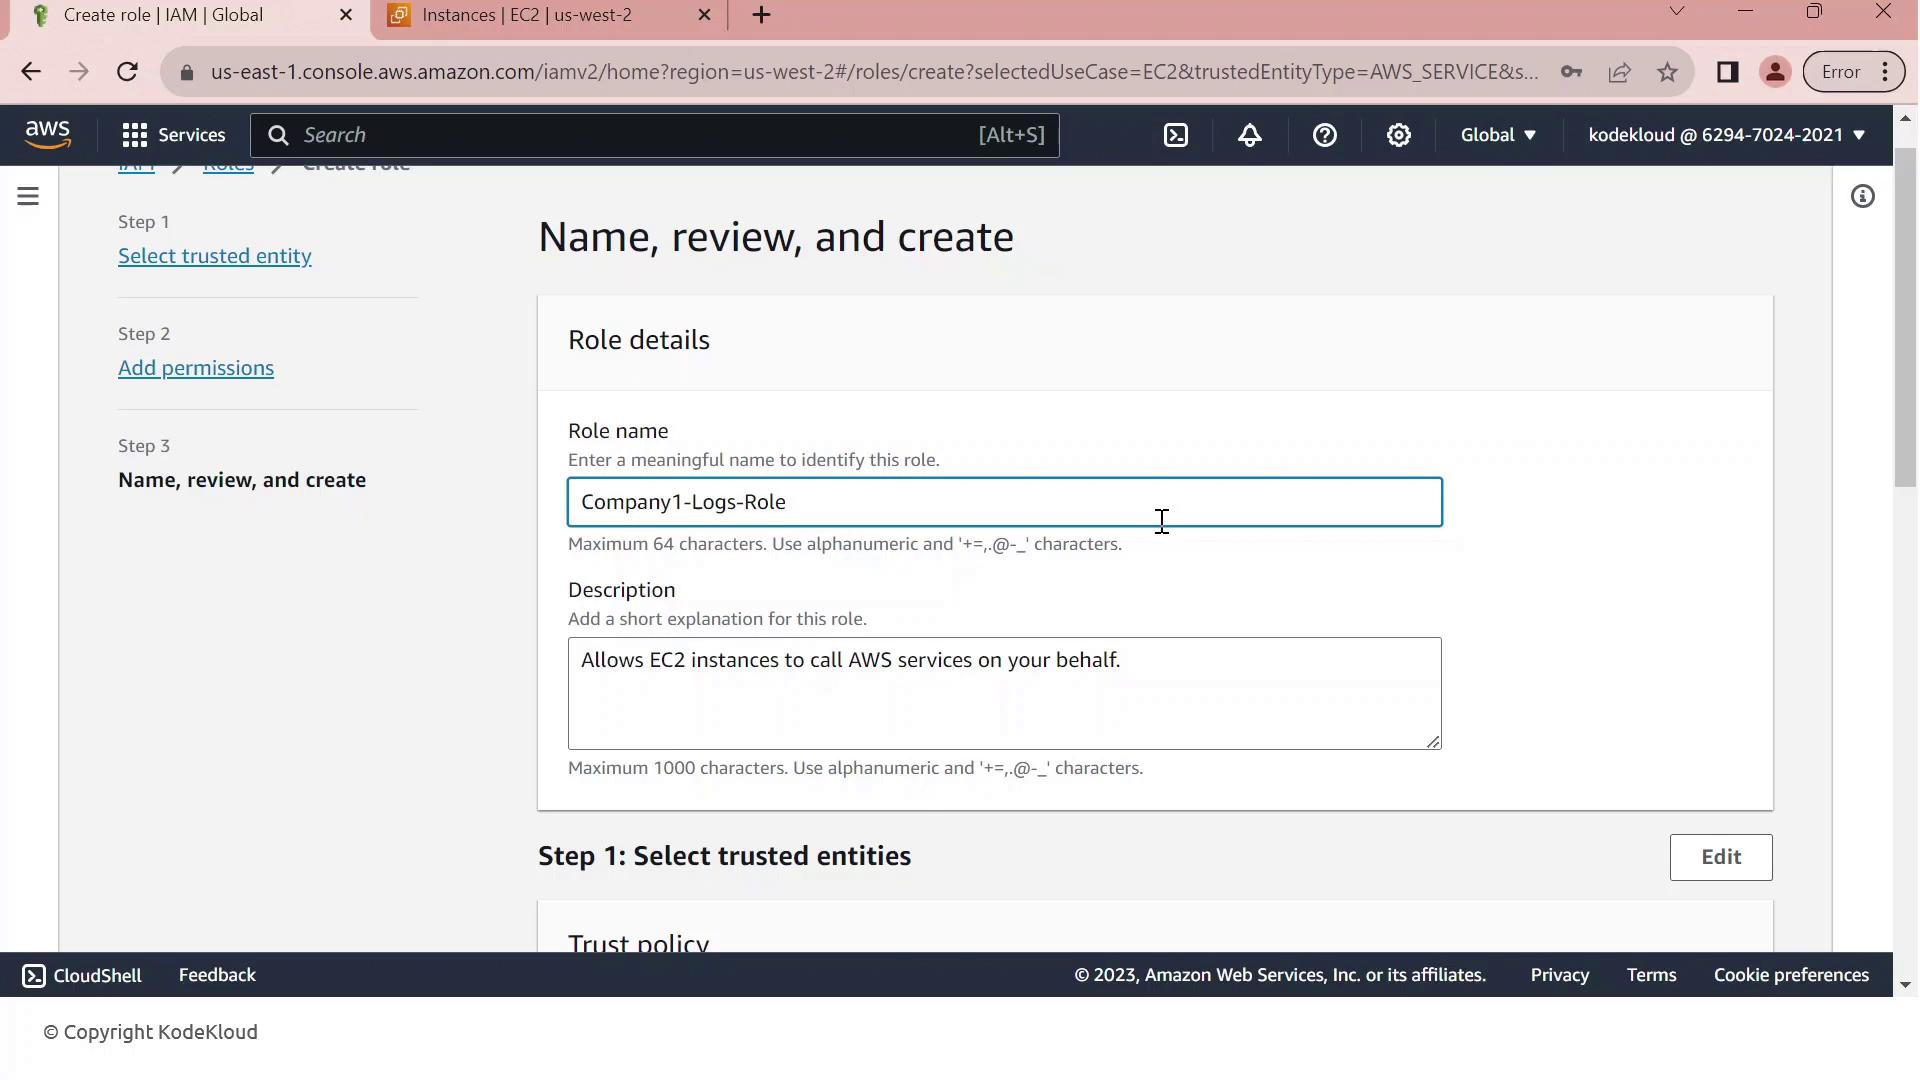
- Review the Trust relationship to ensure EC2 can assume this role. It should resemble:
json  theme={null}
   {
     "Version": "2012-10-17",
     "Statement": [
       {
         "Effect": "Allow",
         "Action": ["sts:AssumeRole"],
         "Principal": {"Service": ["ec2.amazonaws.com"]}
       }
     ]
   }
8. (Optional) Add tags to categorize your role, then click Create role.
Step 2: Attach the IAM Role to Your EC2 Instance
- Go to the EC2 console, select Instances, and choose your running instance.
- From the Actions menu, select Security > Modify IAM role.
- In the IAM role dropdown, pick Company1-Logs-Role.
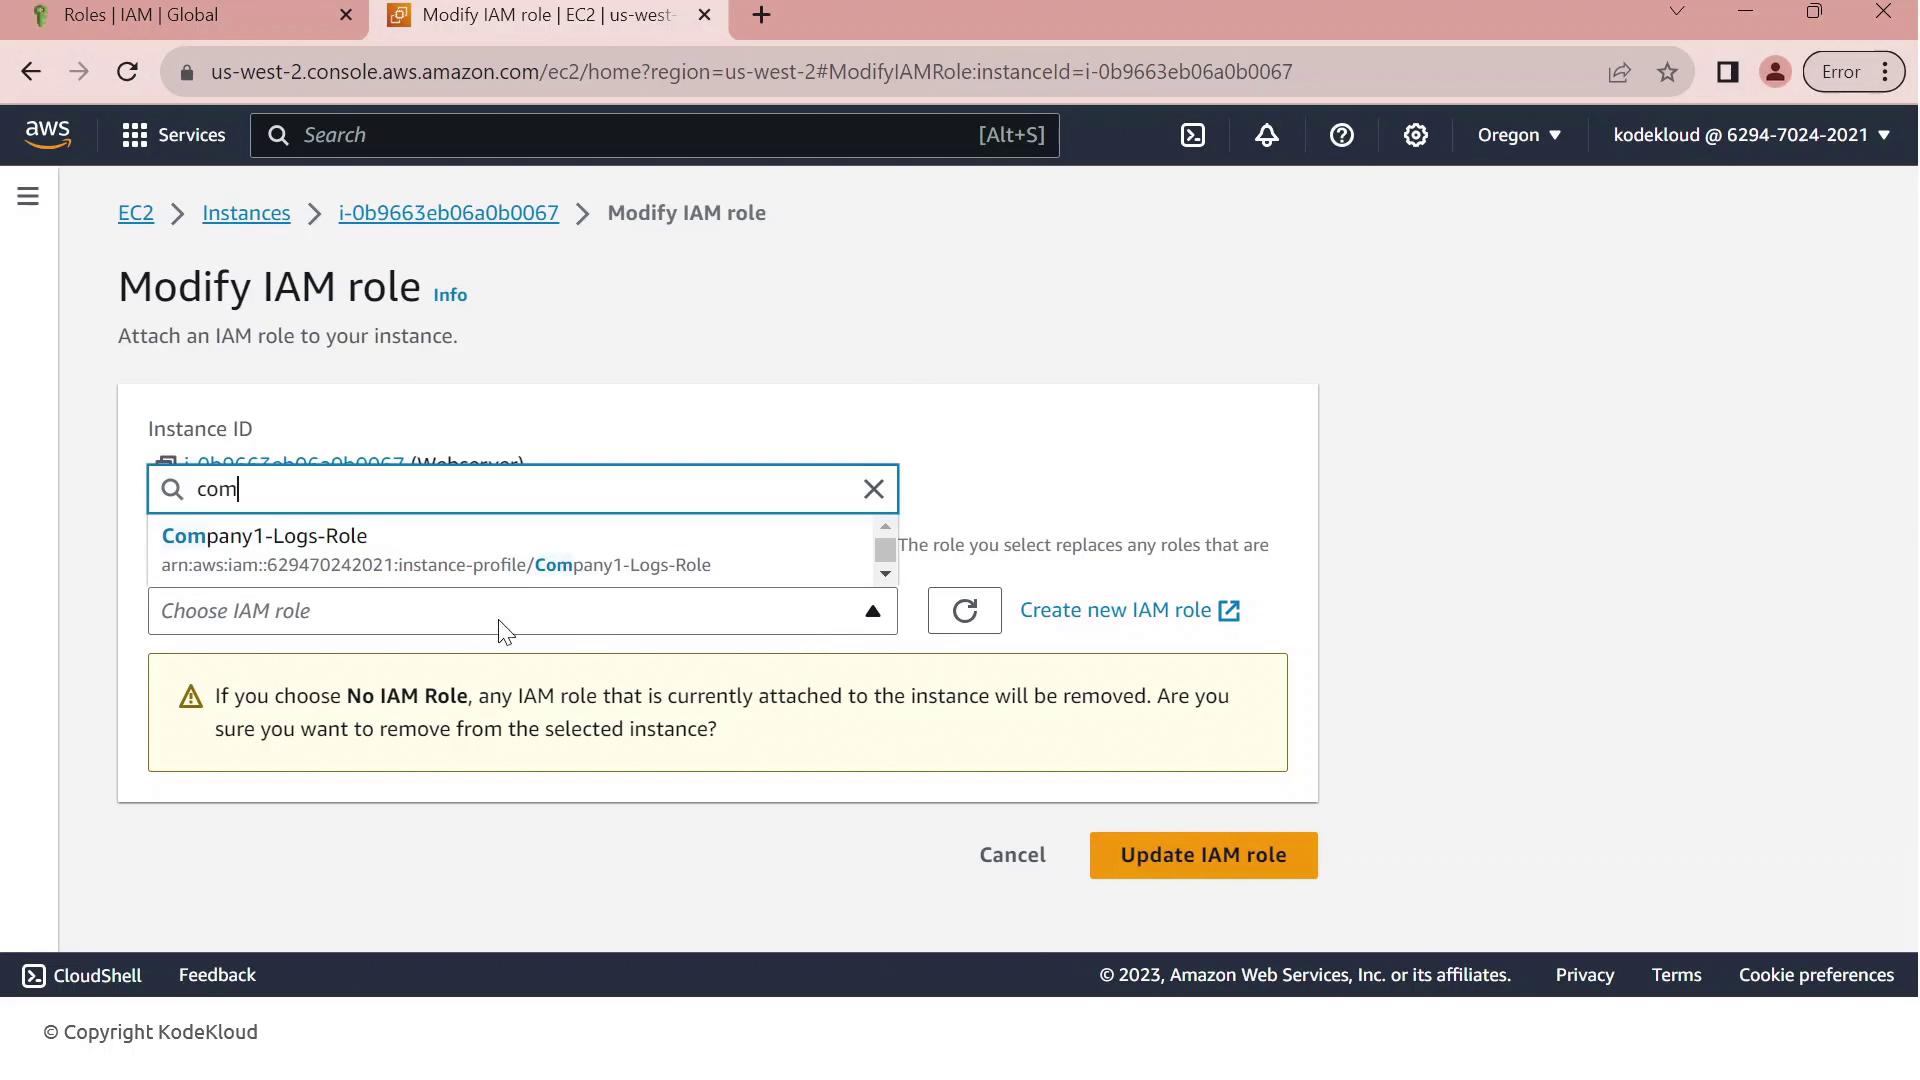
- Click Update IAM role to apply the change.
Your EC2 instance now inherits the permissions defined in Company1-Logs-Role, allowing it to securely read log files from the company1-logs bucket without embedded credentials.