Installing Cilium and Hubble
This guide explains how to install the Cilium and Hubble command-line tools on a Linux system.
Before you deploy Cilium in your Kubernetes cluster, you’ll need to install two command-line tools locally: the Cilium CLI and the Hubble CLI. This guide walks you through downloading, verifying, and installing both CLIs on Linux.
Install Cilium CLI
Follow these steps to fetch the latest stable Cilium CLI release, verify its integrity, and install it to /usr/local/bin.
1. Download and verify the Cilium CLI
- https://formulae.brew.sh/formula/cilium-cli
- https://formulae.brew.sh/formula/hubble
CILIUM_CLI_VERSION=$(curl -s https://raw.githubusercontent.com/cilium/cilium-cli/main/stable.txt)
CLI_ARCH=amd64
if [ "$(uname -m)" = "aarch64" ]; then CLI_ARCH=arm64; fi
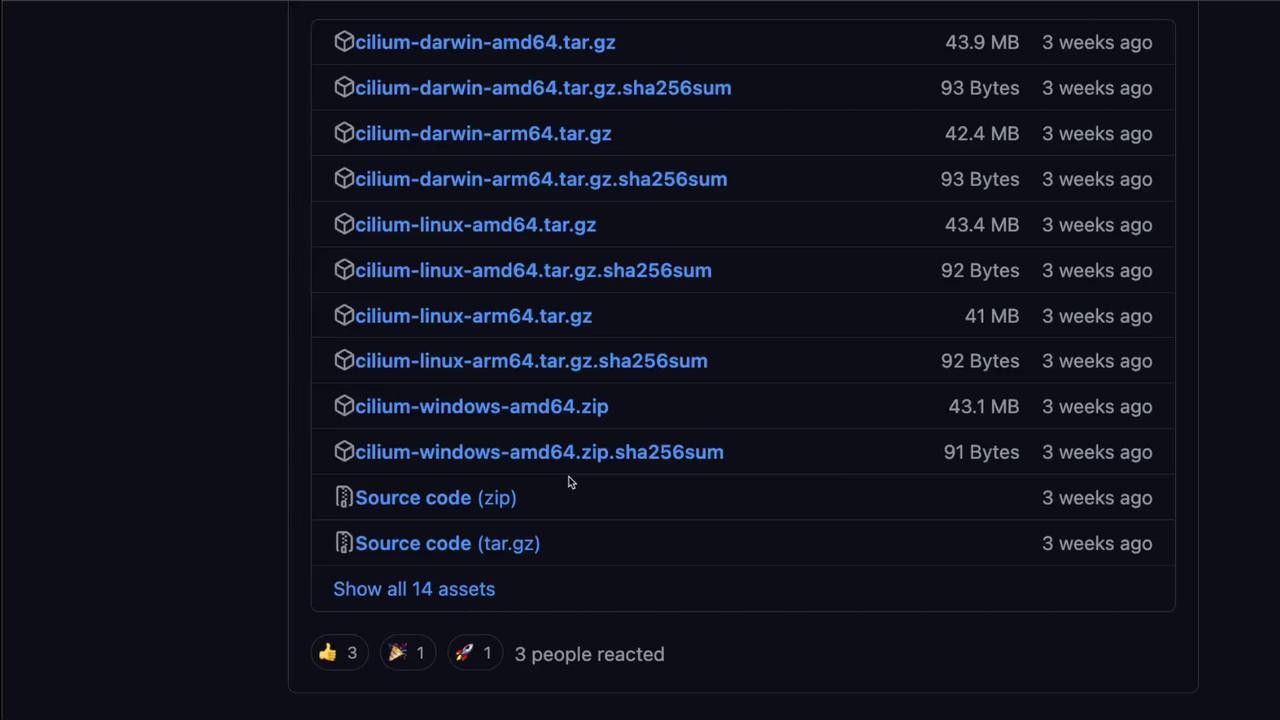
curl -L --fail --remote-name-all https://github.com/cilium/cilium-cli/releases/download/${CILIUM_CLI_VERSION}/cilium-linux-${CLI_ARCH}.tar.gz{,.sha256sum}
sha256sum --check cilium-linux-${CLI_ARCH}.tar.gz.sha256sum
sudo tar xzvfC cilium-linux-${CLI_ARCH}.tar.gz /usr/local/bin
rm cilium-linux-${CLI_ARCH}.tar.gz{,.sha256sum}
This process:
- Fetches the correct binary for your CPU architecture.
- Validates it with the downloaded SHA-256 checksum.
- Places the
ciliumexecutable into/usr/local/bin.
Note
Make sure you have curl, sha256sum, and tar installed. You’ll also need sudo privileges to copy the binary into /usr/local/bin.
2. Verify the Cilium CLI installation
cilium version --client
cilium-cli: v0.19.2 compiled with go1.26.0 on linux/amd64
cilium image (default): v1.19.1
cilium image (stable): v1.19.1
Note
If you need a specific version, visit the Cilium CLI GitHub releases page to download the right asset.
Install Hubble CLI
The Hubble CLI installation mirrors the Cilium CLI workflow. Use the same pattern to download, verify, and install.
1. Download and verify the Hubble CLI
HUBBLE_VERSION=$(curl -s https://raw.githubusercontent.com/cilium/hubble/main/stable.txt)
HUBBLE_ARCH=amd64
if [ "$(uname -m)" = "aarch64" ]; then HUBBLE_ARCH=arm64; fi
curl -L --fail --remote-name-all https://github.com/cilium/hubble/releases/download/$HUBBLE_VERSION/hubble-linux-${HUBBLE_ARCH}.tar.gz{,.sha256sum}
sha256sum --check hubble-linux-${HUBBLE_ARCH}.tar.gz.sha256sum
sudo tar xzvfC hubble-linux-${HUBBLE_ARCH}.tar.gz /usr/local/bin
rm hubble-linux-${HUBBLE_ARCH}.tar.gz{,.sha256sum}
2. Verify the Hubble CLI installation
Execute:
For alternative versions, browse the Hubble GitHub releases page.
Now that both the Cilium and Hubble CLIs are installed, you’re ready to proceed with deploying Cilium onto your Kubernetes cluster.
Links and References
- Cilium “Get Started” documentation
- Cilium CLI GitHub releases page
- Hubble documentation
- Hubble GitHub releases page
This guide explains how to deploy Cilium as a Kubernetes CNI and enable Hubble observability.
In this guide, you’ll learn how to deploy Cilium as your Kubernetes CNI and enable Hubble observability. We cover both the Cilium CLI and Helm methods, validate network connectivity, and demonstrate how to watch live network flows.
Prerequisites
- A running Kubernetes cluster (v1.18+).
kubectlconfigured to your target context.- Cilium CLI (
cilium) installed. - Hubble CLI (
hubble) installed.
1. Installation Methods Compared
| Method | Command Example | Best For |
|---|---|---|
| Cilium CLI | cilium install --version 1.15.4 --wait |
Rapid installs and upgrades |
| Helm | helm upgrade cilium cilium/cilium --version 1.15.4 --namespace kube-system --reuse-values … |
Advanced customizations and overrides |
--reuse-values can lead to configuration drift. Always double-check your values before upgrading.
2. Install Cilium with the CLI
At the time of writing, v1.15.4 is the latest stable release. Run:
The --wait flag blocks until all Cilium pods and operators are ready.
Verify status:
Expected output:
Cilium:
    OK
Operator:
    OK
Envoy Daemon Set:
    disabled (using embedded mode)
Hubble Relay:
    disabled
ClusterMesh:
    disabled

Deployment
    cilium-operator      Desired: 1, Ready: 1/1, Available: 1/1
DaemonSet
    cilium              Desired: 2, Ready: 2/2, Available: 2/2
...
3. Validate Network Connectivity
Before enabling Hubble, confirm that Cilium networking works end-to-end:
This can take a few minutes. A timeout like:
Connectivity test failed: timeout reached waiting for deployment cilium-test/client3 to become ready
indicates a readiness issue in one of the test pods.
4. Enable Hubble Observability via Helm
To add Hubble Relay and UI, upgrade your Cilium release in the kube-system namespace:
helm repo add cilium https://helm.cilium.io/
helm repo update
helm upgrade cilium cilium/cilium --version 1.15.4 \
  --namespace kube-system \
  --reuse-values \
  --set hubble.relay.enabled=true \
  --set hubble.ui.enabled=true
Re-check Cilium’s status:
You should now see:
5. Port-Forward Hubble Relay & Check Status
Port-forward the Relay service locally:
This sets up:
In a new terminal, query Hubble’s health:
Sample output:
Healthcheck (via localhost:4245):
Current/Max Flows: 5,818/8,190 (71.04%)
Flows/s: 22.83
Connected Nodes: 2/2
6. Observe Live Network Flows
Stream live traffic and events:
Example event:
Jul 29 20:37:53.947: 10.0.0.77:46164 (host) <-- kube-system/coredns-... to-stack FORWARDED (TCP Flags: ACK, FIN)
...
You have successfully installed Cilium CNI and enabled Hubble observability on your Kubernetes cluster. Next, explore Cilium network policies and advanced Hubble filtering to secure and monitor traffic in production.