The Kubernetes Network
Kubernetes networking enables communication between pods, services, and nodes, ensuring efficient application performance and scalability within a cluster.
Networking is a foundational aspect of Kubernetes, enabling seamless communication between pods, services, and nodes—both inside and outside a cluster. Mastering Kubernetes networking ensures your containerized applications run efficiently, scale effectively, and remain manageable.
Kubernetes Networking Model
Kubernetes adopts a flat, unified network approach based on these core principles:
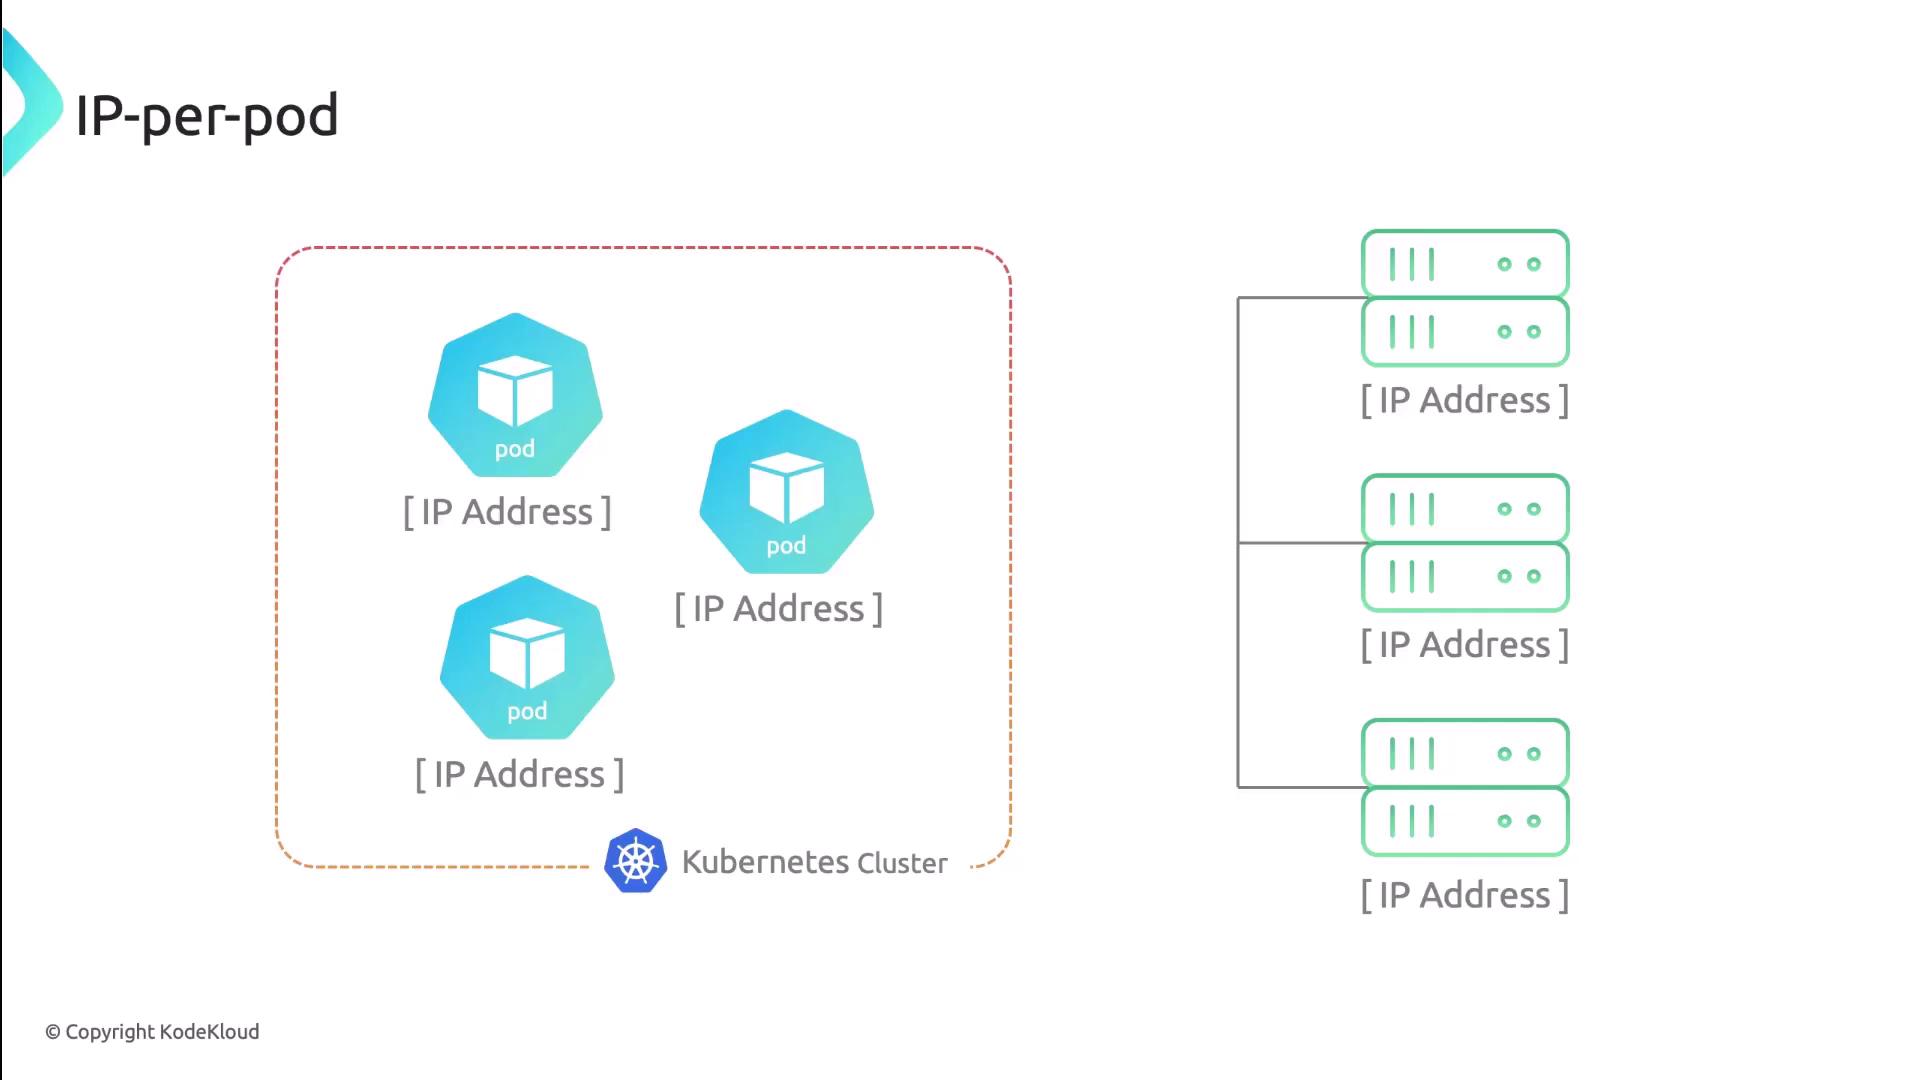
- Every pod gets a unique, cluster-wide IP address (the IP-per-pod model).
- Pods can communicate with any other pod on any node without Network Address Translation (NAT).
- Agents (like the kubelet) on each node can reach all pods on that node.

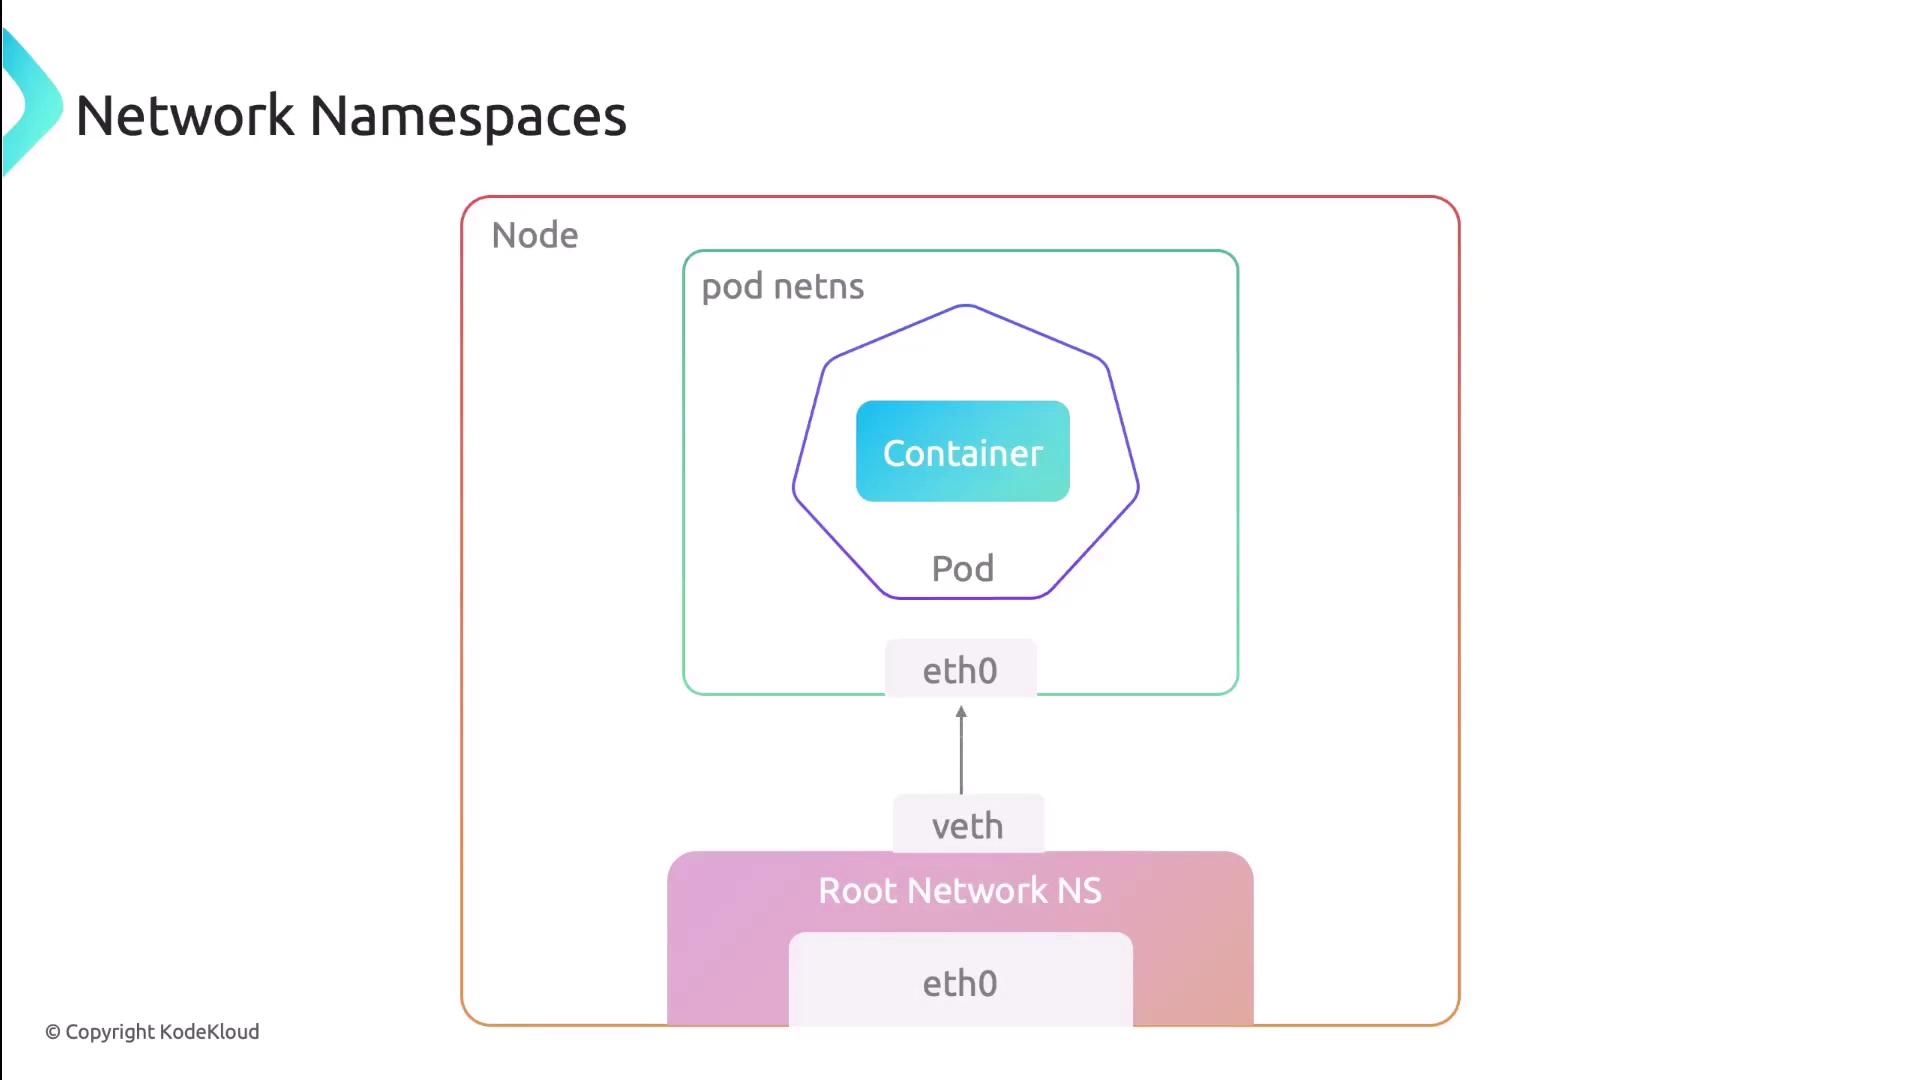
Network Namespace in Pods
All containers in a pod share the same network namespace, meaning:
- One IP and one MAC address per pod.
- Shared interfaces, routing tables, firewall rules, and sockets.
- Intra-pod communication over
localhost.
![The image illustrates a pod containing two containers, labeled "Container 1" and "Container 2," with a node labeled "Eth0 [IP Address]" below them.](https://kodekloud.com/kk-media/image/upload/v1752880337/notes-assets/images/Kubernetes-Networking-Deep-Dive-The-Kubernetes-Network/pod-with-two-containers-eth0-ip.jpg)
Four Core Networking Challenges
Kubernetes addresses these four networking scenarios:
| Communication Type | Description |
|---|---|
| Container-to-Container | Within the same pod via shared localhost. |
| Pod-to-Pod | Across nodes using pod IPs—no NAT required. |
| Pod-to-Service | Pods reach a stable Virtual IP (ClusterIP) for services. |
| External-to-Service | External clients access NodePort or LoadBalancer. |
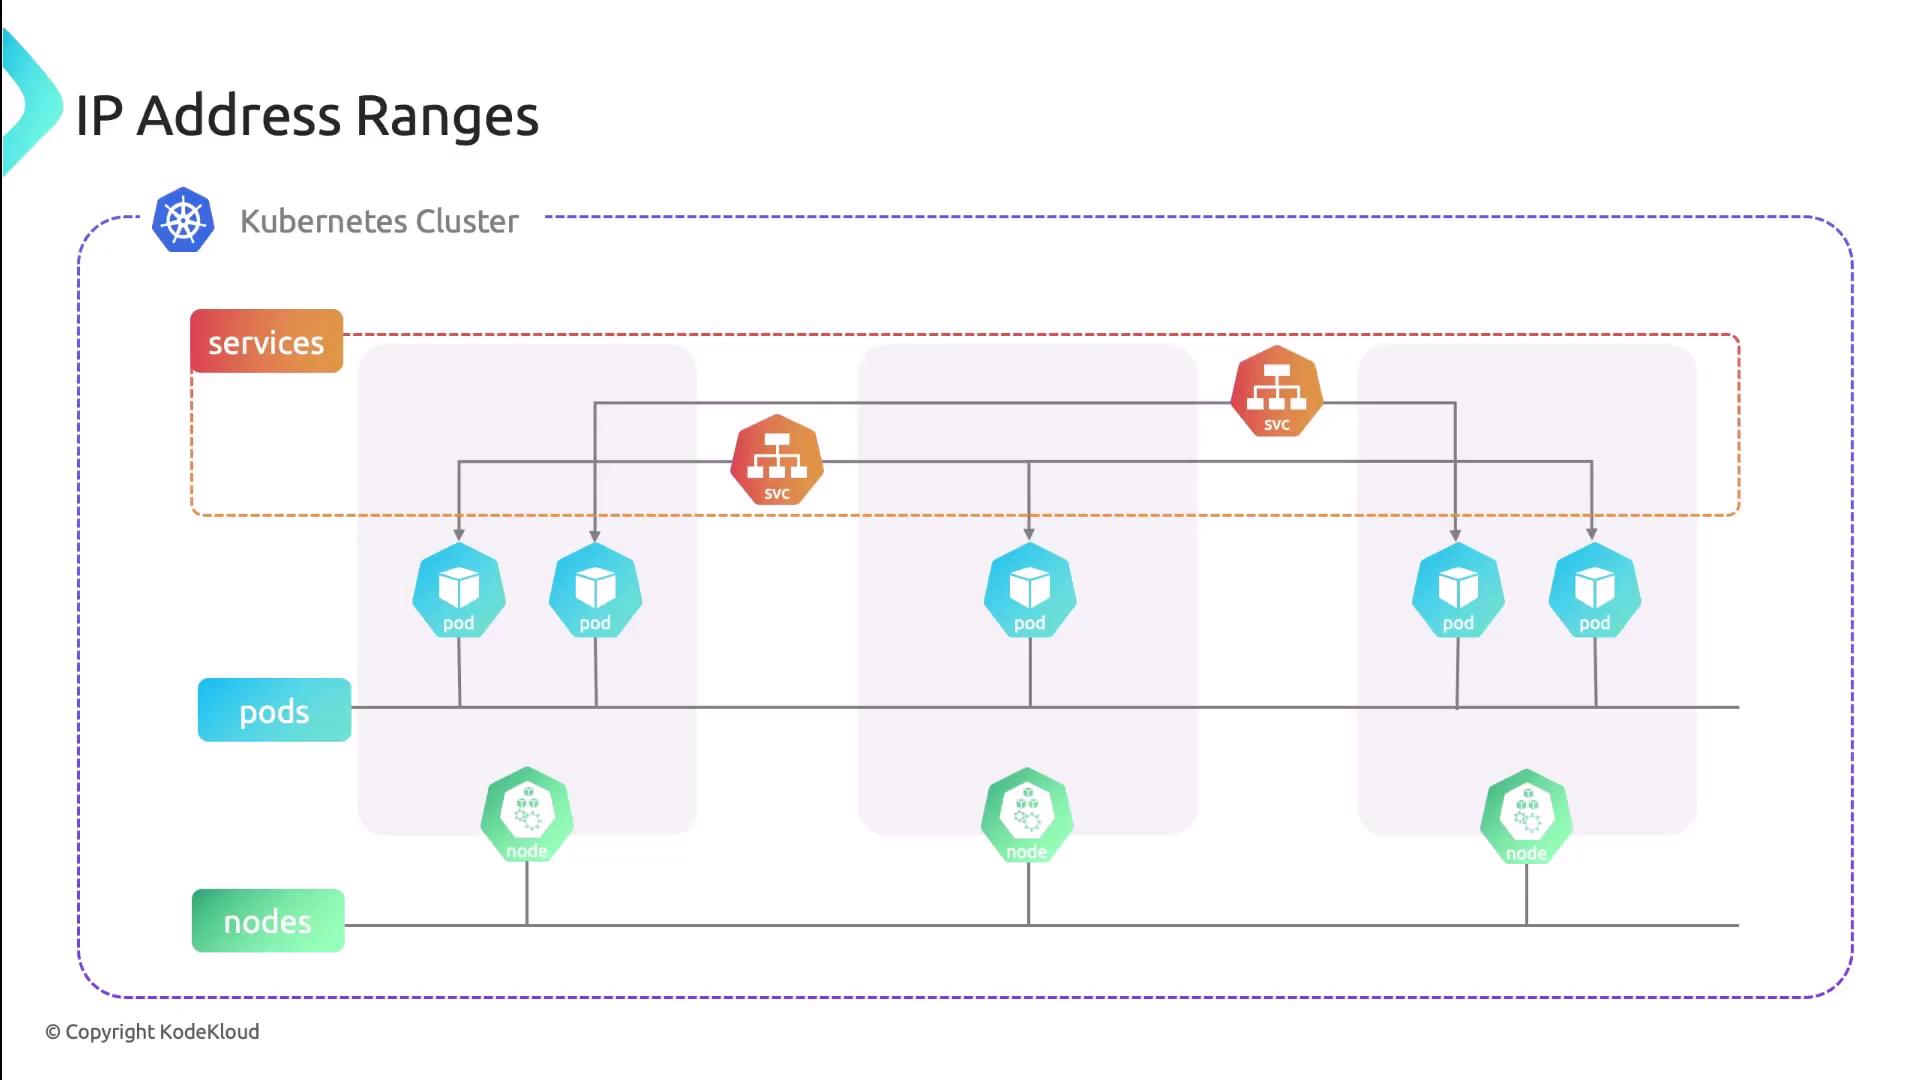
Each resource type uses distinct IP ranges to avoid conflicts:
| Resource Type | IP Assignment Source |
|---|---|
| Pod | CNI plugin–allocated from predefined pod CIDR pools |
| Service | kube-apiserver assigns cluster IPs from service CIDR |
| Node | Provided by infrastructure (DHCP, static, cloud APIs) |
Implementing the Networking Model with CNI
Kubernetes relies on the Container Network Interface (CNI) to provision and configure pod networking. The kubelet invokes a CNI plugin to:
- Create and manage virtual network interfaces (
veth,macvlan, etc.) - Allocate and assign pod IP addresses
- Program routes and firewall (iptables) rules
- Tear down networks when pods terminate
![]()
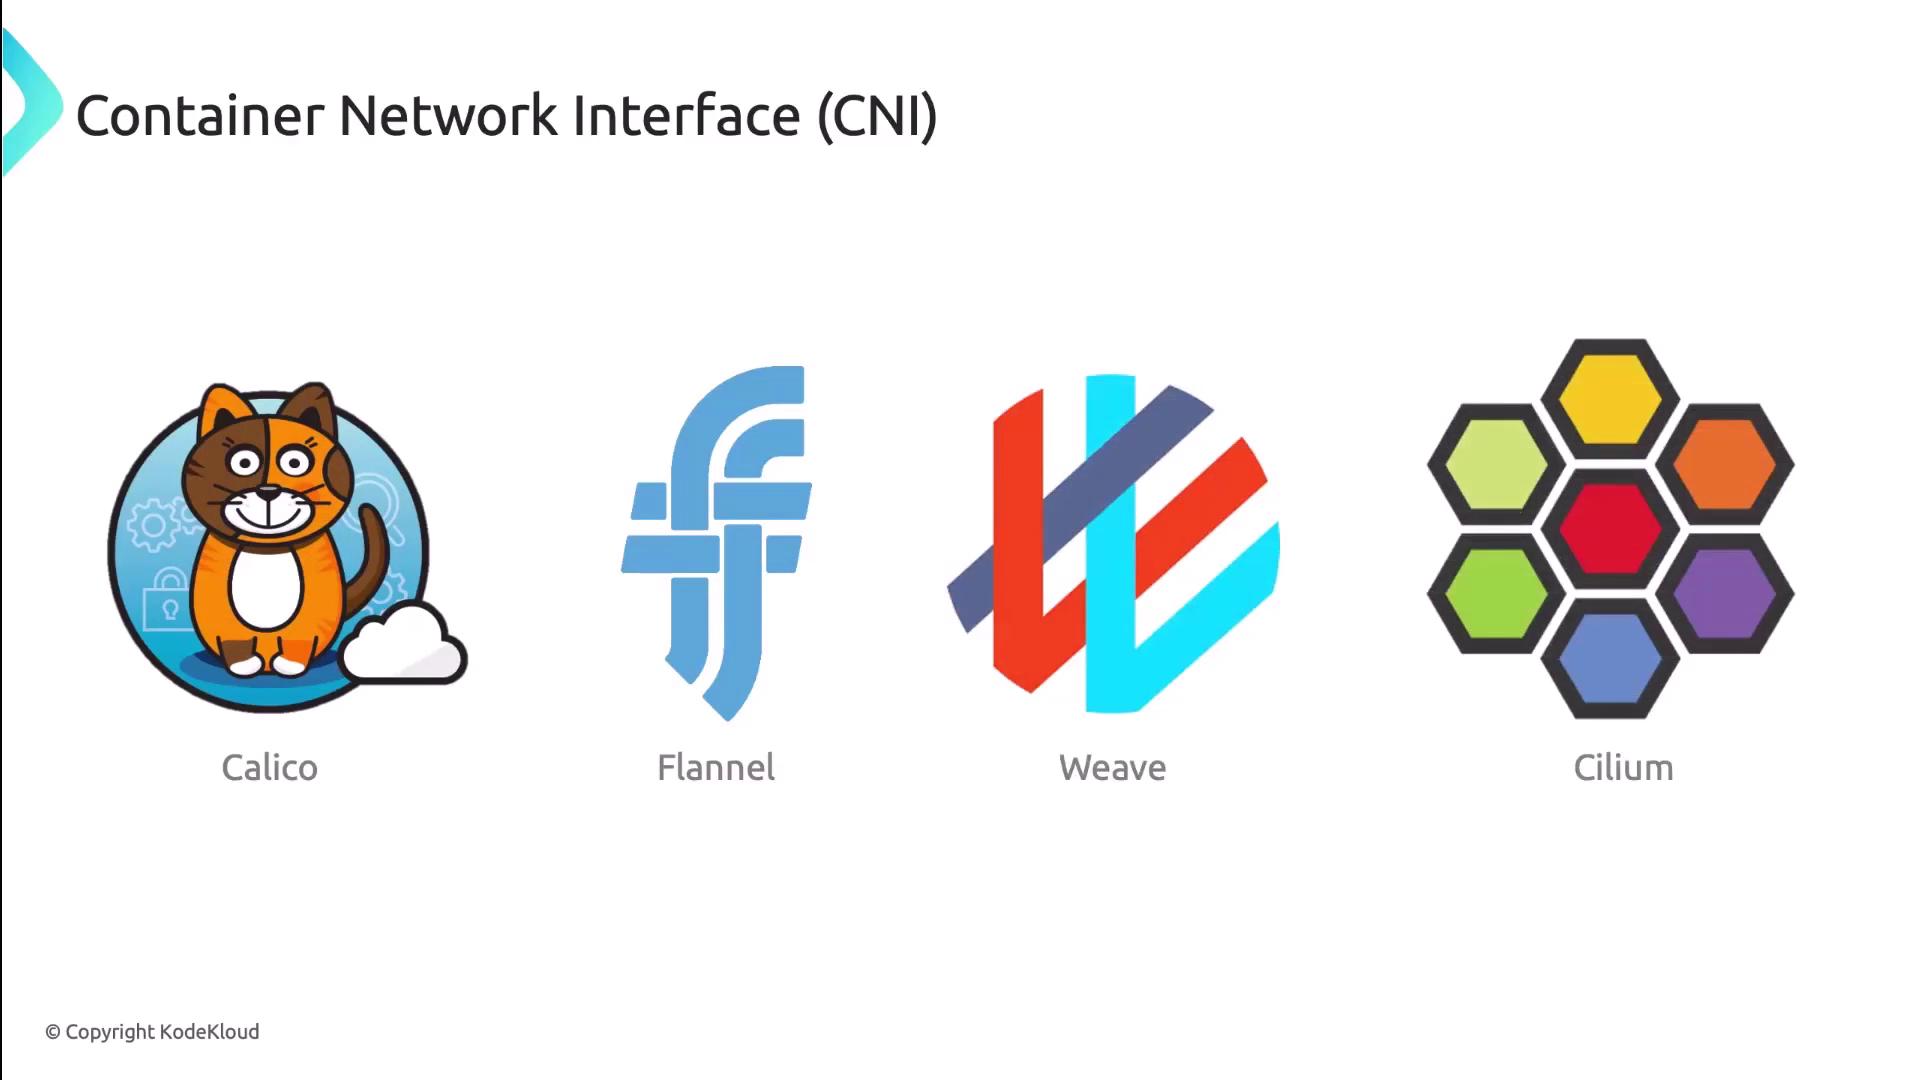
Comparing Popular CNI Plugins
| Plugin | Use Case | Key Features |
|---|---|---|
| Calico | Enterprise network policy & security | BGP routing, NetworkPolicy, IP-in-IP overlay |
| Flannel | Simple pod overlay networking | VXLAN, host-gateway modes |
| Weave | Easy mesh networking | Automatic mesh, encryption, DNS service discovery |
| Cilium | High-performance, eBPF-based | eBPF datapath, Kubernetes NetworkPolicy, Load Balancing |
Next Steps
With the networking fundamentals in place, you’re ready to delve into advanced topics like network policies, ingress controllers, and service meshes. These components build on Kubernetes’ core networking model to provide security, observability, and traffic management.
Links and References
- Kubernetes Networking Concepts
- CNI Specification
- Calico GitHub Repository
- Flannel GitHub Repository
- Weaveworks Weave Net
- Cilium GitHub Repository
This hands-on demo explores the Kubernetes networking model, including Pod communication and CNI plugin functionality.
Welcome to this hands-on demo where we explore the Kubernetes networking model. You’ll learn how containers within the same Pod share network namespaces, how Pods communicate across the cluster, and how the CNI plugin sets up virtual interfaces.
Environment Setup
In the default namespace, we’ve deployed two Pods:
| Pod | Containers | Description |
|---|---|---|
| pod1 | container1 (sleep), container2 (sleep), nginx (port 80) |
Multi-container Pod |
| pod2 | nginx (port 80) |
Single-container Pod |
Inspecting Pods
Describe pod1
Name:           pod1
Namespace:      default
Containers:
  container1:
    Image:      centos
    State:      Running
  container2:
    Image:      centos
    State:      Running
  nginx:
    Image:      nginx:latest
    Port:       80/TCP
    State:      Running
Conditions:
  Initialized       True
  Ready             True
  ContainersReady   True
  PodScheduled      True
QoS Class:        BestEffort
Node:             node01/192.168.121.34
Describe pod2
Name:           pod2
Namespace:      default
Containers:
  nginx:
    Image:      nginx:latest
    Port:       80/TCP
    State:      Running
Conditions:
  Initialized       True
  Ready             True
  ContainersReady   True
  PodScheduled      True
QoS Class:        BestEffort
Node:             node01/192.168.121.34
Exploring Network Namespaces on the Node
First, SSH into the node where these Pods are running:
<Callout icon="lightbulb" color="#1CB2FE">
Use `ssh root@192.168.121.34` or your cluster’s control access method.
</Callout>

ssh root@192.168.121.34
List all PID-based namespaces:
You’ll see entries for CNI “pause” containers and each workload container:
        NS TYPE NPROCS   PID USER  COMMAND
4026531836 pid     114     1 root  /sbin/init
4026532225 pid    5536  5521 root  /pause           # pod1 namespace
4026532383 pid    5584  5530 root  kube-proxy ...
4026532216 pid    6488    32 root  /pause           # pod2 namespace
4026532208 pid    6533    34 root  nginx: master process
4026532210 pid    6933    39 root  nginx: master process
…etc.
Identify the network namespace for a specific PID (e.g., 6933):
The cni-… prefix indicates creation by the CNI plugin.
Host Network Interfaces
On the node, view all interfaces:
Filter for virtual Ethernet pairs (veth) created by CNI:
8:  vethwe-datapath@vethwe-bridge: <BROADCAST,MULTICAST,UP,LOWER_UP> mtu 1376 …
    link/ether 56:4e:80:f3:fb:01 brd ff:ff:ff:ff:ff:ff
9:  vethwe-bridge@vethwe-datapath: <BROADCAST,MULTICAST,UP,LOWER_UP> mtu 1376 …
    link/ether 4e:43:6f:73:1a:d7 brd ff:ff:ff:ff:ff:ff
Each veth pair connects a Pod’s network namespace to the host or overlay network.
Inspecting a Pod’s Network Namespace
- Map container PIDs to namespaces:
- Inspect one namespace’s network interfaces:
1: lo: <LOOPBACK,UP,LOWER_UP> mtu 65536 …
    inet 127.0.0.1/8 scope host lo
18: eth0@if19: <BROADCAST,MULTICAST,UP,LOWER_UP> mtu 9000 …
    link/ether 02:80:62:3b:84:1c brd ff:ff:ff:ff:ff:ff
    inet 10.0.0.57/32 scope global eth0
Verifying Shared Network Namespace in pod1
Both container1 and container2 share the same network namespace and IP address.
1: lo: <LOOPBACK,UP,LOWER_UP> …
    inet 127.0.0.1/8 …
18: eth0@if19: …
    inet 10.0.0.57/32 scope global eth0
1: lo: <LOOPBACK,UP,LOWER_UP> …
    inet 127.0.0.1/8 …
18: eth0@if19: …
    inet 10.0.0.57/32 scope global eth0
Intra-Pod Communication
From container1, fetch the NGINX welcome page over localhost:
<!DOCTYPE html>
<html>
<head>
  <title>Welcome to nginx!</title>
</head>
<body>
  <h1>Welcome to nginx!</h1>
  <p>If you see this page, the nginx web server is successfully installed and working.</p>
</body>
</html>
Pod-to-Pod Communication
Retrieve all Pod IPs in the default namespace:
kubectl get pods -o=jsonpath='{range .items[*]}{"podName: "}{.metadata.name}{" podIP: "}{.status.podIP}{"\n"}{end}'
From pod1, connect to the NGINX server on pod2:
This confirms cluster-wide Pod-to-Pod connectivity, a core requirement of the Kubernetes networking model.