Route 53
Amazon Route 53 is a scalable DNS web service and domain registrar for managing domains and routing internet traffic.
Amazon Route 53 is AWS’s scalable and highly available Domain Name System (DNS) web service and domain registrar. With Route 53, you can register new domains, manage DNS records for routing internet traffic, and leverage a global network of DNS servers.
Key Features
- Domain registration and management as your registrar
- DNS record configuration for EC2, load balancers, S3 static websites, and more
- Highly available, low-latency global DNS resolution
Domain Registration and DNS Management
When you register a domain (e.g., example.com) through Route 53, AWS serves as your domain registrar. You can then configure all DNS records directly in the AWS Management Console, AWS CLI, or through the API.
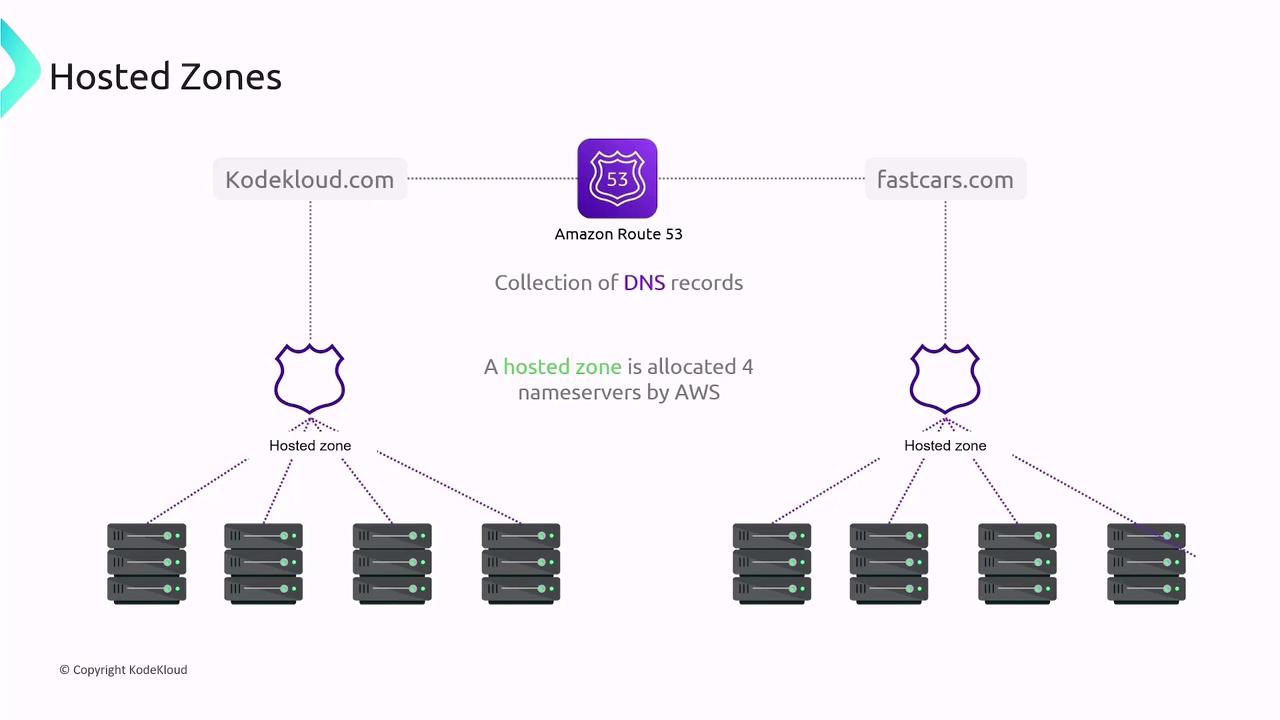
Hosted Zones
A hosted zone in Route 53 is a container for DNS records related to a specific domain or subdomain. AWS allocates four authoritative name servers for each hosted zone.
| Hosted Zone Type | Scope | Use Case |
|---|---|---|
| Public Hosted Zone | Global (Internet) | Serve public DNS queries |
| Private Hosted Zone | VPC (Virtual Private Cloud) | Internal DNS resolution within VPCs |
How It Works: Step by Step
- Create a hosted zone for your domain (e.g.,
fastcars.com). - AWS assigns four name servers to the hosted zone.
- Define DNS records (A, AAAA, CNAME, MX, TXT, etc.) in the hosted zone.
- Verify that your domain’s NS records at the registrar match the assigned name servers.
After these steps, Route 53’s global network of name servers will respond to DNS queries for your domain.
Common DNS Record Types
| Record Type | Description | Example |
|---|---|---|
| A | Maps a domain to an IPv4 address | www -> 192.0.2.44 |
| AAAA | Maps a domain to an IPv6 address | www -> 2001:0db8:85a3:0000:0000:8a2e:0370:7334 |
| CNAME | Aliases one name to another | blog -> blog.example.com |
| MX | Mail exchange servers for email routing | example.com MX 10 mail.example.com |
| TXT | Text records for verification/DNSSEC | example.com TXT "v=spf1 include:amazonses.com -all" |
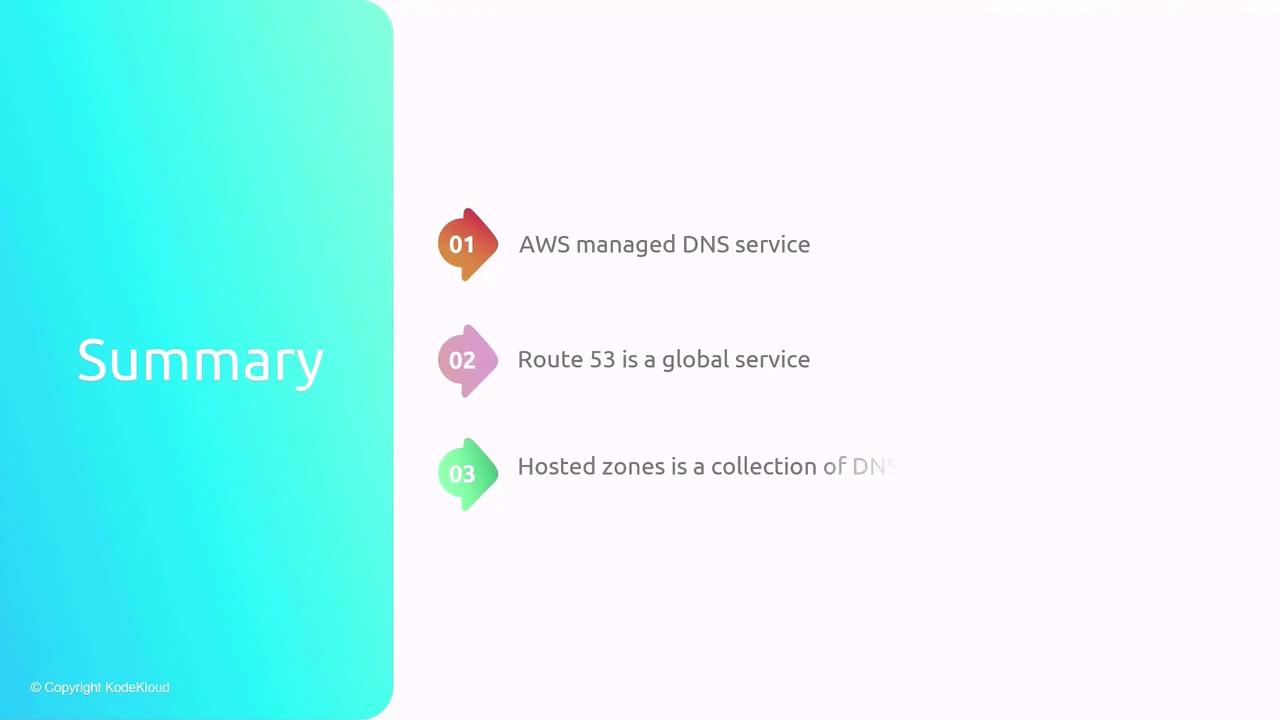
Summary
Route 53 offers:
- Fully managed DNS service for end-user request routing
- Domain registration with AWS as the registrar
- Global DNS infrastructure for low-latency queries
- Hosted zones for organizing DNS records per domain
Links and References
Learn to register a domain with AWS Route 53, explore hosted zones, and create an A record for web server connection.
In this guide, you’ll learn how to register a domain name with AWS Route 53, explore your hosted zone, and create an A record to point your domain to a web server. By the end, you’ll understand how to leverage Route 53’s global DNS network for reliable name resolution.
Prerequisites
- An active AWS account with Route 53 permissions
- A public IPv4 address for your web server
- Basic knowledge of DNS concepts
1. Register a Domain Name
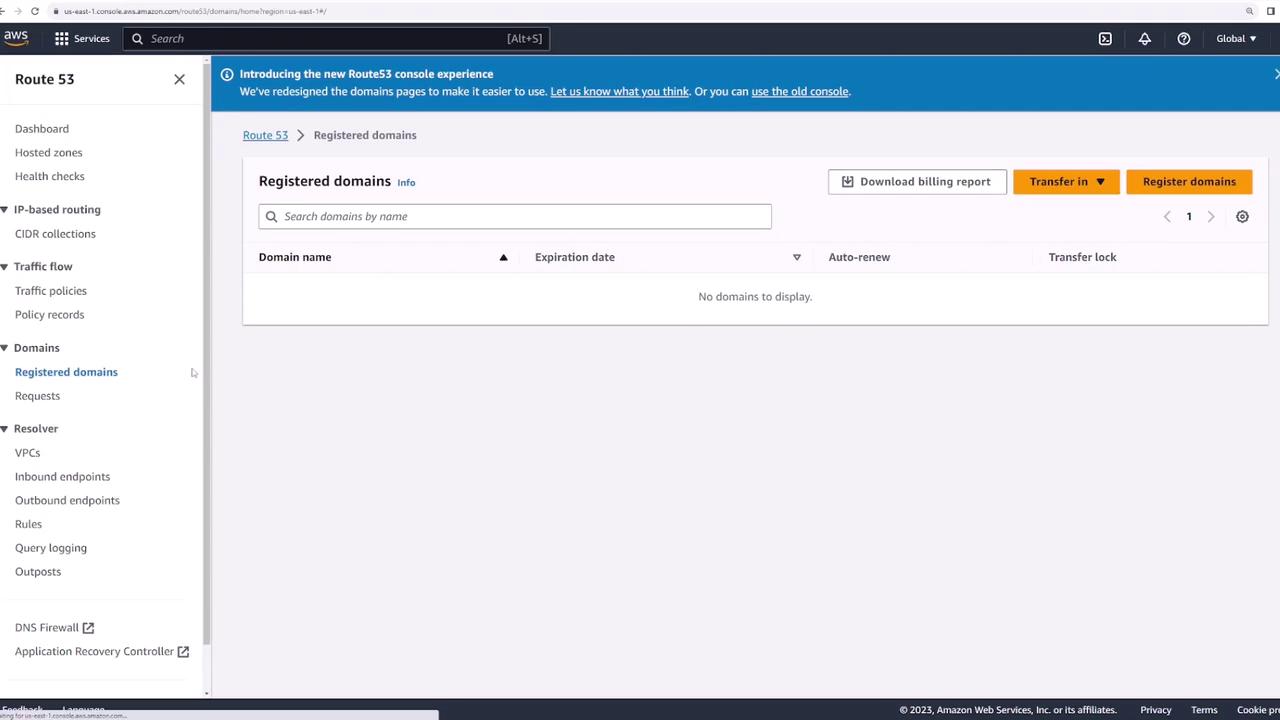
- Sign in to the AWS Management Console and navigate to Route 53.
- In the left pane, select Registered domains and click Register domains.
- Enter your desired domain (e.g.,
kodeklouddemo123.com) and click Check to verify availability.
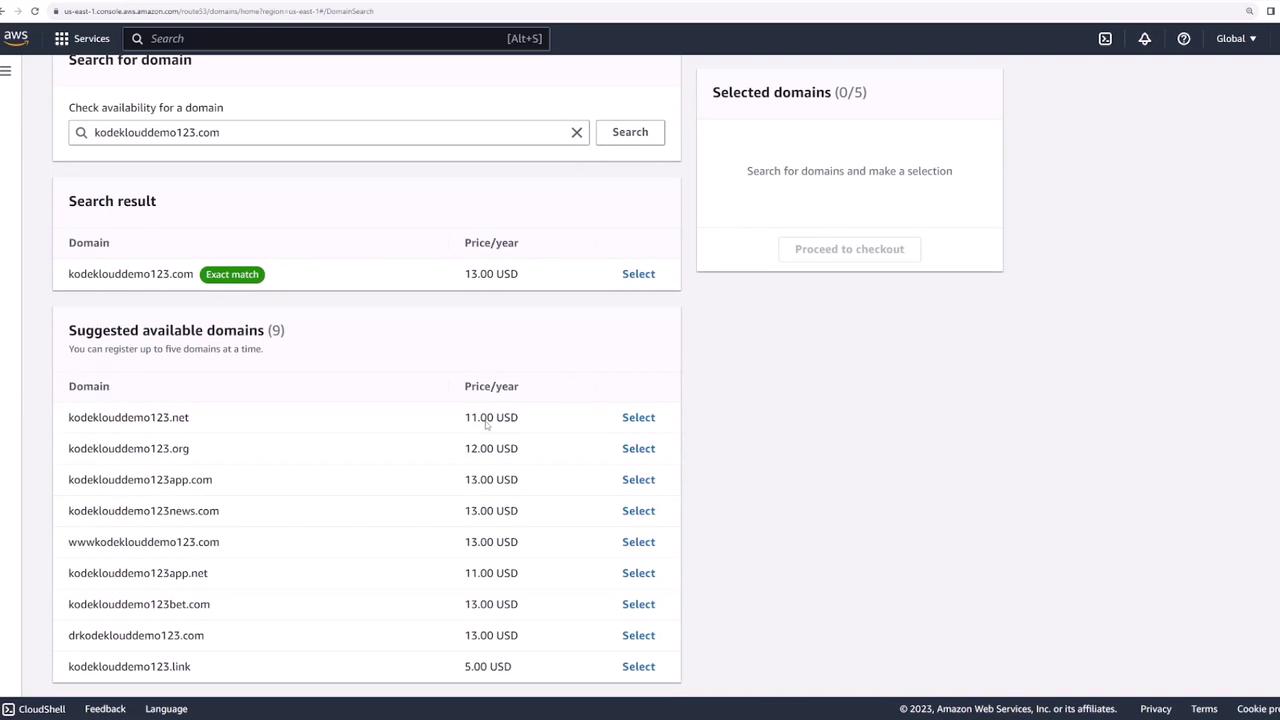
- Select the domain and choose Proceed to checkout.
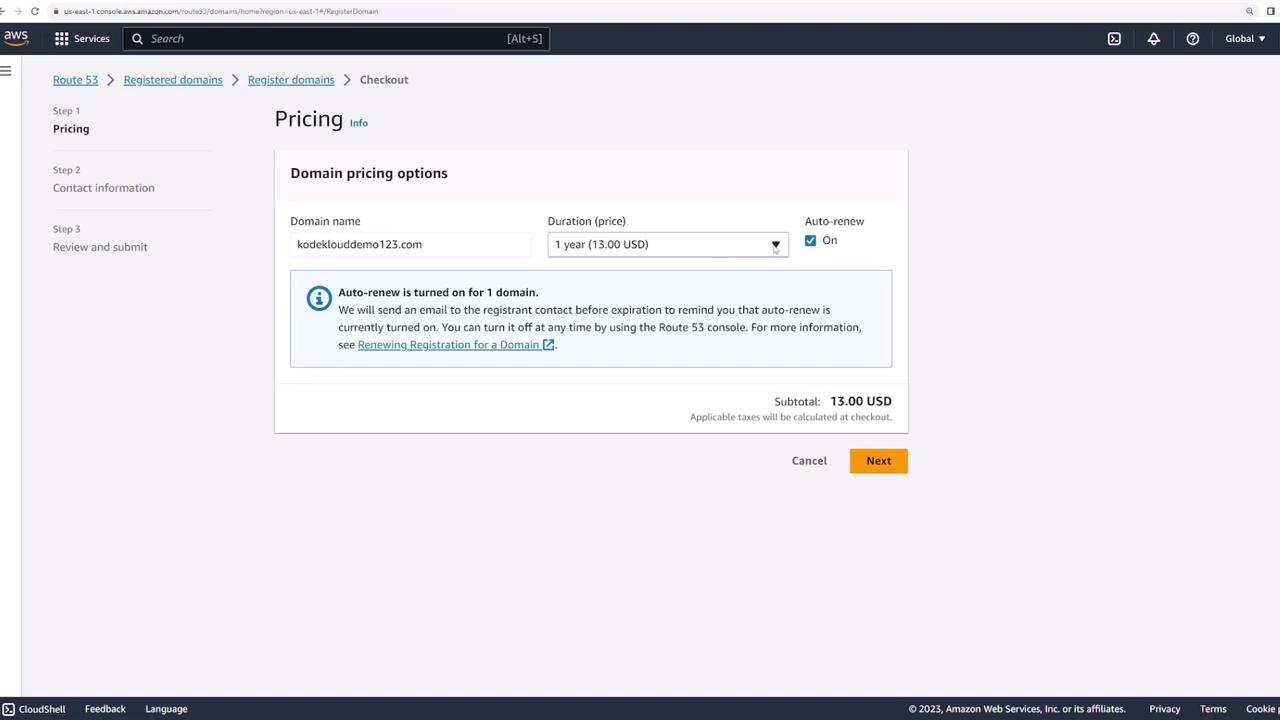
- Enable Auto-renewal (recommended) and confirm Privacy protection is on for all contacts.
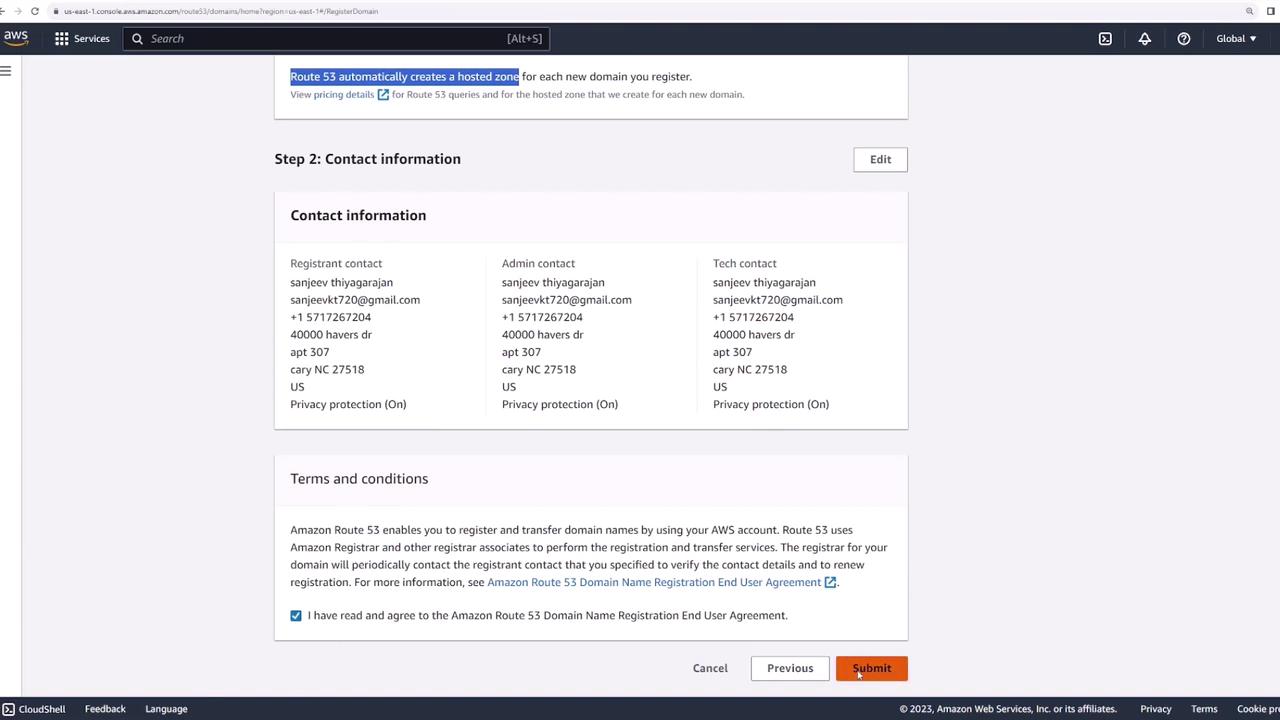
- Provide registrant, admin, and tech contact information, review the terms, and click Submit.
- After AWS processes your request, you’ll receive a confirmation email. The new domain will appear under Registered domains.
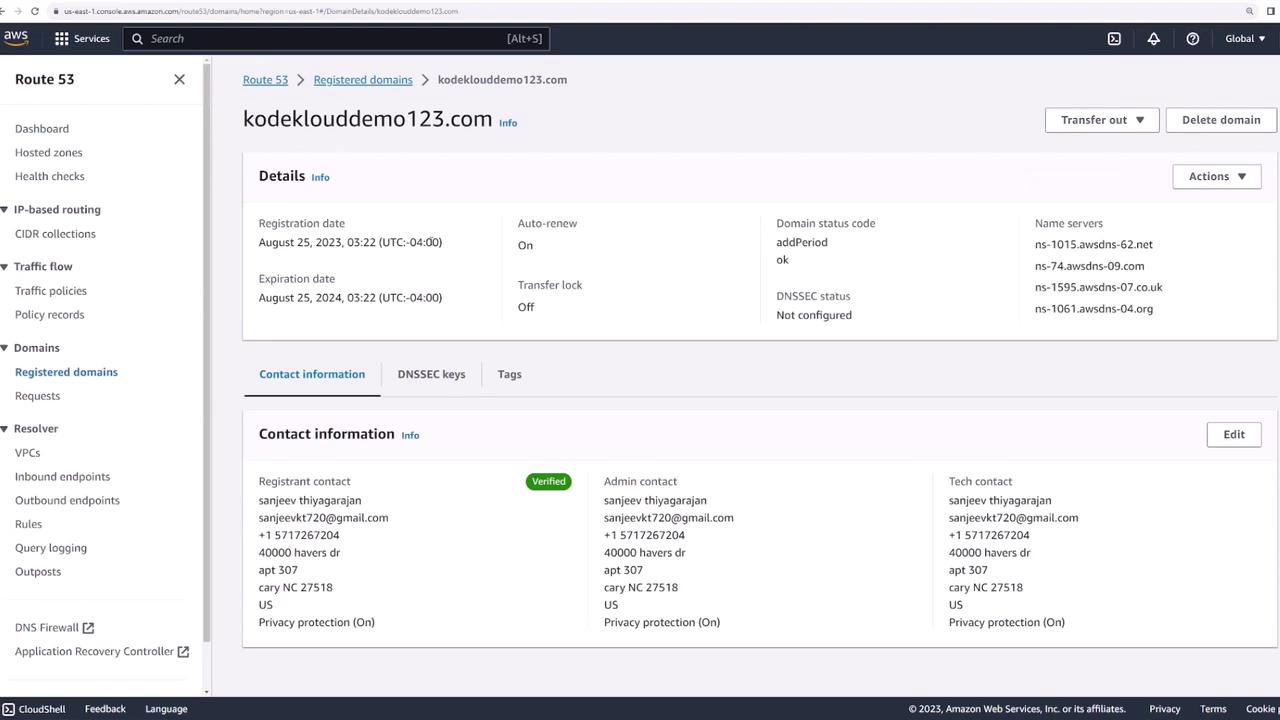
2. View Domain Details
Click your domain in Registered domains to see:
- Registration and expiration dates
- Contact information
- Assigned name servers
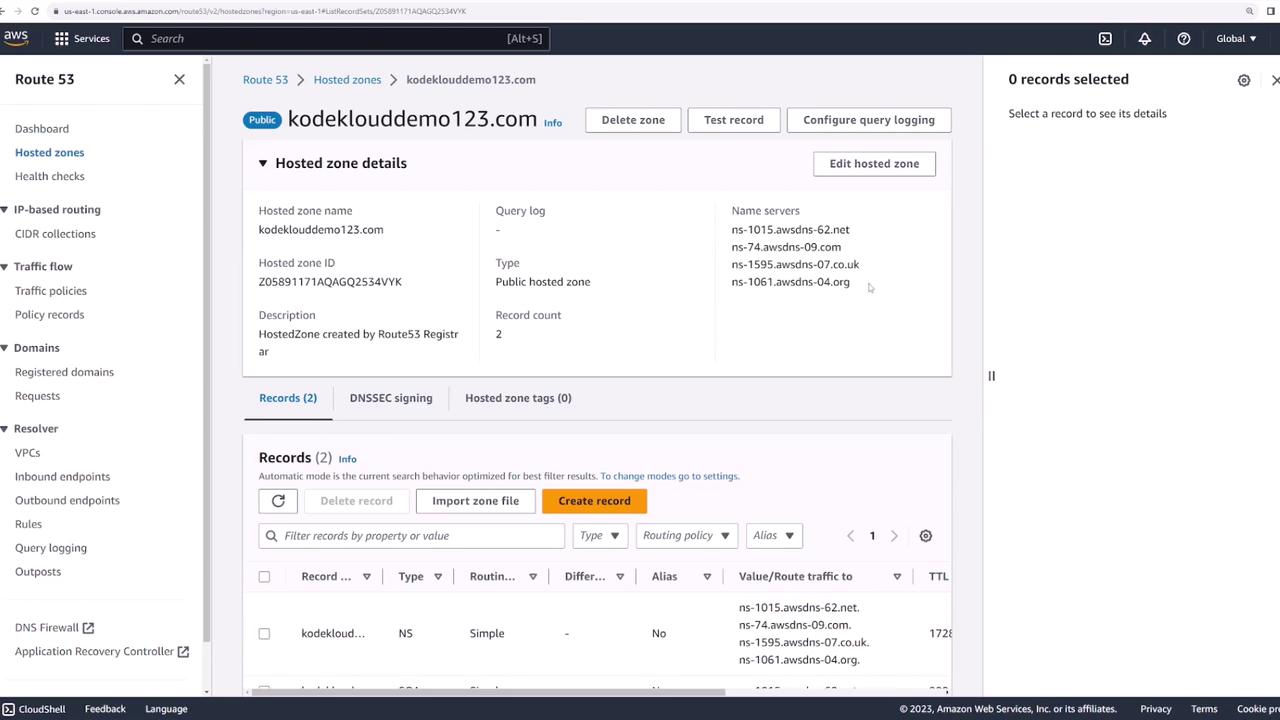
3. Explore the Hosted Zone
- In the Route 53 dashboard, select Hosted zones.
- Click the hosted zone named after your domain (e.g.,
kodeklouddemo123.com).
Inside, you’ll find:
- The four name servers assigned by AWS
- Default DNS records created automatically
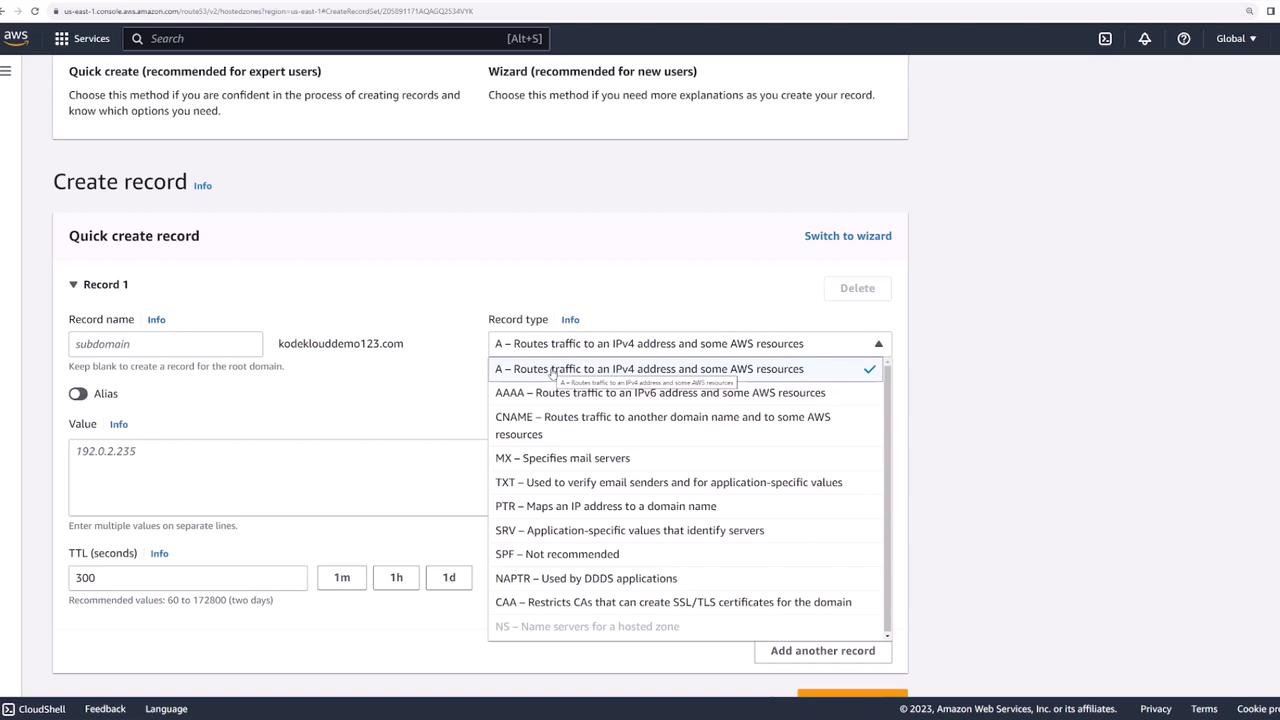
4. Create an A Record
An A record maps your domain (or subdomain) to an IPv4 address.
- In your hosted zone, click Create records.
- Select A – IPv4 address as the record type.
- For Record name, leave blank to map the root domain or enter a prefix (e.g.,
www). - Under Value, enter your server’s public IPv4 address.
- Accept the default TTL and click Create records.
INSYNC.
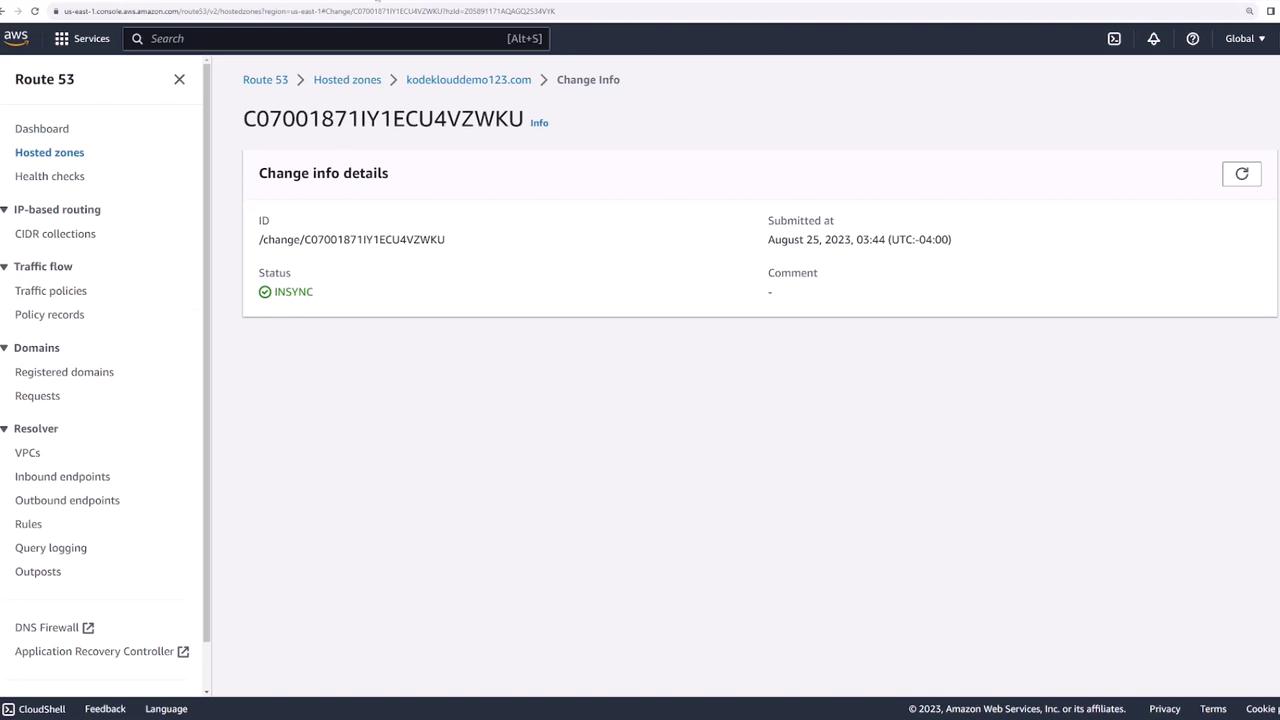
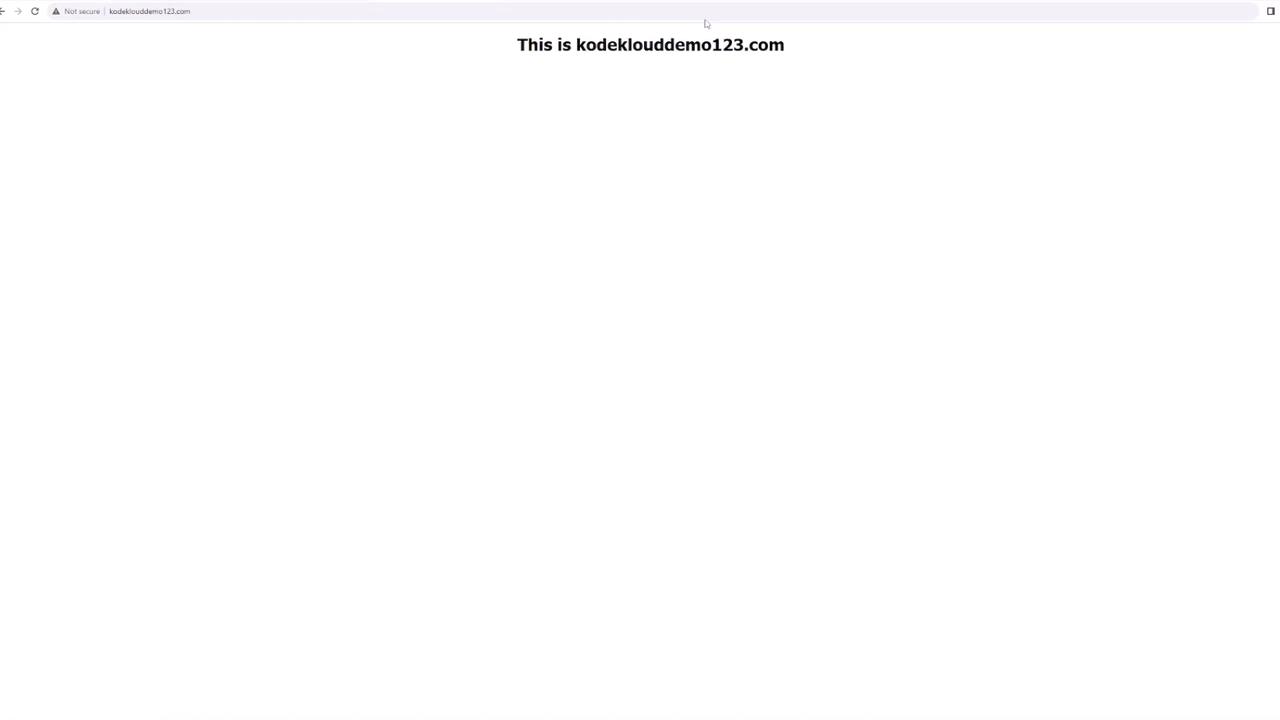
5. Validate Your Setup
Once your A record is INSYNC, open a browser and navigate to:
text  theme={null}
https://kodeklouddemo123.com
You should see your web server’s default page.
Common DNS Record Types
| Record Type | Description | Example |
|---|---|---|
| A | Maps a domain to an IPv4 address | example.com → 192.0.2.44 |
| CNAME | Points a name to another domain | www.example.com → example.com |
| MX | Specifies mail servers | 10 mail.example.com |
| TXT | Holds text for SPF, DKIM, etc. | "v=spf1 include:amazonses.com ~all" |
Summary
- Register and manage domains in one place
- Configure DNS records (A, CNAME, MX, TXT)
- Benefit from AWS’s global DNS infrastructure