EIP
This article explains AWS Elastic IP addresses, their benefits, management, pricing, and how they ensure consistent connectivity for applications.
Understanding how AWS handles public IPs and leveraging Elastic IPs can help you maintain consistent connectivity for your applications.
Why Dynamic Public IPs Can Be Problematic
When you launch an EC2 instance in a public subnet, AWS automatically assigns a public IPv4 address (for example, 1.1.1.1). However, this IP is drawn from AWS’s shared pool and is not reserved for your account. Stopping or restarting the instance may result in a new IP, causing:
- Downtime if clients have hardcoded the old address
- Configuration drift in DNS records or security groups
- Operational overhead to track changing IPs
Introducing Elastic IPs
Elastic IP addresses are static IPv4 addresses that you allocate and control within a specific AWS Region. Key benefits include:
- Static mapping: The IP stays yours until you explicitly release it
- Flexibility: Associate or disassociate the address from EC2 instances or ENIs at any time
- High availability: Instantly remap to a standby instance during maintenance or failure
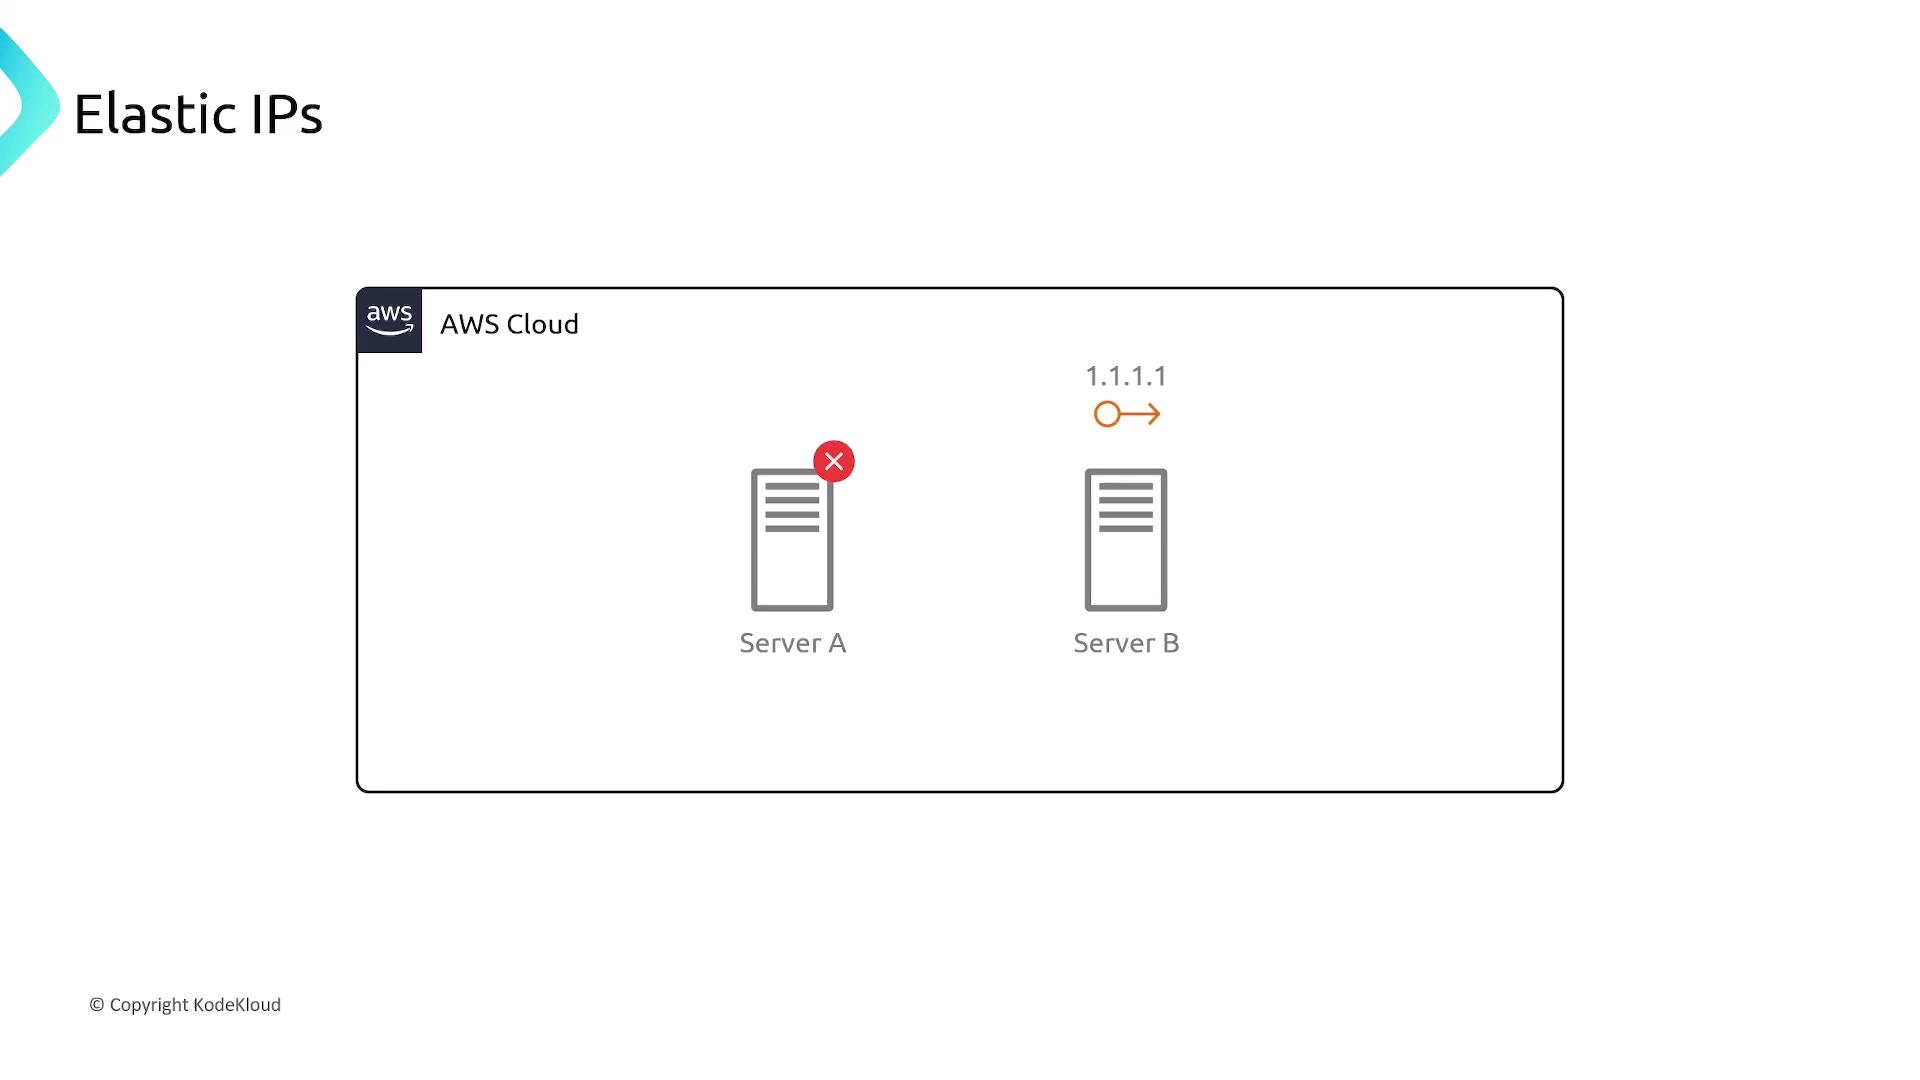
Example: Failover with Elastic IPs
If Server A goes down, simply disassociate its Elastic IP and reassign it to Server B. Clients continue to reach your application at the same address (1.1.1.1), eliminating DNS propagation delays.
Allocating and Managing Elastic IPs
You can manage Elastic IPs via the AWS Management Console or AWS CLI. Below is a sample CLI workflow.
# Allocate a new Elastic IP in your default VPC
aws ec2 allocate-address --domain vpc

# Associate the Elastic IP with an EC2 instance
aws ec2 associate-address \
  --instance-id i-0123456789abcdef0 \
  --allocation-id eipalloc-12345678

# Disassociate the Elastic IP when needed
aws ec2 disassociate-address --association-id eipassoc-87654321
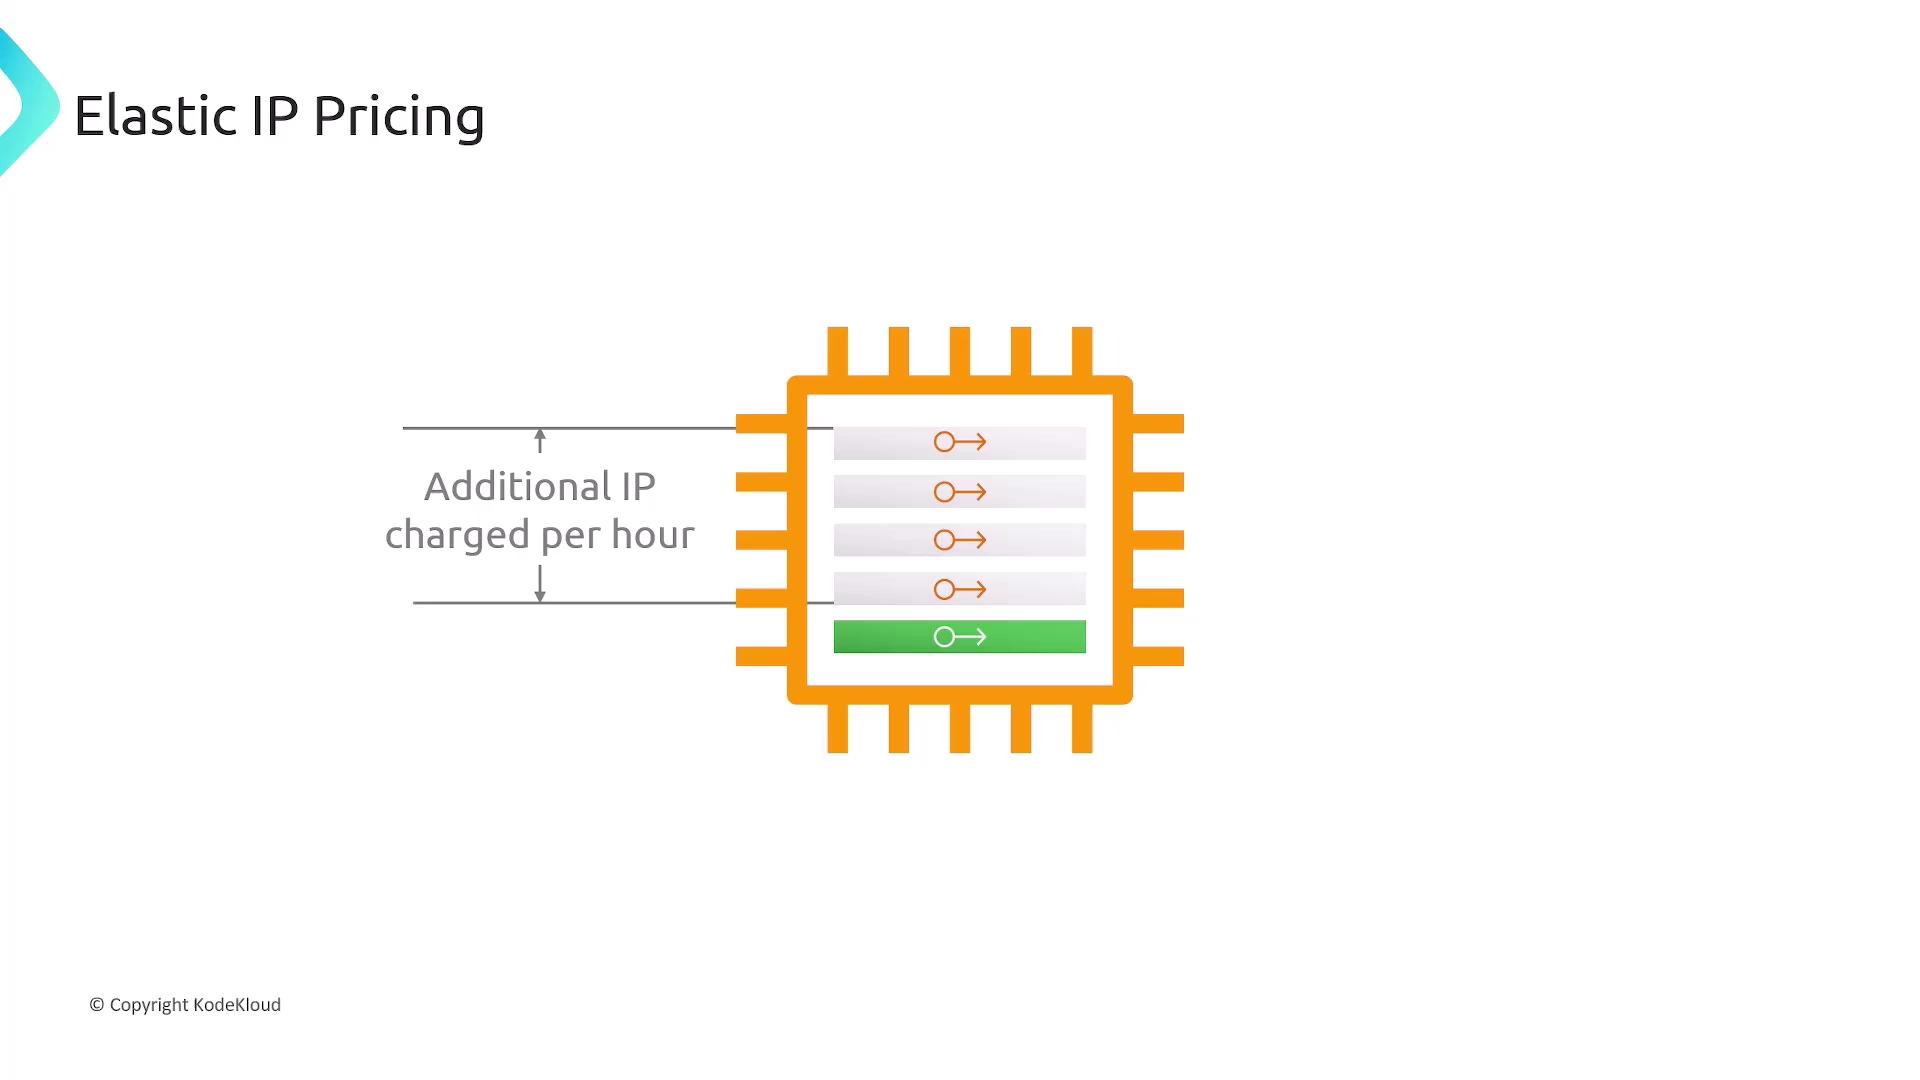
Elastic IP Pricing
| Scenario | Cost |
|---|---|
| First Elastic IP associated with a running instance | Free |
| Additional Elastic IPs on the same instance | Charged per hour |
| Allocated but unattached Elastic IPs | Small hourly fee |
Key Considerations
- Elastic IPs are region-specific and cannot be moved across regions.
- You can associate them only with EC2 instances or network interfaces (ENIs) in the same region.
- Choose between AWS’s public IPv4 pool or bring your own custom IPv4 address block.
Summary
- AWS public IPv4 addresses are dynamic and may change on instance stop/start.
- Elastic IP addresses provide a static, portable IPv4 address under your control.
- Workflow to use an Elastic IP:
- Allocate it to your AWS account.
- Associate it with an EC2 instance or ENI.
- Reassociate as needed during failover or maintenance.
Links and References
- Elastic IP Addresses – AWS EC2 User Guide
- AWS CLI Command Reference – allocate-address
- AWS CLI Command Reference – associate-address
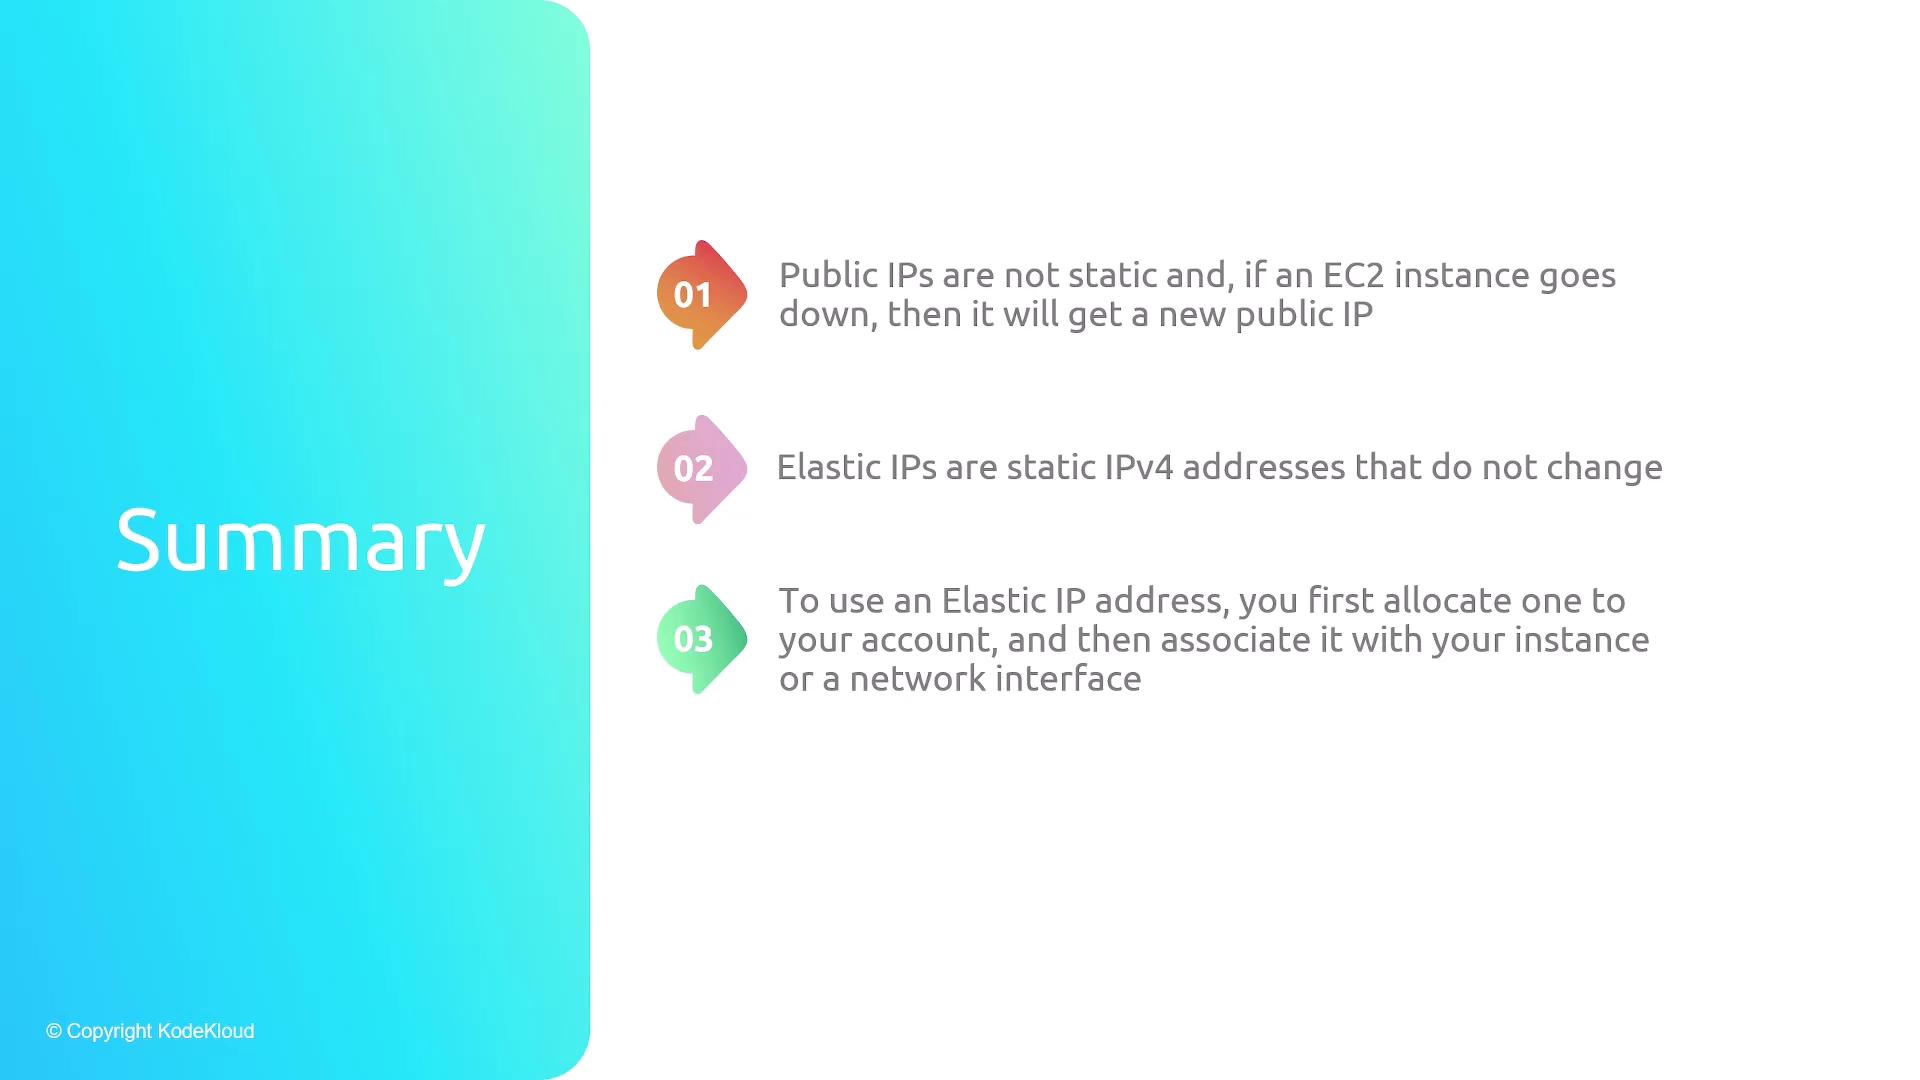
- Public IPs are not static and, if an EC2 instance goes down, then it will get a new public IP
- Elastic IPs are static IPv4 addresses that do not change
- To use an Elastic IP address, you first allocate one to your account, and then associate it with your instance or a network interface
This lesson demonstrates how to allocate, associate, and manage Elastic IPs in AWS for reliable access to EC2 workloads.
In this lesson, we’ll demonstrate how to allocate, associate, and manage Elastic IPs in AWS. Elastic IPs provide a static, public IPv4 address that remains constant across instance stop/start cycles, ensuring reliable access to your EC2 workloads.
Why Use Elastic IPs?
By default, EC2 instances in a public subnet receive a dynamic public IP that changes whenever you stop and start the instance. This can disrupt services or remote connections.
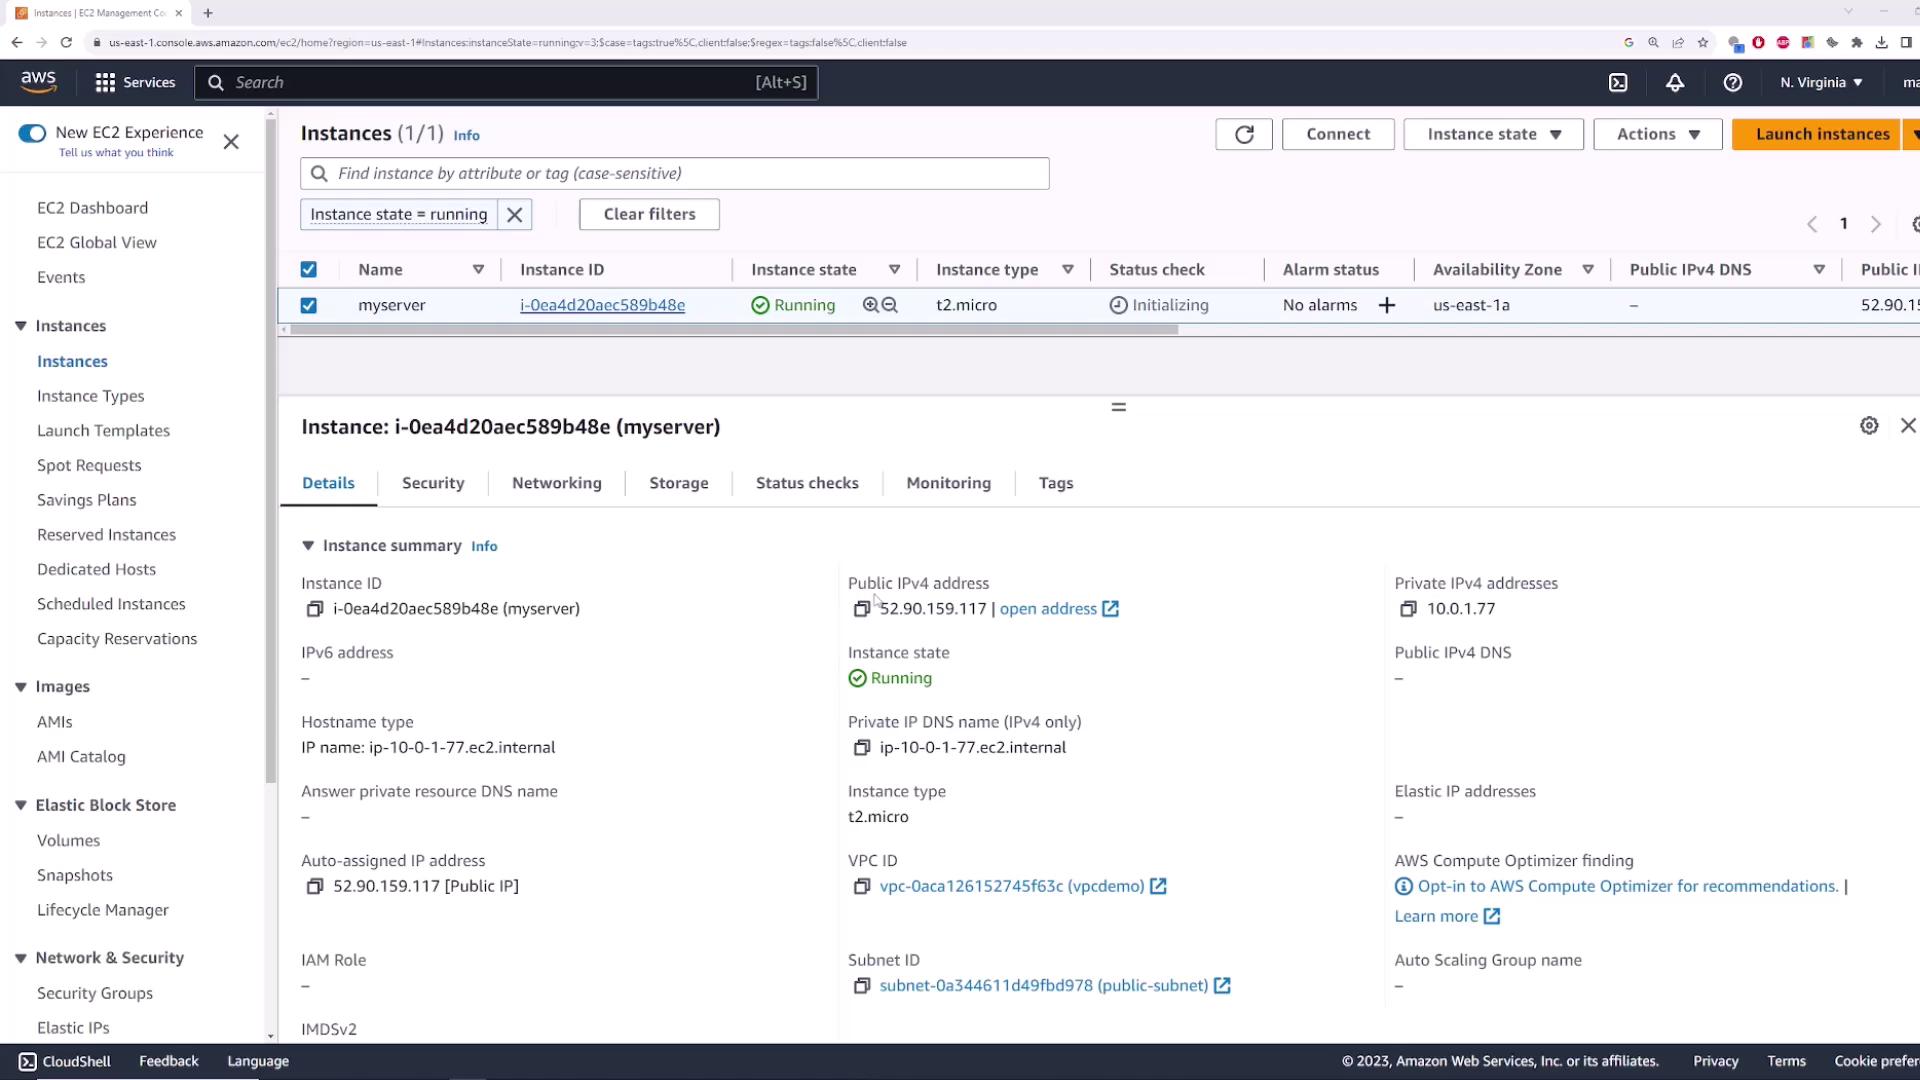
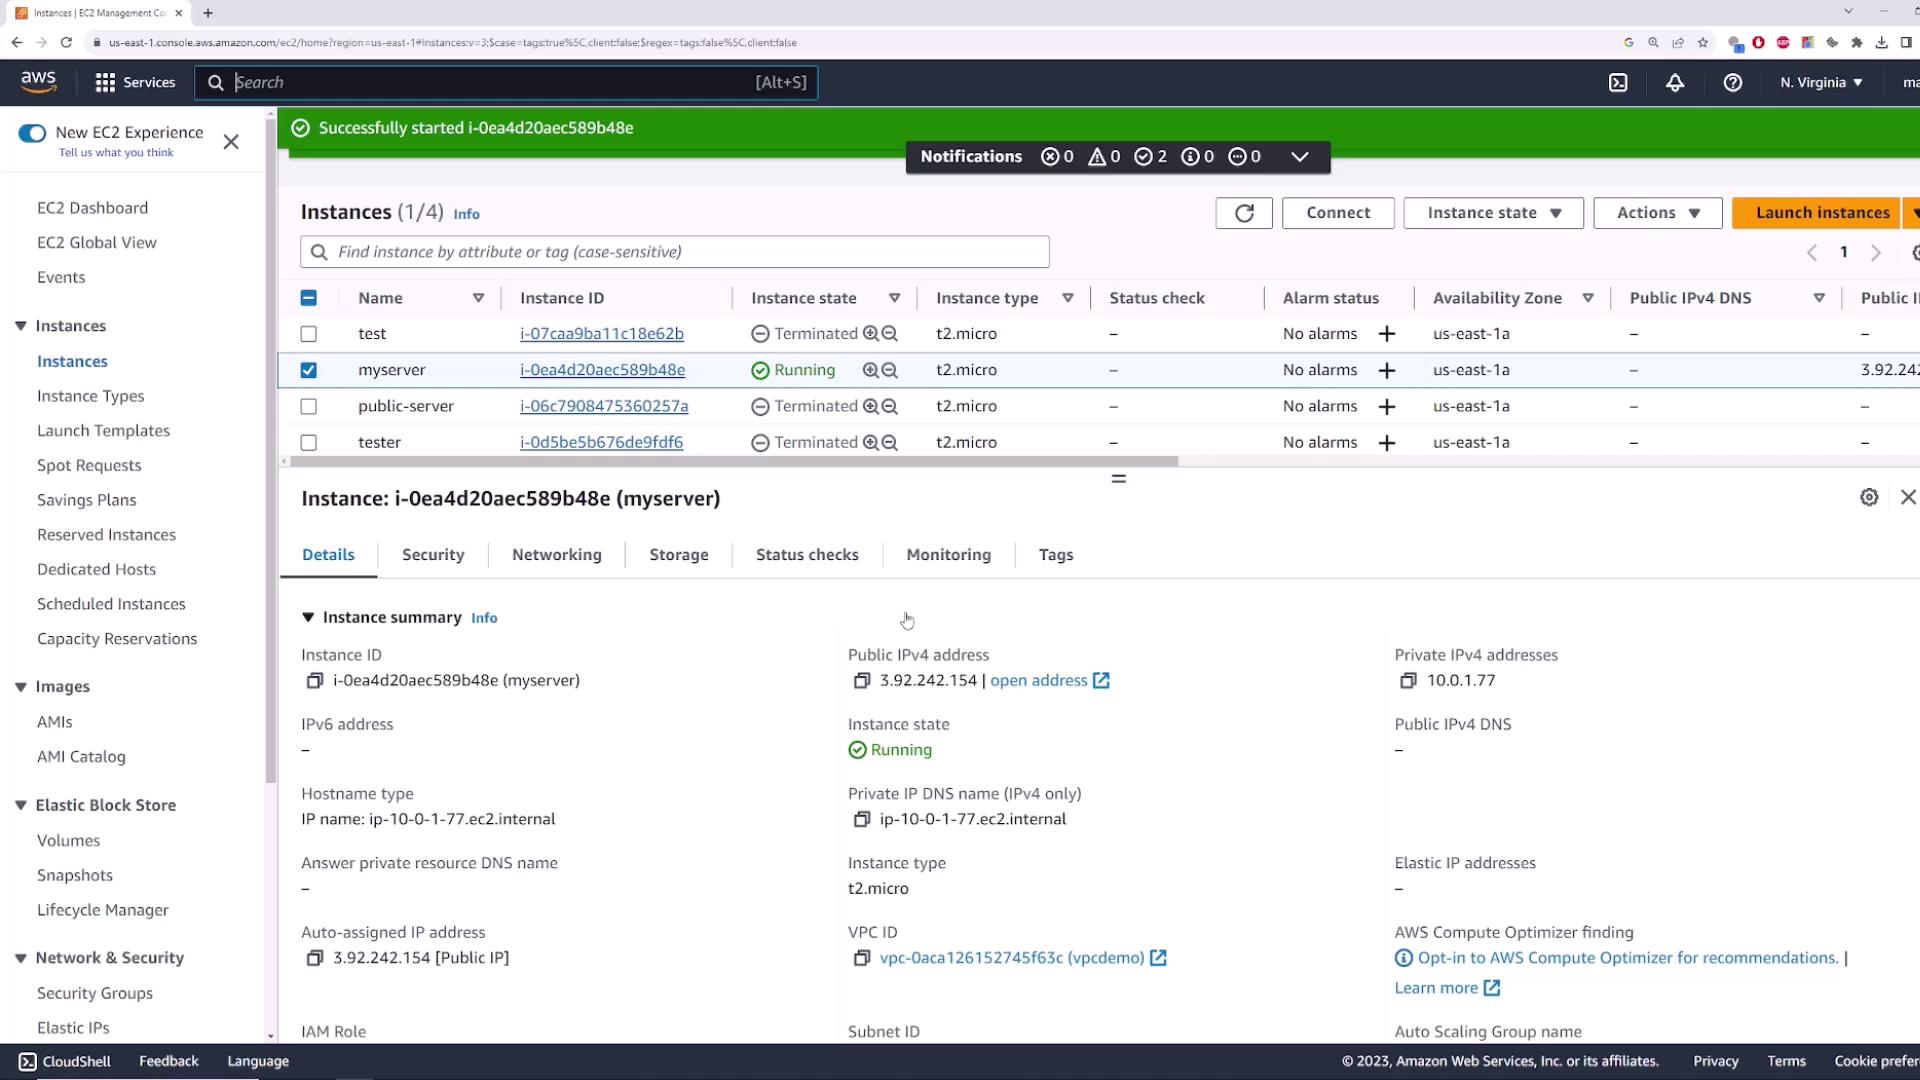
- Launch an EC2 instance named myserver in your VPC’s public subnet (with an Internet Gateway attached).
- Note its current public IP (e.g.,
52.90.159.117). - Stop and then restart myserver via Instance state > Stop instance and Start instance.
- Observe that its public IP has changed:
| Public IP Type | Persistence | Cost | Use Case |
|---|---|---|---|
| Dynamic Public IP | Changes on stop/start | Free | Short-lived, test instances |
| Elastic IP (EIP) | Remains until released | Charged when unattached | Static endpoint for production |
1. Allocating an Elastic IP
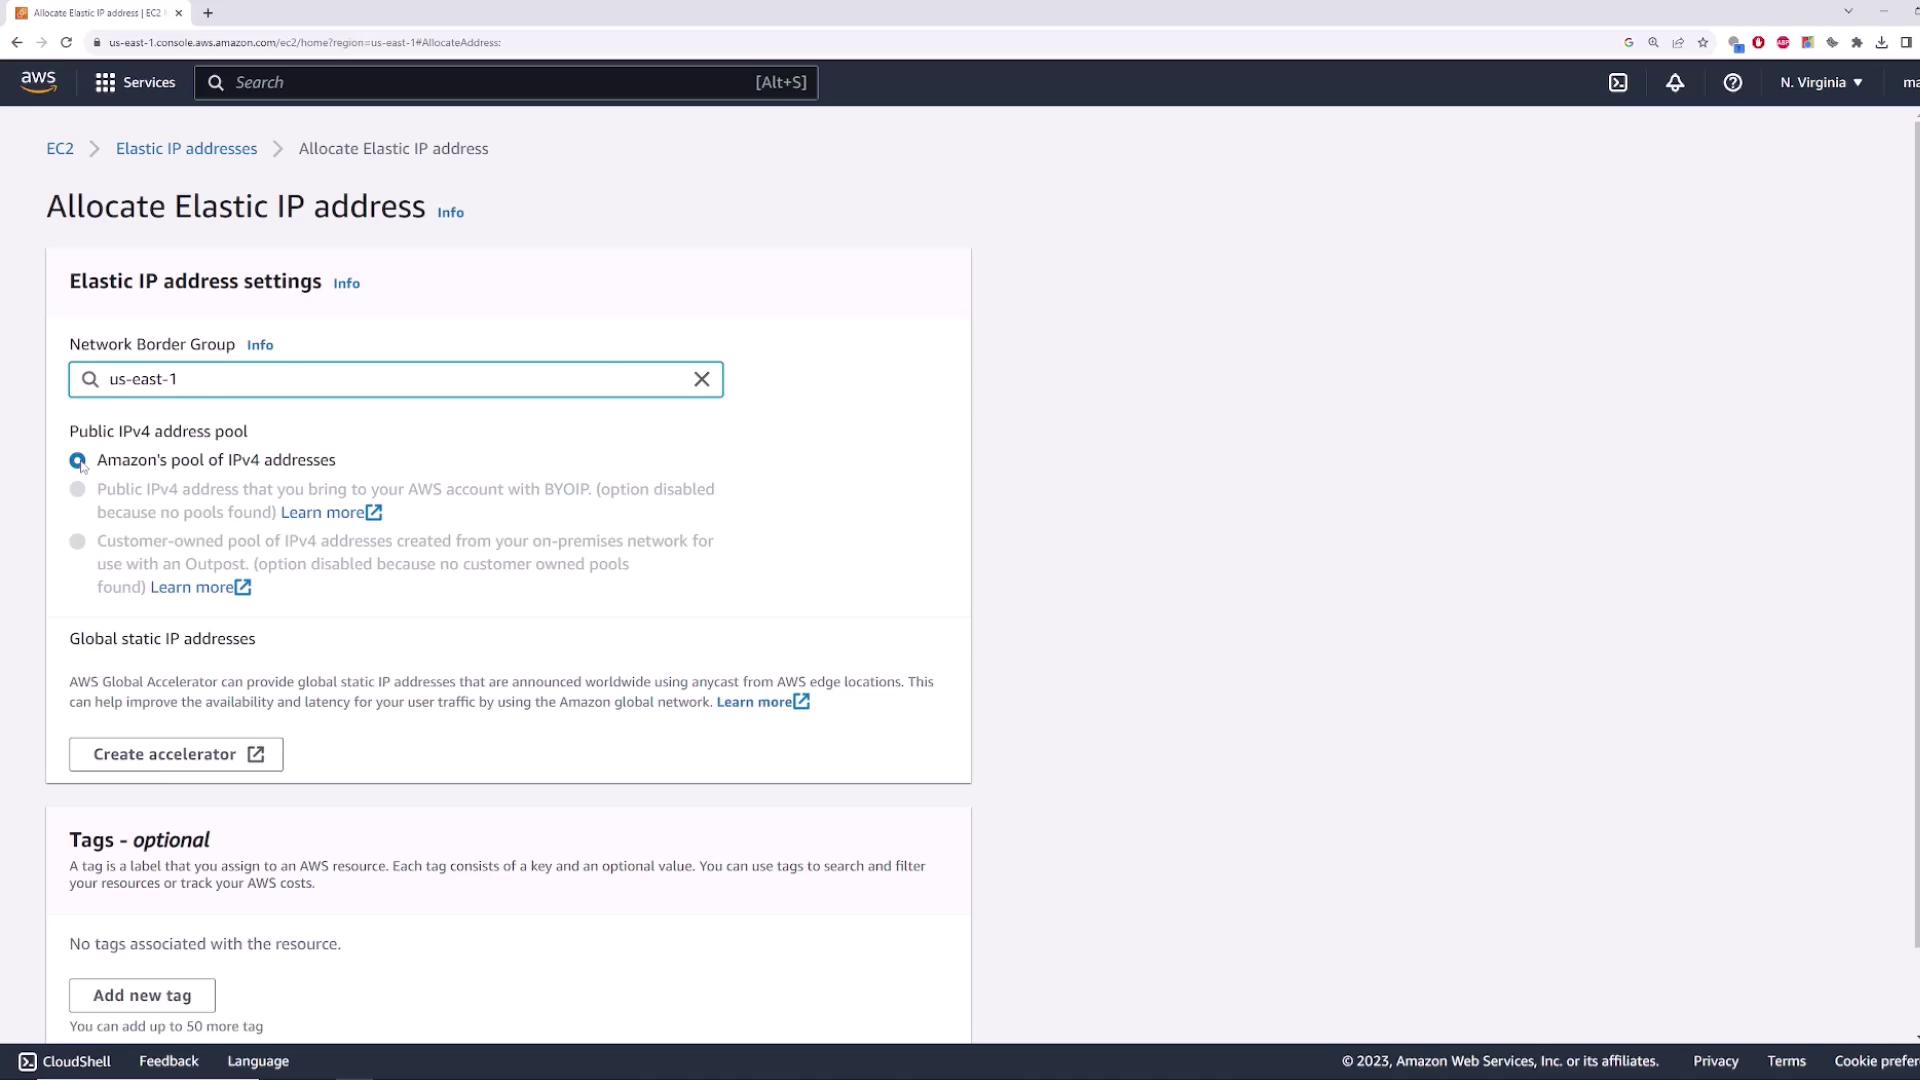
- In the EC2 console, select Elastic IPs.
- Click Allocate Elastic IP address.
- Accept the default settings (Amazon’s IPv4 pool) and click Allocate.
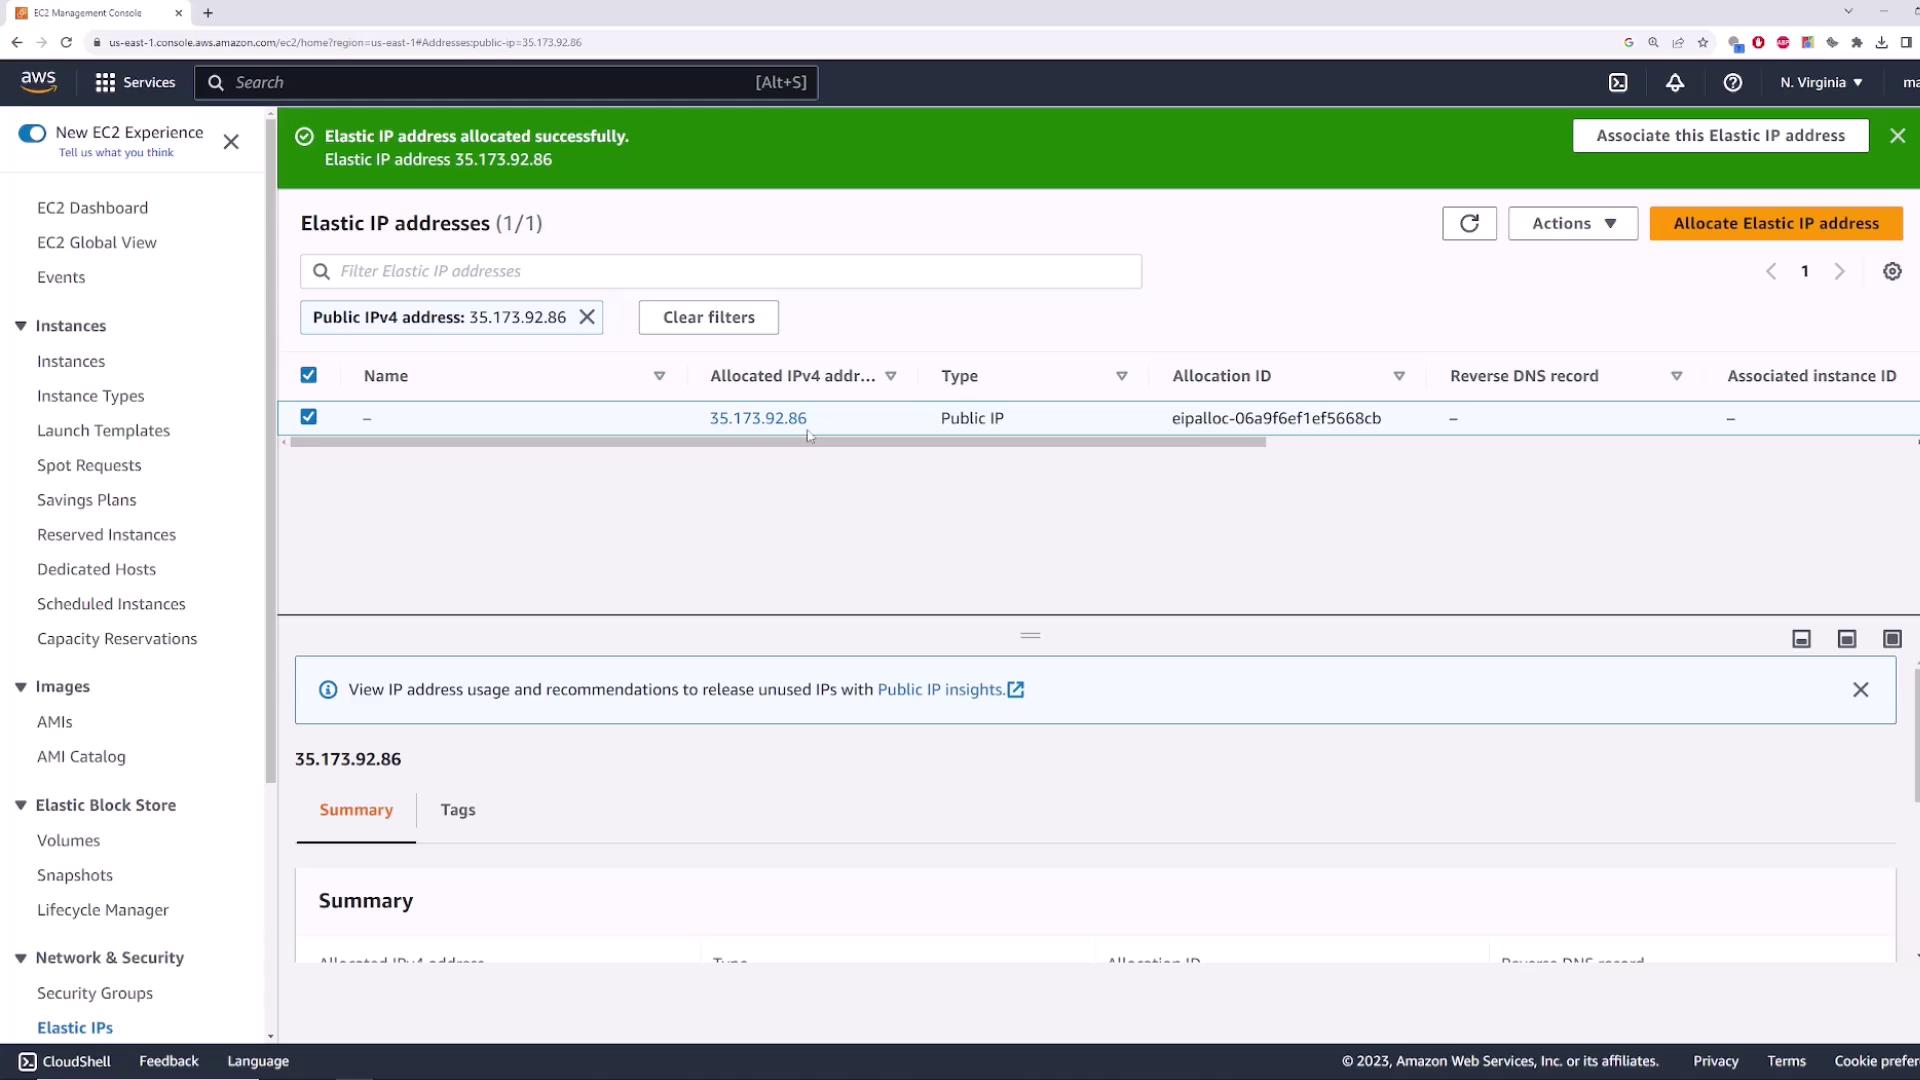
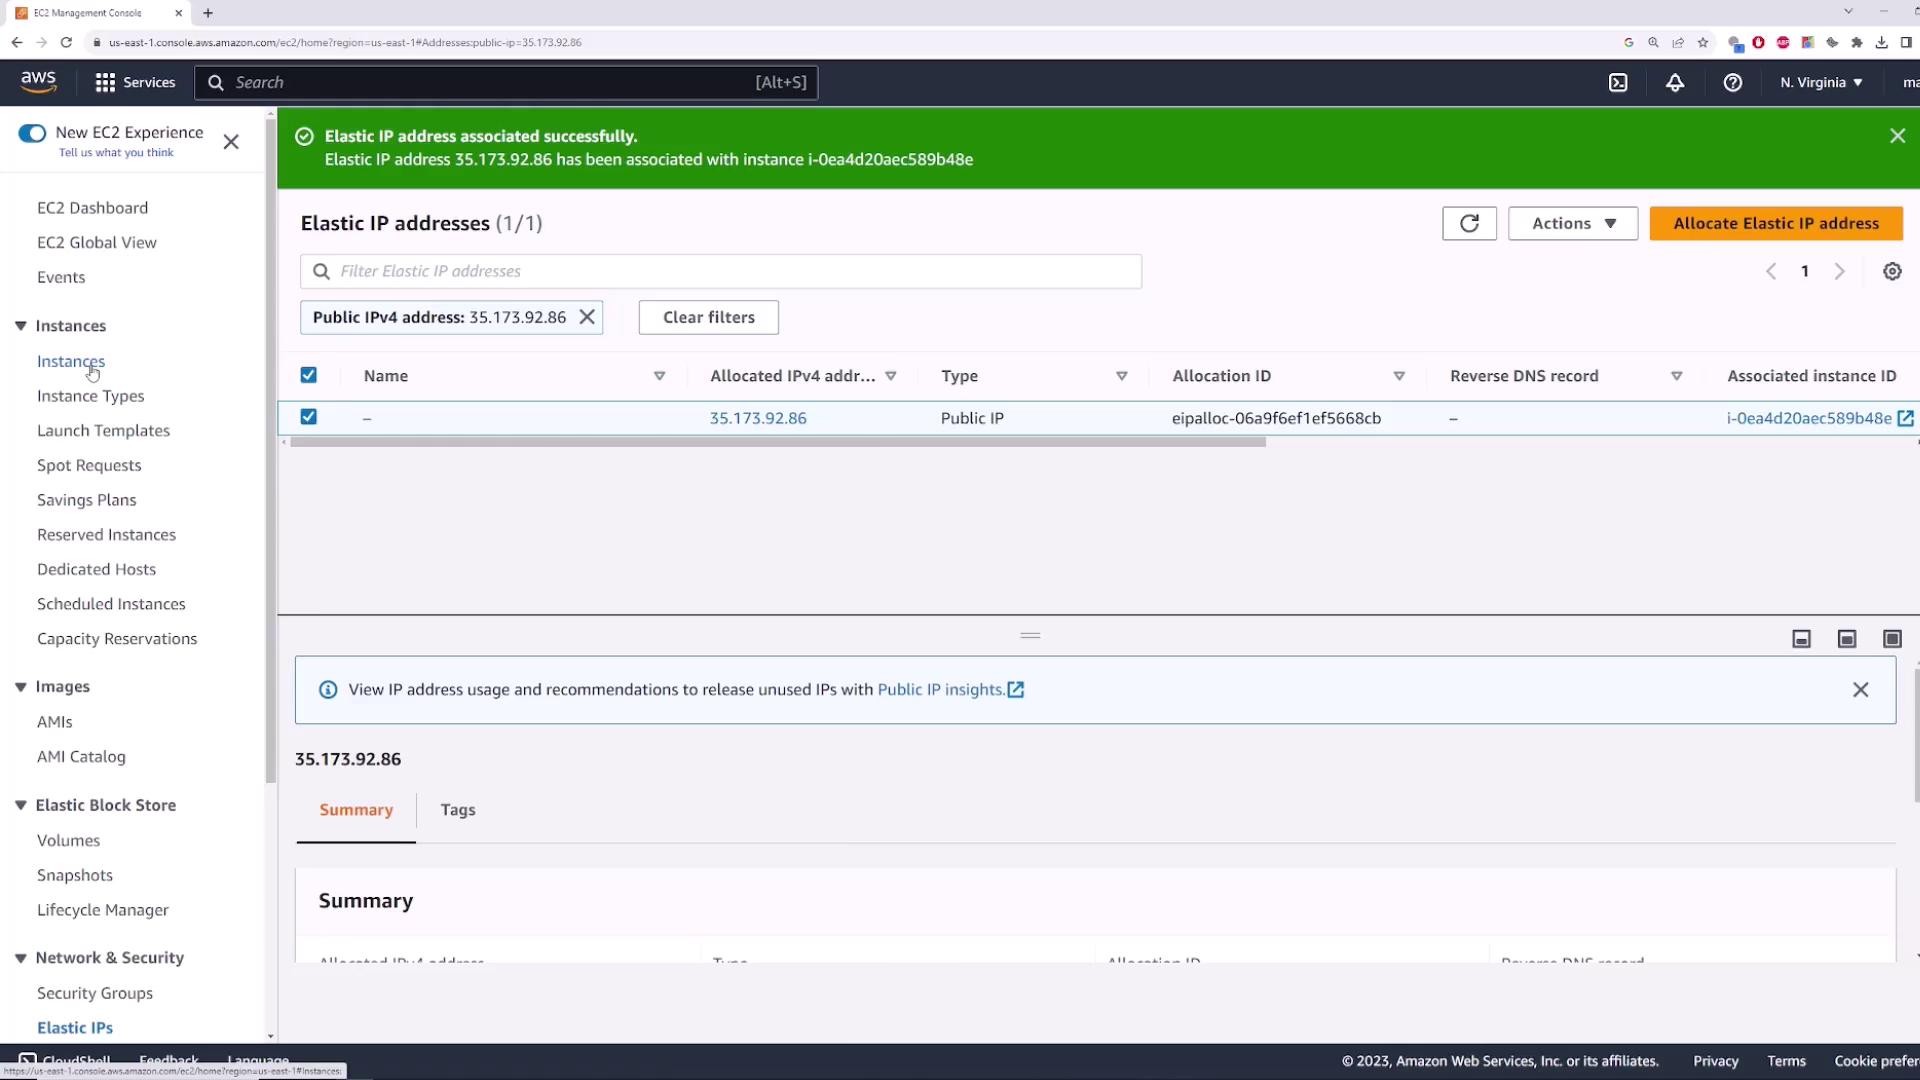
After allocation, you’ll see your new Elastic IP (e.g., 35.173.92.86):
2. Associating the Elastic IP
- Select the allocated Elastic IP.
- Choose Actions > Associate Elastic IP address.
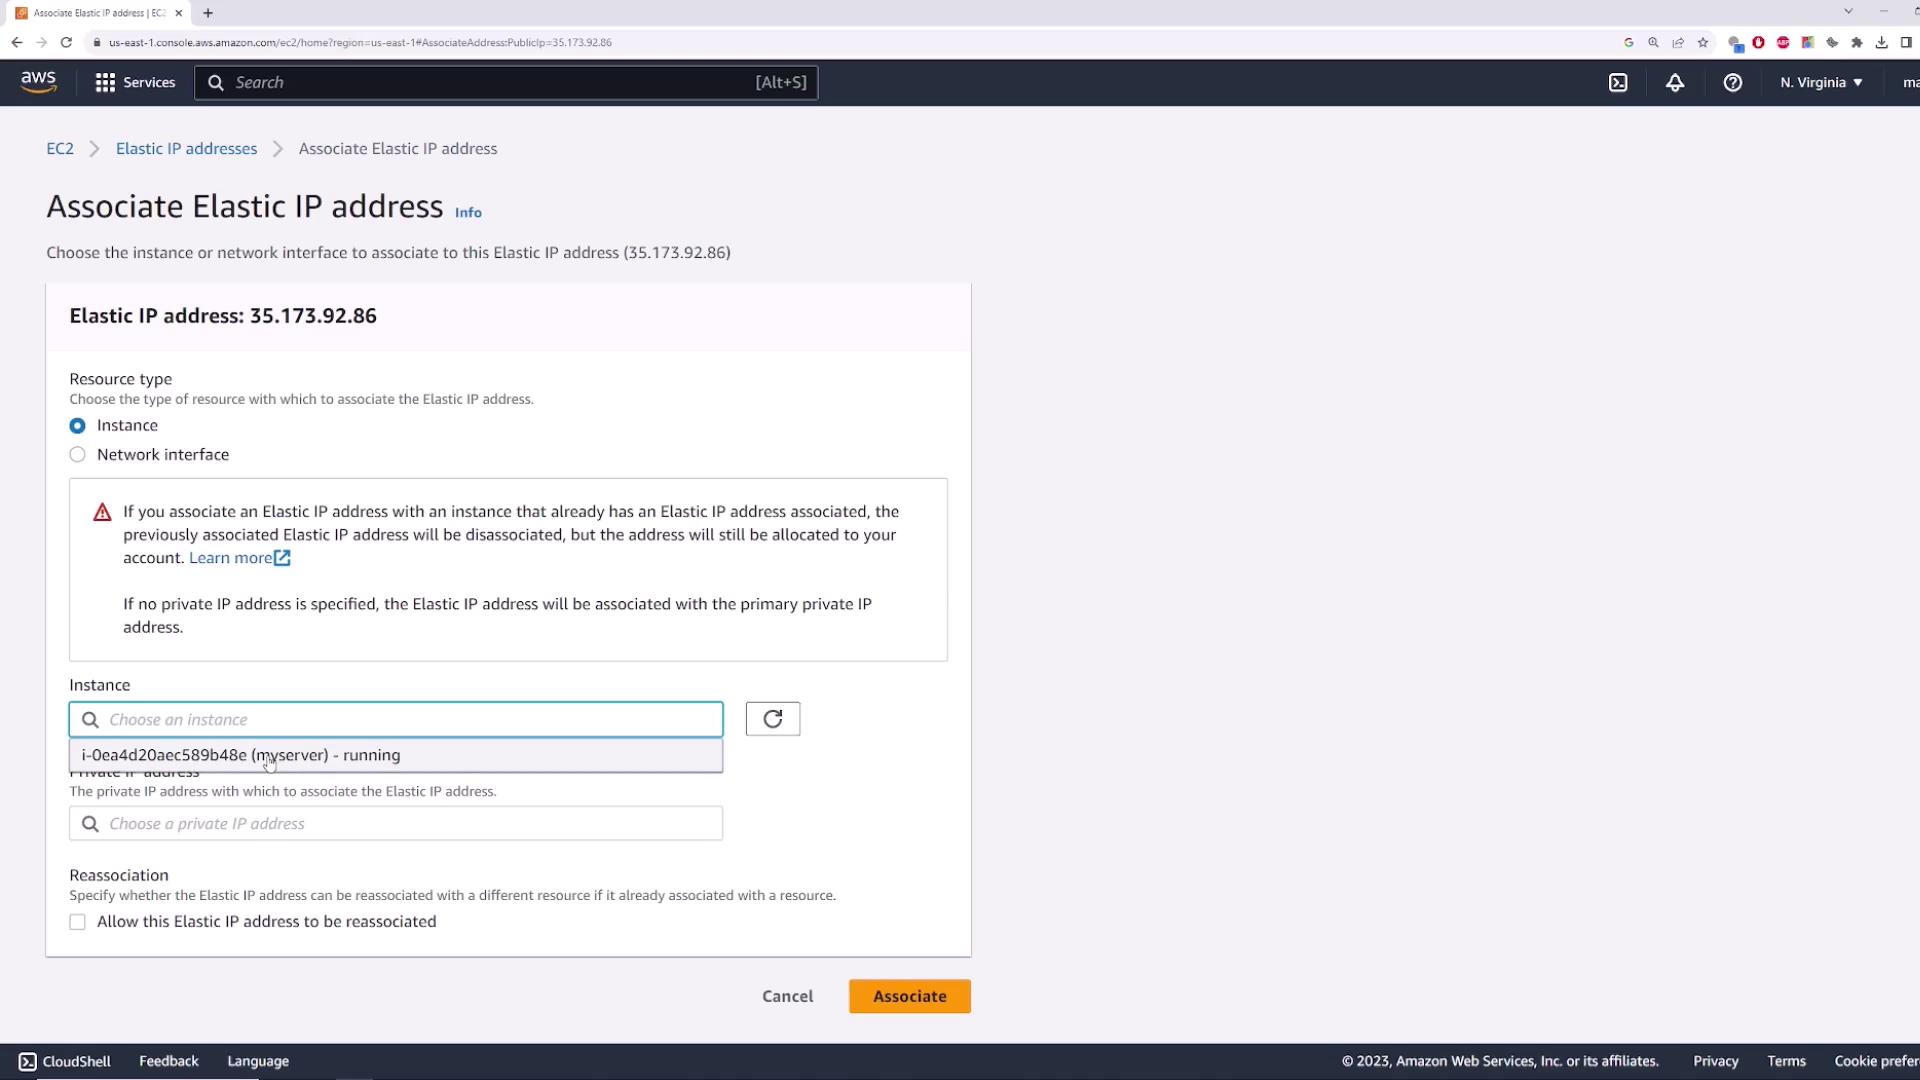
- For Resource type, pick Instance and select myserver.
- If applicable, choose the correct private IP, then click Associate.
Once associated, myserver will display the Elastic IP as its public address:
3. Verifying Reachability
Run a simple ping test from your local machine or CloudShell:
```powershell theme={null} PS C:> ping 35.173.92.86
Pinging 35.173.92.86 with 32 bytes of data: Reply from 35.173.92.86: bytes=32 time=22ms TTL=112 Reply from 35.173.92.86: bytes=32 time=21ms TTL=112 Reply from 35.173.92.86: bytes=32 time=15ms TTL=112 Reply from 35.173.92.86: bytes=32 time=19ms TTL=112
Ping statistics for 35.173.92.86: Packets: Sent = 4, Received = 4, Lost = 0 (0% loss), Approximate round trip times in milli-seconds: Minimum = 15ms, Maximum = 22ms, Average = 19ms ```
Stop and start myserver again. Notice that 35.173.92.86 remains unchanged—your Elastic IP stays attached throughout.
4. Cleaning Up (Optional)
To prevent unnecessary charges, release the Elastic IP when you’re done:
- Select the Elastic IP, then Actions > Disassociate Elastic IP address.
- After it’s disassociated, choose Actions > Release Elastic IP address.
- Confirm to remove the reservation from your account.